


How to Perform a Shading Check for Your Solar System
One of the most practical ways to protect the performance of a home solar system is also one of the simplest: checking for shade. Solar panels are designed to produce the most electricity when they receive direct sunlight for as much of the day as possible. When that sunlight is interrupted by trees, chimneys, vents, antennas, rooflines, neighboring buildings, or even seasonal snow, output can drop more than many homeowners expect.
Table Of Content
- Why a Shading Check Matters More Than It Seems
- What Counts as Shade on a Solar System
- Signs Your Solar Panels May Be Affected by Shade
- When to Perform a Shading Check
- Tools You Can Use Without Making It Complicated
- Step by Step: How to Perform a Shading Check
- Step 1: Review Your Solar Monitoring Data First
- Step 2: Walk the Property and Identify Potential Obstructions
- Step 3: Compare Current Conditions With Older Photos or Installation Records
- Step 4: Inspect the Panels for Localized Shadow Sources
- Step 5: Consider Seasonal Sun Angles
- Step 6: Match Your Visual Findings to Production Patterns
- Step 7: Decide What Is Manageable and What Is Not
- How to Reduce or Manage Solar Shading
- Mistakes Homeowners Commonly Make During a Shading Check
- When to Call a Professional
- A Simple Homeowner Checklist for Routine Shade Reviews
- How Often Should You Do a Shading Check?
- The Long-Term Value of Paying Attention to Shade
- Conclusion
A shading check is not about chasing perfection. It is about understanding whether your system still has good access to sunlight and whether any avoidable obstructions are quietly reducing annual energy production. This matters because solar systems are long-term investments, and small changes around the home can gradually affect performance in ways that are easy to miss if no one looks for them.
The good news is that most homeowners can perform a basic shading check without specialized tools. A careful visual review, a few photos taken at different times, and a look at your monitoring app can reveal a great deal. If a problem appears more complex, professional shade-analysis tools are available, but many routine issues can be identified early through simple observation and regular maintenance.
In this guide, we will walk through how to perform a shading check step by step, what signs to look for, how to distinguish between manageable and unavoidable shade, and when it makes sense to call a professional. The goal is calm, practical maintenance that helps your solar system perform at its best while supporting a more efficient and sustainable home.
Why it matters: Even relatively small amounts of shading can cause meaningful solar production losses. In many systems, the reduction is not perfectly proportional, which means a little shade can create a bigger drop in output than homeowners expect.
Why a Shading Check Matters More Than It Seems
Solar panels work in a wide range of climates, but they are still dependent on sunlight access. Guidance from the U.S. Department of Energy notes that excessive shade can make rooftop solar less suitable, especially when trees block too much of the solar window. For existing systems, that same principle applies during maintenance. If your roof had good sun exposure when the system was installed, it does not automatically mean conditions are unchanged today.
Shade can have disproportionate effects because solar modules interact electrically. In a string inverter system, for example, one shaded panel may influence the output of other panels in the same string. Research from NREL has shown that partial shading can cause mismatch losses and inverter tracking losses, which helps explain why a small shadow can produce a surprisingly noticeable energy drop.
This is also why system design matters. Module-level electronics such as microinverters or power optimizers can improve performance under partial shade compared with standard string inverter setups. NREL research found that microinverters recovered roughly 40% to 50% of performance losses under partial shading and improved annual performance compared with standard string inverter systems under light, moderate, and heavy shade conditions. That does not mean every home with shade needs new hardware, but it does reinforce the value of identifying shade early and reducing it where practical.
Regular shading checks are especially useful in regions with strong seasonal change. In Canada and northern parts of the United States, low winter sun angles, leaf growth in summer, bare branches in late fall, and snow accumulation can all alter the shading picture. A roof that looks perfectly clear on a bright July afternoon may still lose valuable morning or winter production because of seasonal obstructions.
What Counts as Shade on a Solar System
When most people think about shade, they picture a large tree covering a roof. In practice, shading can come from many smaller sources too. Tree branches, chimneys, plumbing vents, satellite dishes, dormers, antennas, utility lines, neighboring roof peaks, and newly added rooftop equipment can all cast shadows onto panels. Temporary issues such as piled snow, leaves, or debris may also behave like shading, even though they are not structural obstructions.
It helps to think in terms of two categories: manageable shade and unavoidable shade. Manageable shade includes things you can often address, such as overgrown vegetation, removable obstructions, or a branch that now reaches into the solar window. Unavoidable shade may come from roof geometry, a large adjacent building, or site constraints that are not realistically changeable. The purpose of a shading check is not to eliminate every possible shadow, but to identify where practical improvements can preserve more annual sun access.
It is also important not to confuse shading with soiling. Dust, pollen, and grime can reduce output too, but they do so for different reasons. A dirty panel may need cleaning, while a shaded panel may need branch trimming, equipment relocation, or a more detailed performance review. Looking carefully at the shape and timing of the problem helps separate one issue from the other.
Signs Your Solar Panels May Be Affected by Shade
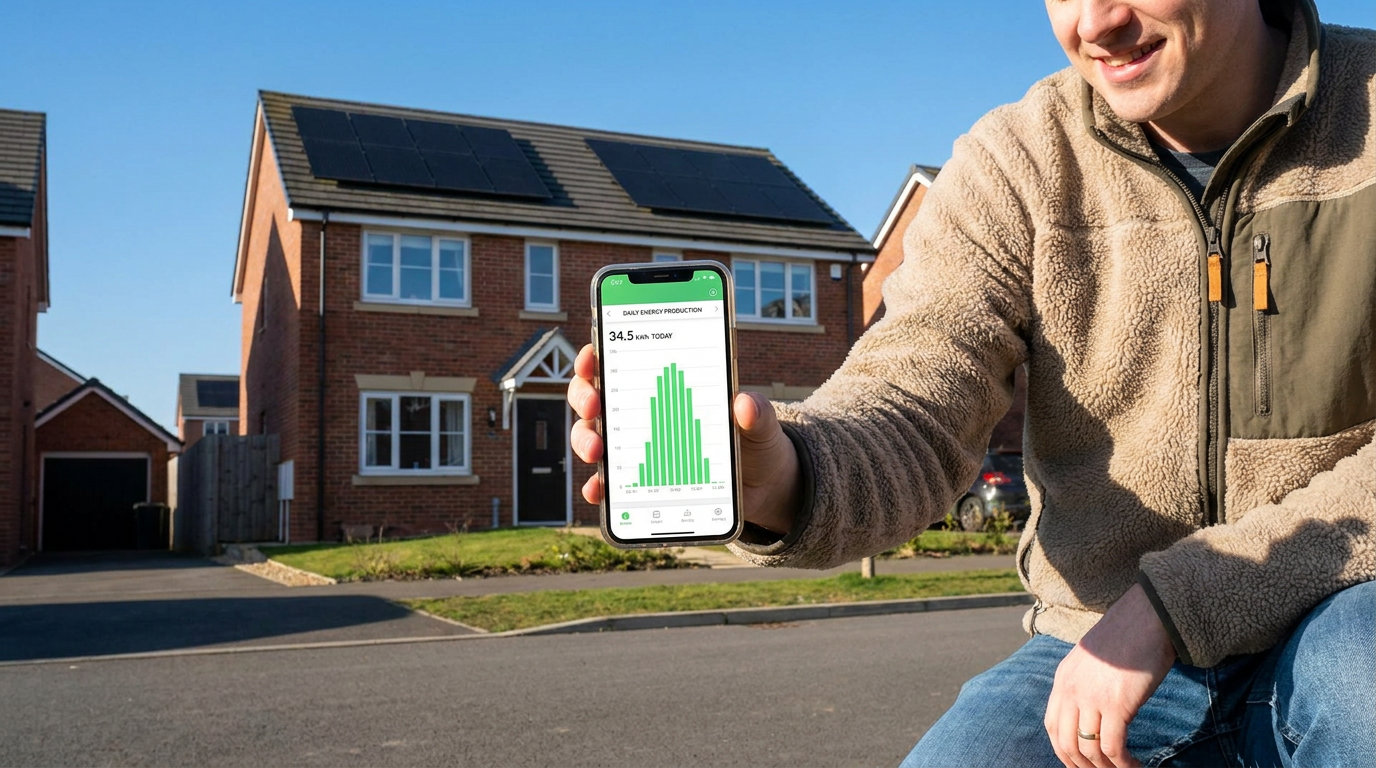
The most obvious sign of a shading issue is visible shadow on the panels, but many clues appear first in your monitoring data. If your inverter app or monitoring portal shows lower production than usual during certain hours, especially on otherwise sunny days, shade may be part of the explanation. A repeated dip in output at roughly the same time of day often points to a physical obstruction crossing the array.
You may also notice that your annual production seems to decline even though the system is still operating normally. This can happen gradually as trees grow or new structures appear nearby. Homeowners sometimes assume aging equipment is the cause, but vegetation growth and seasonal shading changes are just as plausible and often easier to address.
Another clue is inconsistency between weather and output. If nearby homes with solar or your own past records suggest a stronger production day than your system delivered, something may be limiting performance. While temperature, cloud cover, and equipment issues can all affect results, repeated underperformance during clear conditions is a good reason to inspect for shade.
If your system includes module-level monitoring, the diagnosis can be even easier. A single panel or small cluster consistently underperforming at certain times may indicate localized shading from a vent, chimney, or branch. This kind of data can save time and help you focus the inspection more precisely.
When to Perform a Shading Check
The best shading check is not a one-time glance at noon on a summer day. Because the sun angle changes throughout the day and across the year, a useful review should include different times and, if possible, more than one season. Morning and late afternoon are especially important because long shadows can reach arrays that seem fully clear at midday.
A practical schedule is to do a quick check several times a year and a more deliberate review once annually. Spring and late summer are good times because vegetation growth is more obvious, but winter can reveal low-angle shading problems that disappear in summer. If you live in a snowy climate, it is also worth considering how snow drifts, ice accumulation, or nearby structures affect panel exposure during the months when the sun is lowest.
You should also perform a shading review after any significant property change. That may include tree growth, landscaping work, a roof renovation, installation of new vents or antennas, or construction on a neighboring lot. Preventive maintenance works best when checks are timed to real changes rather than waiting for a utility bill to tell you something is wrong.
Tools You Can Use Without Making It Complicated
Most homeowners do not need to purchase professional shade-analysis equipment to do a useful inspection. In many cases, a smartphone, a notebook, your solar monitoring app, and careful observation are enough. Photos are especially valuable because they let you compare conditions over time and show an installer or arborist exactly what you are seeing.
If you want to be more methodical, you can also use a compass app, sun path app, or simple mapping tools to estimate where the sun should be at certain times. These tools are helpful when a tree or structure looks borderline and you are trying to understand whether it really interferes with the solar window. They are not a replacement for professional analysis, but they can make your homeowner inspection more informed.
Professional installers and auditors often use tools such as Solmetric SunEye and software platforms that map solar access, obstruction angles, and seasonal shading. NREL has also evaluated remote shading tools that compare digital assessments with on-site measurements. The takeaway for homeowners is reassuring: if your monitoring suggests an issue, modern shade analysis is more visual and data-driven than it used to be, so getting a clear answer is often easier than expected.
Step by Step: How to Perform a Shading Check
Step 1: Review Your Solar Monitoring Data First
Before walking outside, start with the data your system is already producing. Open your inverter app or monitoring portal and look at daily and monthly trends. Compare recent production with past periods that had similar weather conditions, and pay attention to recurring dips during specific hours.
If your system has module-level data, look for patterns on individual panels. A repeated lag in one panel or one section of the array can narrow your search and make the physical inspection much easier. If you do not have panel-level monitoring, overall production graphs can still reveal timing patterns that suggest morning, midday, or afternoon shade.
Write down what you notice before you go outside. This small step keeps the inspection grounded in evidence rather than guesswork. It can also help you explain the issue clearly if you decide to consult your installer later.
Step 2: Walk the Property and Identify Potential Obstructions
Next, walk around your home and look up at the roof from multiple angles. Identify anything that could cast a shadow onto the solar panels. Mature trees are often the first place to look, but do not overlook smaller obstructions like vent stacks, chimneys, antennas, or decorative roof elements.
It can be helpful to pause in the morning, around midday, and again in the afternoon if your schedule allows. Shade that is absent at noon may be obvious at 9 a.m. or 5 p.m. If you only check one time of day, you may miss the very issue that is affecting production most often.
Take wide and close photos from the yard and, if safely accessible, from windows or upper levels that give you a clear perspective on the roofline. Do not climb onto the roof unless you are trained and equipped to do so safely. A shading check should improve performance, not create unnecessary safety risk.
Step 3: Compare Current Conditions With Older Photos or Installation Records
If you have photos from the time your system was installed, compare them with current conditions. This is one of the easiest ways to spot gradual change. A tree that seemed harmless three years ago may now be large enough to cast regular late-day shade onto one edge of the array.
Look for subtle differences too. New branches, fuller hedges, added rooftop equipment, and neighboring construction may not feel dramatic in daily life, but solar systems notice them. Even if production has only dropped modestly so far, catching these changes early makes mitigation simpler and often less expensive.
Builder guidance often recommends keeping likely shade sources far enough away that they do not interfere with the solar window throughout the year. A useful rule of thumb is to keep potential shade structures at a distance of about twice their height from the array when possible. Existing homes rarely fit rules perfectly, but the concept is useful when evaluating whether a growing tree is becoming a long-term issue.
Step 4: Inspect the Panels for Localized Shadow Sources
Once you know the likely external obstructions, look more specifically at the array itself. Small roof features can create narrow but meaningful shadows across a panel row. A vent pipe, satellite dish, or chimney cap may only affect a small area visually, yet still reduce output because of how the electrical system responds to partial shading.
Notice whether shadows cross multiple modules or remain concentrated on one section. Also look for debris that might behave like temporary shade, such as leaves, pine needles, or snow buildup along a lower edge. These conditions may be easy to correct and are worth addressing as part of regular maintenance.
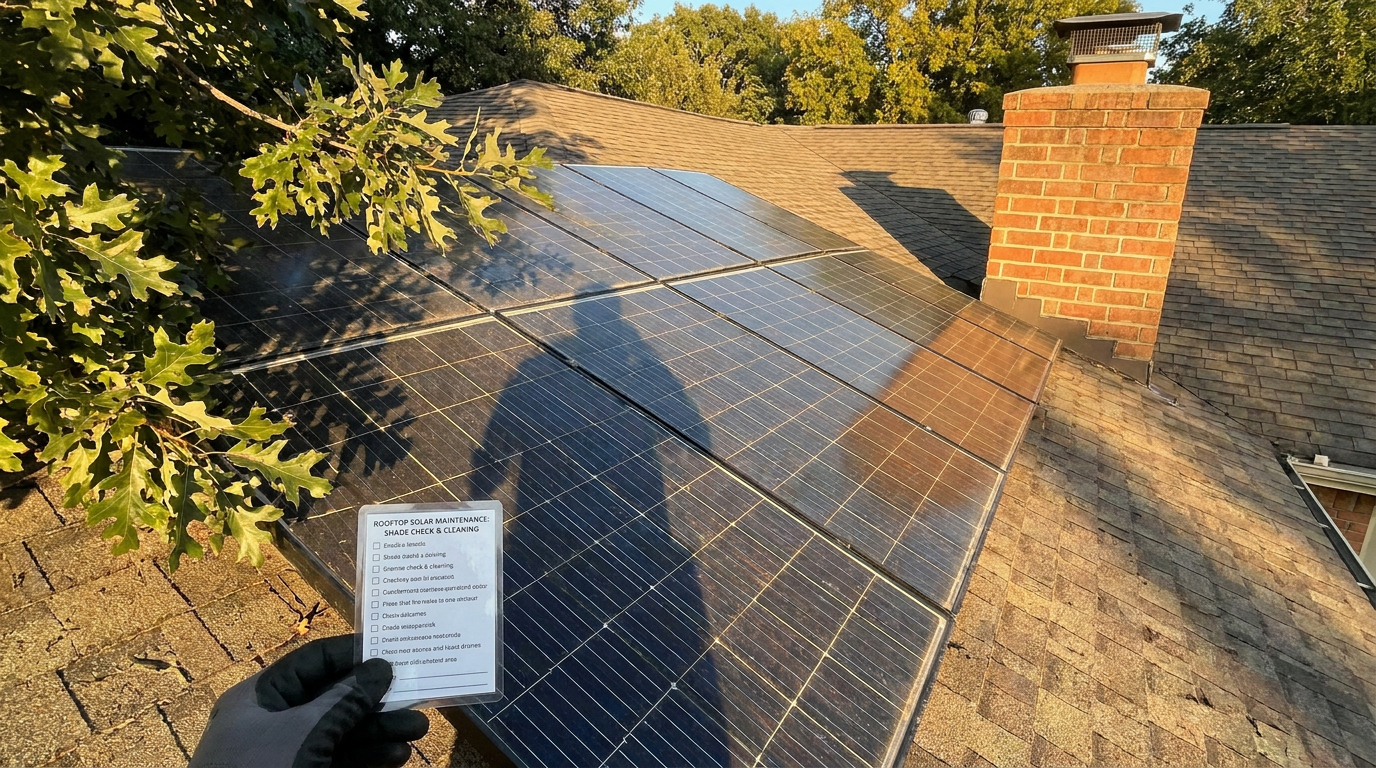
If you see a pattern of shade from rooftop equipment, document it clearly with photos. Some obstructions can be relocated during roofing work or future upgrades, while others may require no action if the impact is minimal. Good records make that decision easier.
Step 5: Consider Seasonal Sun Angles
A proper shading check is not complete until you think about seasonality. The winter sun sits lower in the sky, which means shadows travel farther and may hit parts of the array that stay sunny in summer. Deciduous trees may block less light after leaves fall, but nearby buildings and rooflines can become more significant in the colder months.
If you are inspecting during summer, try to imagine how lower winter sun angles would lengthen the shadows you see. Sun path apps can help with this, and installers can model it more precisely if needed. In northern climates, this seasonal perspective is especially important because winter production is already limited by shorter days, so avoidable shade can take a larger share of available sunlight.
Seasonal snow is another factor worth noting. Snow cover on panels is not quite the same as object shade, but it blocks sunlight and can create a similar production drop. If one roof area repeatedly holds snow longer than another because of its position or surrounding structures, that pattern is useful maintenance information.
Step 6: Match Your Visual Findings to Production Patterns
After the site review, return to your monitoring data and compare it with what you observed. If a tree shades the array edge from mid-afternoon onward and your app shows a repeated afternoon dip, the explanation is becoming clearer. If the data and observations do not align, the issue may involve equipment, soiling, or weather rather than shade alone.
This matching process is what turns a visual inspection into a meaningful maintenance check. Homeowners do not need to calculate exact percentage losses to learn something useful. What matters is whether a repeatable pattern exists and whether there is a practical action that could improve it.
If you want to be especially thorough, repeat this data-to-observation comparison over several bright days. Consistency matters. A single unusual day proves little, but a repeated pattern can justify trimming, maintenance, or a professional review.
Step 7: Decide What Is Manageable and What Is Not
Once you have identified the likely source of shade, decide whether it is manageable. Overgrown branches, shrubs near a ground-mounted system, removable rooftop obstacles, or neglected debris are often reasonable to address. A neighboring building, a fixed roof shape, or a permanent large structure may not be.
This distinction helps you avoid wasted effort. Not every shading source deserves intervention, and not every loss is cost-effective to solve. The homeowner-friendly goal is to make sensible improvements where the return is clear, rather than striving for a perfect but unrealistic result.
How to Reduce or Manage Solar Shading
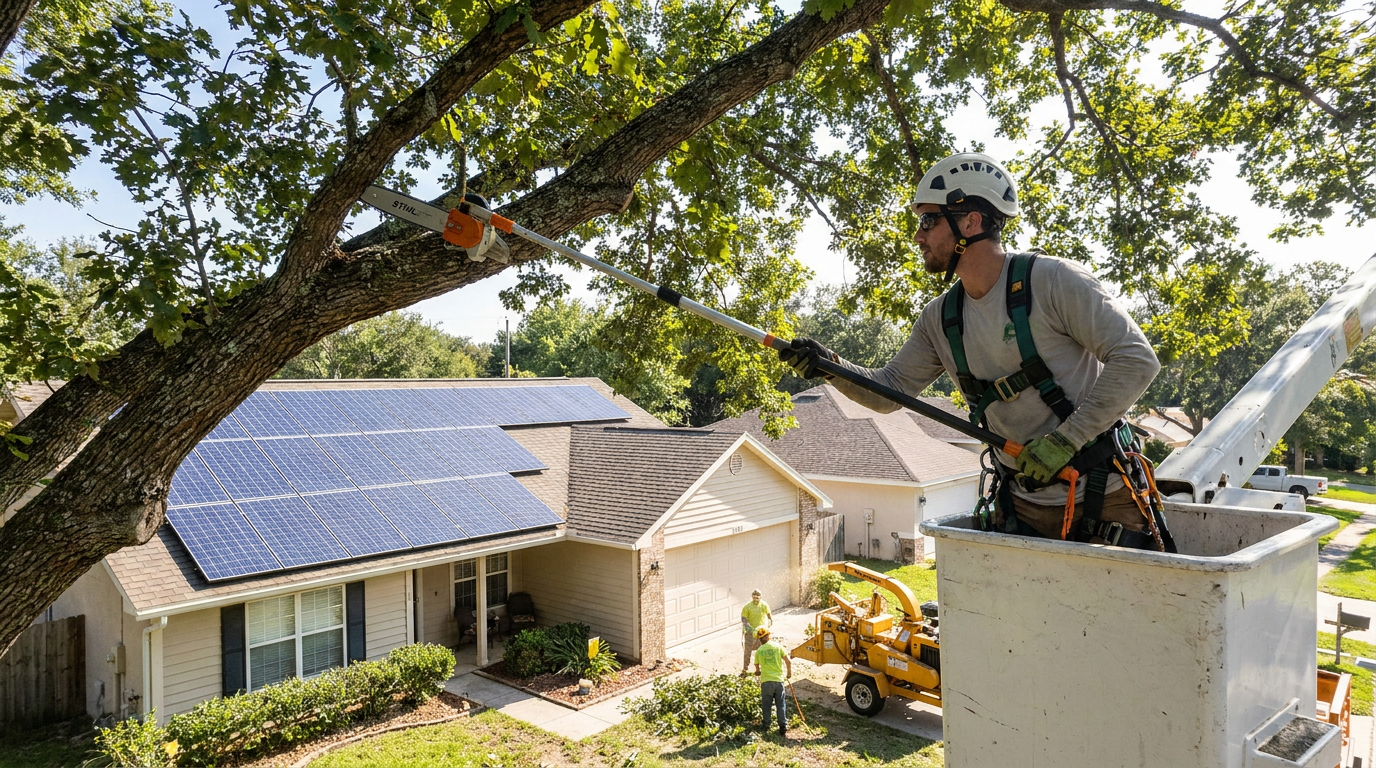
The most common and practical solution is vegetation management. Trees are valuable for comfort, beauty, and site ecology, but they do need to be managed thoughtfully around rooftop solar. Trimming problem branches can often restore sun access without removing the tree entirely, which is usually the most balanced approach.
Any pruning should be done safely and, for larger trees, professionally. Improper cutting can damage tree health, create hazards, or lead to regrowth patterns that make the issue worse later. A qualified arborist can often shape a tree in a way that respects both the landscape and your solar investment.
For rooftop obstructions, the options depend on the source. Some vents, antennas, or satellite dishes may be relocatable during future maintenance work. In other cases, no physical change is practical, and your best response may be to monitor the effect and discuss mitigation options with a solar professional if losses become meaningful.
In partially shaded systems, hardware choices may matter too. If you are planning a system expansion, inverter replacement, or major upgrade, ask whether microinverters or power optimizers would improve resilience to recurring partial shade. Research suggests module-level electronics can recover part of the lost performance, although the right solution depends on your specific layout, budget, and shade profile.
Mistakes Homeowners Commonly Make During a Shading Check
One common mistake is assuming a little shade is harmless. In reality, even limited shading can create outsized losses because of electrical mismatch within the array. This is especially true when a narrow shadow repeatedly crosses active cells during peak production hours.
Another mistake is checking only once, usually at midday in summer. That approach can miss the long shadows of morning, late afternoon, and winter. Because solar performance is an annual story, a useful shading check has to look beyond the brightest hour of the brightest season.
Some homeowners also assume that if the system is producing power, shading is not a concern. Solar systems can continue operating while still losing a meaningful share of annual yield. Monitoring data often reveals these quieter losses long before they become obvious on a utility bill.
Finally, many people confuse cleaning and shading as the same maintenance issue. Both matter, but they require different observations and different solutions. A clean array can still be poorly shaded, and a sunny array can still underperform if it is dirty or affected by equipment problems.
When to Call a Professional
There are times when a homeowner shading check should lead to a professional follow-up. If your monitoring data shows unusual underperformance but you cannot clearly identify the source, a solar installer or energy professional can perform a more detailed analysis. This may include obstruction mapping, solar access modeling, and side-by-side comparison of expected versus actual production.
Professional help is also appropriate when tree trimming is complex or when roof access would be unsafe. Large trees near utility lines, steep roofs, icy conditions, and multi-story homes all increase risk. In those situations, it is wiser to treat shade diagnosis as part of a broader maintenance service.
You may also want expert advice if you are considering equipment changes. A professional can help determine whether shading losses justify adding or replacing module-level electronics such as microinverters or optimizers. They can also tell you whether the issue is really shade or something else, such as inverter behavior, wiring faults, or underperforming modules.
Practical takeaway: If your solar app shows a repeated drop during specific sunny hours and you can match it to a visible obstruction, you likely have enough evidence to take the next practical step, whether that is trimming vegetation, cleaning up debris, or requesting a professional assessment.
A Simple Homeowner Checklist for Routine Shade Reviews
If you want to build shading checks into regular solar maintenance, consistency is more important than complexity. A short seasonal routine can catch most issues before they become expensive or frustrating. The checklist below keeps the process simple while covering the basics.
- Review monitoring data for unusual dips, repeated low-output periods, or year-over-year decline.
- Inspect the roofline and surrounding property in the morning, midday, and afternoon when possible.
- Take current photos of panels, nearby trees, and rooftop obstructions.
- Compare current conditions with older photos or installation records.
- Look for debris, snow patterns, or small rooftop shadows from vents and chimneys.
- Note which issues are manageable and which are permanent site constraints.
- Schedule trimming, cleanup, or professional analysis as needed.
Even though this is a short list, it supports the larger principle behind preventive maintenance. Solar systems age best when homeowners pay attention to small changes before they become chronic losses. A routine shading check is a quiet but effective way to protect long-term yield.
How Often Should You Do a Shading Check?
For most homes, a light visual check every season and a more complete review once a year is a practical rhythm. Homes with fast-growing trees, nearby construction, or known partial shading may benefit from more frequent checks. Monitoring data can help guide that schedule because systems with stable production trends generally need less hands-on attention.
It also helps to align checks with landscape maintenance. If you already prune trees in late winter or maintain shrubs in spring, that is a natural moment to think about solar access. Integrating shade reviews into normal home care makes them feel manageable rather than like another technical task on the to-do list.
After storms, heavy snow, or roof work, an additional quick inspection is worthwhile. Branches can shift, debris can collect, and rooftop accessories can cast new shadows after changes that seem unrelated at first. A few minutes of attention can protect months of future production.
The Long-Term Value of Paying Attention to Shade
A home solar system is designed for years of service, and its best performance depends on more than the original installation quality. Conditions around a house change. Trees mature, additions happen, neighborhoods evolve, and weather leaves its mark. A shading check is one of the clearest examples of sustainable homeownership in practice because it combines observation, maintenance, and thoughtful stewardship of an energy asset you already own.
There is also a reassuring simplicity to it. You do not need to become an engineer to notice whether a branch now crosses your panels every afternoon or whether a chimney shadow aligns with a recurring production dip. Homeowners who stay gently engaged with their systems often catch issues earlier, make better maintenance decisions, and get more value from the clean electricity their roofs are capable of producing.
That is really the purpose of regular solar maintenance. It is not about perfection or pressure. It is about keeping a good system in good working order, making practical adjustments when conditions change, and preserving as much energy production as your site reasonably allows.
Conclusion
Performing a shading check for your solar system is a simple, achievable task that can make a meaningful difference over time. By combining a visual inspection with monitoring data, looking at different times of day and year, and identifying manageable sources of shade, homeowners can reduce avoidable losses and support better long-term performance.
In many cases, the solution is straightforward: trim vegetation, remove debris, document changing conditions, and keep an eye on production trends. When the picture is less clear, modern shade-analysis tools and professional support can provide a more precise answer. Either way, the habit of checking for shade is a smart part of routine solar maintenance and a practical way to help your home generate cleaner energy more efficiently.
If you have not reviewed your solar access recently, this is a good season to start. A few careful observations today can help protect years of output tomorrow.



No Comment! Be the first one.