


The Ultimate Guide to Sparkling Showers: How to Clean Your Shower Effectively
A clean shower changes the feeling of a bathroom in an instant. When the glass is clear, the tile looks bright, and the fixtures shine again, the room starts to feel less like a chore zone and more like a retreat. That shift matters more than many of us realize, because the shower is one of the most frequently used spaces in the home and one of the easiest places for moisture, residue, and neglect to quietly build up.
Table Of Content
- Why a Clean Shower Matters for Comfort, Wellness, and Everyday Living
- What You Need Before You Start
- Know Your Shower Surfaces Before You Clean
- How to Deep Clean Your Shower Step by Step
- Step 1: Clear the space and create airflow
- Step 2: Rinse with warm water
- Step 3: Apply your cleaner and let it sit
- Step 4: Scrub gently but thoroughly
- Step 5: Address mildew or mold carefully
- Step 6: Rinse completely
- Step 7: Dry the shower fully
- How to Remove Soap Scum Without Damaging Your Shower
- How to Tackle Hard Water Stains and Mineral Buildup
- Cleaning Shower Glass for a Clear, Luxury Look
- What to Do About Grout, Caulk, and Problem Areas
- Common Shower Cleaning Mistakes to Avoid
- How to Prevent Soap Scum, Mildew, and Water Spots from Coming Back
- A Simple Shower Cleaning Schedule That Feels Manageable
- When to Call a Professional
- Creating a Rejuvenating Bathroom Environment After the Clean
- Final Thoughts on How to Clean Your Shower Effectively
If your shower has lost its fresh look, you are not alone. Soap scum, hard water marks, mildew, and dullness can gather slowly enough that the change feels almost invisible until one day the whole room seems tired. The good news is that effective shower cleaning does not have to mean harsh products, exhausting scrubbing, or guesswork. In most cases, the best results come from understanding what kind of buildup you are dealing with, choosing the right approach for your surfaces, and following through with the simple prevention habits that stop grime from quickly returning.
This guide is designed to help you deep clean your shower in a way that feels practical, safe, and genuinely rewarding. It combines evidence-based cleaning habits with a comfort-first mindset, so you can restore not only cleanliness but also the calm, uplifting atmosphere that makes a bathroom feel beautifully cared for. Whether you have tile, glass, fiberglass, acrylic, porcelain, or a combination of surfaces, the goal is the same: a shower that feels fresh, healthy, and ready to enjoy.
Before we get into the exact steps, it helps to know what is actually making your shower look cloudy, grimy, or discolored. Most shower mess comes down to three main issues. The first is soap scum, which forms when soap reacts with minerals in water and leaves behind a film. The second is mineral scale from hard water, which can show up as cloudy spots on glass and chalky buildup around fixtures. The third is moisture, which creates the ideal environment for mildew and mold if a shower stays damp for too long.
The secret to a sparkling shower is not just removing buildup. It is also managing moisture so the clean feeling lasts.
That is why the best shower cleaning strategy is never only about scrubbing. Public health guidance consistently emphasizes that mold and mildew problems are driven by moisture, which means drying and ventilation are just as important as the cleaner you use. Once you begin to see your shower through that lens, cleaning becomes less frustrating and much more effective.
Why a Clean Shower Matters for Comfort, Wellness, and Everyday Living
There is a visual benefit to a sparkling shower, of course, but the real value goes beyond appearance. A clean shower contributes to a bathroom that feels lighter, more peaceful, and easier to maintain. When surfaces are free from film and buildup, light reflects better, the room looks more open, and even a modest bathroom can feel noticeably more luxurious. That emotional shift can make your mornings gentler and your evenings more relaxing.
Cleanliness also supports physical comfort. Soap scum and mildew can create slippery surfaces, which can make shower floors and tubs less safe. A shower that is consistently wiped down and deep cleaned as needed is usually not only more attractive but also more secure and more pleasant to step into. Fixtures work better, drainage tends to be less troublesome, and the space smells fresher overall.
There is also a wellness aspect worth paying attention to. Moisture-related growth such as mold and mildew can be irritating for people with allergies, asthma, COPD, or weakened immune systems. While not every shower stain is a serious issue, it is wise to treat visible mildew, recurring dampness, and musty odors as signs that your bathroom needs better cleaning and moisture control. A comfortable home is one that feels clean in both obvious and quiet ways.
What You Need Before You Start
The best shower cleaning kit is thoughtful rather than excessive. You do not need a dozen products to get excellent results, and in many cases a simpler routine is gentler on both your surfaces and your indoor air. Start with a mild detergent or household soap, several microfiber cloths, a soft sponge, a non-scratch scrubber, a soft-bristled brush for grout and corners, and a bucket or bowl for warm water. A squeegee is also incredibly useful, both during cleaning and for prevention afterward.
If you are dealing with visible mildew or mold on hard, nonporous surfaces, health guidance notes that household soap and water can often be effective. In some cases, a bleach solution may be used, but it should be no stronger than 1 cup of bleach per 1 gallon of water. It is essential to read product labels, ventilate the area, and never use stronger concentrations in hopes of getting faster results. More product does not necessarily mean a cleaner shower.
Protective gear matters too, especially if you are cleaning mold or scrubbing in a poorly ventilated bathroom. Gloves are a smart baseline, and people who are sensitive to airborne irritants may want to use an N95 respirator during cleanup. This is especially important if you have asthma, allergies, COPD, or immune suppression. Safety might not feel glamorous, but it is part of creating a healthier and more comfortable home.
One rule deserves special emphasis: never mix bleach with ammonia or other cleaners. Dangerous gases can form, and the risk is serious. If you choose to use bleach for a specific task, use it carefully and on its own, following the recommended dilution and rinsing instructions.
Know Your Shower Surfaces Before You Clean
One reason shower cleaning can feel tricky is that most showers include several different surfaces in one compact area. You may have glass doors, ceramic or porcelain tile, grout lines, chrome fixtures, acrylic or fiberglass walls, natural stone accents, and silicone caulk all within a few feet of one another. Each surface responds differently to products and tools, so it helps to slow down and check compatibility before you begin.
Hard, nonporous surfaces such as glazed tile, glass, porcelain, and many metal fixtures generally handle routine cleaning well with mild detergent and water. These are often the first surfaces where soap scum and water spotting become visible, and they usually respond beautifully to regular wipe-downs and nonabrasive cleaners. The key is patience, allowing the cleaner time to work, and rinsing thoroughly so residue does not remain.
Fiberglass and acrylic require a gentler touch. These finishes can scratch more easily than tile or porcelain, which means abrasive powders, rough pads, and aggressive scrubbing can leave behind dullness that is hard to reverse. A soft sponge, microfiber cloth, and nonabrasive cleaner are usually the better choice. If your shower has natural stone, be even more cautious, since acidic products can damage certain stone surfaces and strip away protective sealers.
Grout and caulk deserve special attention because they are often where mildew appears first. These areas stay damp longer and can trap residue more easily than smooth surfaces. If the grout is discolored or the caulk looks cracked, cleaning is only part of the solution. Re-sealing grout or replacing failing caulk may be necessary if moisture is repeatedly getting where it should not.
How to Deep Clean Your Shower Step by Step
Step 1: Clear the space and create airflow
Start by removing shampoo bottles, soap dishes, razors, bath toys, and any other accessories from the shower. This gives you access to corners, ledges, and the areas under products where hidden residue often collects. It also allows you to clean the items themselves before putting them back, which helps preserve the fresh feeling once the shower is done.
Turn on the bathroom exhaust fan if you have one and open a window if possible. Good airflow makes the process more comfortable and helps moisture evaporate more quickly as you work. If your fan is vented outdoors, let it run during cleaning and continue running it afterward as part of the drying phase.
Step 2: Rinse with warm water
Before applying any cleaner, rinse the walls, doors, floor, and fixtures with warm water. This loosens light surface grime and softens soap residue, making the next steps easier. It also helps you see where buildup is truly stubborn so you can focus your effort where it matters most instead of scrubbing every inch equally.
Warm water alone can improve the look of a shower more than people expect, especially if grime is mostly superficial. Think of this as preparing the room rather than trying to finish it in one pass. The cleaner will work better on pre-wetted surfaces.
Step 3: Apply your cleaner and let it sit
Use a mild detergent or a bathroom cleaner that is appropriate for your shower materials, and apply it evenly to the walls, doors, and other affected surfaces. If you are targeting soap scum or mineral deposits, giving the product a few minutes to sit can make a major difference. This waiting period allows the cleaner to break down residue so that less force is required during scrubbing.
Try not to rush this part. A common mistake is spraying and immediately wiping, which often removes only the top layer and leaves behind the film that causes dullness. Let the cleaner do some of the work for you, especially on glass doors, tile, and around fixtures where buildup tends to cling.
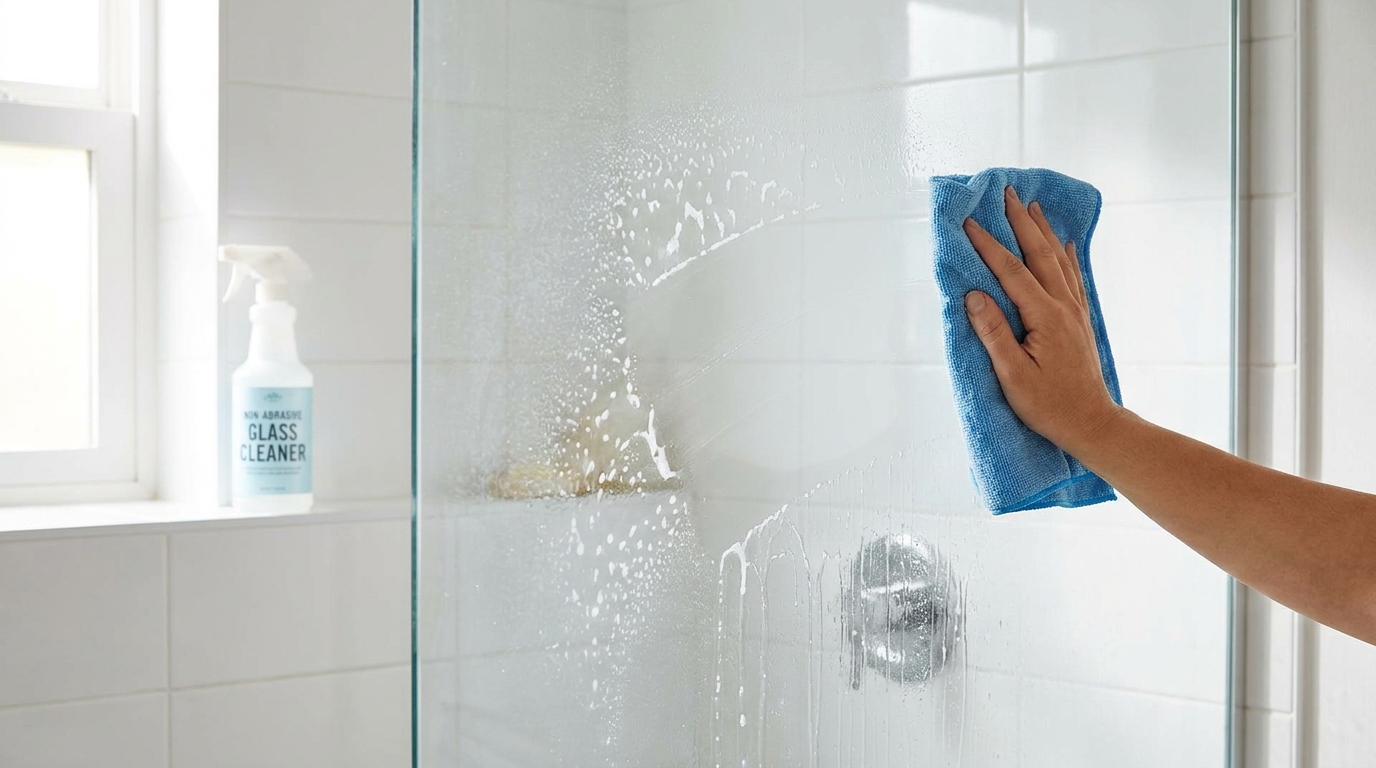
Step 4: Scrub gently but thoroughly
Once the cleaner has had time to soften residue, use a microfiber cloth, soft sponge, or non-scratch pad to wipe and scrub the surfaces. For flat expanses like glass and tile, work from top to bottom so dirty water runs downward instead of onto areas you have already cleaned. Use overlapping strokes and pay extra attention to corners, door tracks, handles, and shelf edges.
For grout lines and textured surfaces, a soft-bristled brush is helpful because it can reach small crevices without being too aggressive. The goal is steady, thorough cleaning rather than force. On most showers, vigorous abrasion creates more problems than it solves, especially if you are working on acrylic, fiberglass, or coated glass.
If you still see residue after the first pass, do not assume you need a harsher product right away. A second application and another few minutes of dwell time can often lift the remaining film. This is especially true with soap scum, which usually responds better to persistence and proper technique than to sheer product strength.
Step 5: Address mildew or mold carefully
If you notice mildew or mold on hard surfaces, begin with soap and water or a mild detergent. For many shower situations, this is a safe and effective first step. If stronger action is needed and the surface is appropriate, a bleach solution of no more than 1 cup per 1 gallon of water may be used according to public health guidance. Always ventilate the room well, wear gloves, and consider an N95 respirator if you are sensitive or if the cleanup is significant.
It is important to understand that removing visible growth is only half the job. If the shower remains damp for long periods, if the fan is not working properly, or if there is a leak behind the wall or around the fixture, mildew will often return. Cleaning is important, but moisture control is what turns a short-term result into a lasting one.
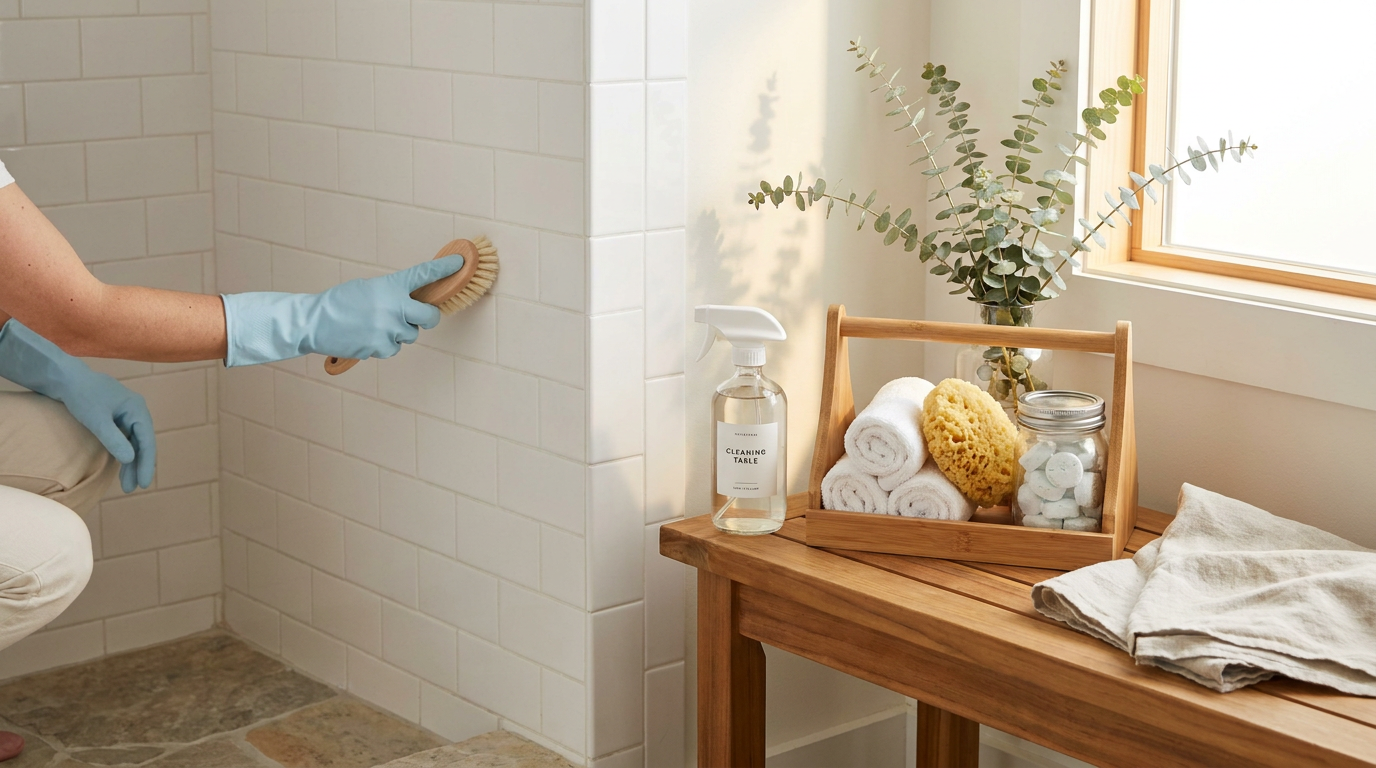
Step 6: Rinse completely
After scrubbing, rinse every surface thoroughly with clean water. This step matters more than many people think because leftover cleaner can attract new residue, dull shiny finishes, or leave streaks on glass. A complete rinse also helps you accurately judge whether buildup has been removed or simply redistributed.
Use your hands or a detachable shower head to direct water into corners, seams, and tracks where cleaner might collect. If your shower does not have a handheld sprayer, a container of clean water can help flush these areas more precisely. The cleaner the rinse, the brighter the final result.
Step 7: Dry the shower fully
This is where many deep cleans lose momentum. The shower may look clean after rinsing, but if you leave water pooled on glass, tile, and fixtures, fresh spots and streaks can appear as the surfaces dry on their own. Use a squeegee on the glass and walls, then follow with a microfiber cloth or clean towel to remove lingering moisture.
Drying is not just about appearance. It is one of the most effective ways to reduce soap scum, limit hard water deposits, and discourage mildew from coming back. Health authorities consistently emphasize prompt drying and ventilation because moisture is the root condition that allows many bathroom problems to continue.
How to Remove Soap Scum Without Damaging Your Shower
Soap scum has a particular look and feel. It often appears as a cloudy film, a chalky residue, or a slightly greasy layer that does not rinse away with water alone. It tends to gather on shower doors, tile walls, faucets, and shelves, especially in homes with hard water. Because it develops through the interaction between soap and minerals, it can feel surprisingly stubborn even when the shower is used every day.
The most effective way to remove soap scum is usually to pair the right cleaner with time and gentle friction. Apply a compatible bathroom cleaner or mild detergent, allow it to sit for a few minutes, and then wipe or scrub with a nonabrasive tool. Repeat if needed. In many cases, repeated light passes produce a better result than one aggressive scrubbing session.
If your shower uses bar soap, you may notice more soap scum than households that use body wash. This does not mean you need to change your routine, but it does mean regular wipe-downs become especially valuable. A quick post-shower squeegee and occasional microfiber wipe can keep the film from thickening into a much harder job.
How to Tackle Hard Water Stains and Mineral Buildup
Hard water leaves behind minerals that can collect on glass, tile, and fixtures, creating the cloudy spots and crusty scale many homeowners know too well. This buildup can make an otherwise clean shower look dull and neglected. It is also one reason shower doors lose their crisp transparency over time even when they are rinsed regularly.
To clean hard water residue effectively, use a cleaner designed for mineral deposits if your surface allows it, and always follow the manufacturer instructions. Letting the product sit briefly before wiping often improves results because mineral scale needs time to loosen. For light spotting, repeated use of a nonabrasive cleaner and a microfiber cloth may be enough to restore clarity.
Hard water also affects shower heads, where mineral scale can reduce spray performance and make fixtures look chalky. If the nozzles appear blocked or the finish seems dull, regular descaling and gentle polishing can help. A cleaner, better-functioning shower head does more than improve water flow. It also contributes to that restorative, cared-for feeling that makes a daily shower more enjoyable.
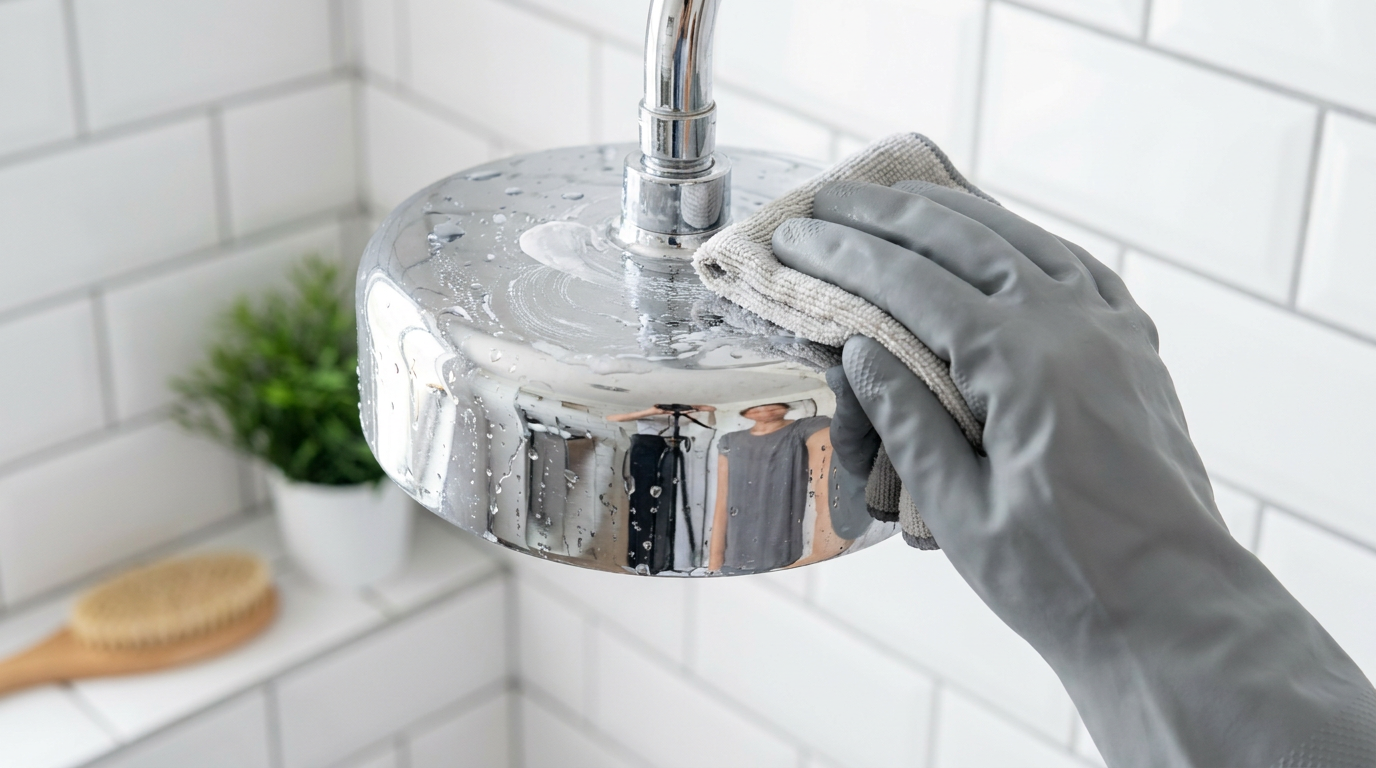
Cleaning Shower Glass for a Clear, Luxury Look
Glass shower doors often become the visual center of the bathroom, which means they can also become the first thing that makes the room feel messy. Even a beautiful shower can lose its impact if the glass is covered in haze, streaks, or mineral spotting. The good news is that glass usually responds very well to consistent maintenance.
Begin by rinsing the glass with warm water, then apply a nonabrasive cleaner suitable for shower glass. Let it sit long enough to soften soap and mineral residue, then wipe with a microfiber cloth or non-scratch sponge. Work from top to bottom and rinse thoroughly before using a squeegee to remove all excess water. Finish with a dry microfiber cloth for the clearest possible shine.
If your shower door has metal framing or tracks, do not ignore them. These narrow areas often trap moisture and residue, which can make the whole enclosure feel less clean. A soft brush can help loosen grime in corners and channels so the glass looks finished rather than only partially cleaned.
What to Do About Grout, Caulk, and Problem Areas
Grout and caulk are often where shower age becomes most visible. Even if the walls and glass are clean, stained grout lines or darkened caulk can make the whole enclosure feel tired. These areas stay wet longer, and because they are textured or flexible rather than smooth, they tend to hold onto dirt and moisture more easily.
For grout, gentle scrubbing with a soft brush and an appropriate cleaner can make a meaningful difference. Avoid assuming that discoloration always means permanent damage. Sometimes it is simply residue that has collected over time. However, if grout is crumbling, consistently dark, or separating, cleaning may need to be followed by sealing or repair.
Caulk should look clean, intact, and well-adhered. If it is peeling, cracking, or repeatedly growing mildew despite careful cleaning, replacement may be the smarter long-term move. A shower cannot stay truly fresh if moisture keeps finding its way into vulnerable seams. Maintenance at this level is not only cosmetic. It protects the comfort and durability of the whole room.
Common Shower Cleaning Mistakes to Avoid
Many shower cleaning frustrations come from habits that seem helpful but actually work against the result you want. One of the biggest mistakes is using too harsh a product too quickly. Public guidance continues to support starting with soap, water, or mild detergent on hard surfaces, because stronger chemicals are not necessary for every task and can be harder on both finishes and indoor air.
Another common mistake is failing to dry the shower after cleaning or after daily use. If you remove grime but leave behind moisture, fresh spots and mildew conditions return quickly. It can feel discouraging to deep clean a shower only to see water marks and dampness reappear within a day. A two-minute drying routine prevents much of that disappointment.
People also underestimate the danger of mixing products. Bleach should never be combined with ammonia or other cleaners, and using a stronger bleach concentration than recommended is not safer or more effective. Finally, do not ignore ventilation. A beautiful shower can still feel stale if humid air lingers in the bathroom long after every use.
How to Prevent Soap Scum, Mildew, and Water Spots from Coming Back
Once your shower is deeply cleaned, the easiest way to protect that effort is with a few simple daily habits. Prevention is where shower maintenance becomes surprisingly gentle. Rather than waiting for the enclosure to look cloudy and grimy again, you keep moisture and residue from settling in the first place.
The first habit is using a squeegee after each shower. This small step removes much of the water that would otherwise dry into spots on glass, tile, and fixtures. It also reduces the dampness that supports mildew growth. If you do not enjoy the idea of a long routine, this is the one action that gives the biggest return for the least time.
The second habit is wiping down key surfaces with a microfiber cloth. Focus on the door, chrome fixtures, and any flat ledges where water pools. Microfiber is effective because it lifts moisture and residue without being abrasive, which makes it a smart choice for both maintenance and finish protection.
The third habit is proper ventilation. Run your bathroom exhaust fan during showers and continue for a while afterward if possible, especially in households where steam lingers. Health Canada recommends keeping indoor relative humidity around 30% to 50% when possible to help prevent mold growth. If your bathroom has no fan, opening a window and drying surfaces manually becomes even more important.
It also helps to fix leaks promptly and keep an eye on recurring wet areas. A constantly dripping shower head, a loose door seal, or water collecting at the edge of a tub-shower combination can create the kind of sustained moisture that encourages mildew. The cleaner your shower becomes, the easier these problem spots are to notice and address early.
A Simple Shower Cleaning Schedule That Feels Manageable
Many people assume that a spotless shower requires a lot of work, but it usually requires more consistency than intensity. A manageable rhythm keeps the job from becoming overwhelming and helps the bathroom stay inviting all week long. The ideal schedule depends on how often the shower is used, how hard your water is, and whether the space dries quickly after each use.
For most homes, a quick daily or near-daily routine works beautifully. Squeegee the glass and walls, wipe down fixtures if needed, and let the exhaust fan run. Once a week, do a more thorough surface clean with a mild cleaner, paying attention to corners, shelves, and the floor. Every few weeks, check grout, caulk, tracks, and the shower head for deeper buildup or moisture-related issues.
If you have hard water, you may need to focus a little more often on glass clarity and fixture scale. If your bathroom tends to stay humid, mildew prevention should become a bigger part of the routine. The goal is not perfection. It is preserving the calm, fresh atmosphere of a space that supports your daily well-being.
When to Call a Professional
Most routine shower cleaning can be handled confidently at home, but there are times when professional help makes sense. If mold covers a large area, keeps returning despite thorough cleaning, or seems linked to a leak behind walls or under the shower base, a bigger moisture issue may be present. In that case, treating only the visible surface will not solve the real problem.
You may also want expert help if your shower materials are delicate, your glass has severe etching, or your grout and caulk need repair beyond cosmetic cleanup. Sometimes what looks like dirt is actually finish damage or aging that cleaning alone cannot reverse. Knowing when to shift from maintenance to repair is part of caring for a home thoughtfully.
Creating a Rejuvenating Bathroom Environment After the Clean
Once your shower is sparkling again, take a moment to support the atmosphere you have created. Put back only the products you actually use and keep ledges from becoming cluttered. Fresh towels, a simple bath mat, and neatly arranged essentials can make the room feel calmer without any renovation at all. Even the visual quiet of clear glass and polished fixtures has a restorative effect.
Think about what makes the bathroom feel truly pleasant to enter at the start of the day or at the end of one. Maybe it is brighter lighting, a better fan, a eucalyptus bundle placed thoughtfully nearby, or simply the knowledge that the room is dry, fresh, and cared for. Effective shower cleaning is practical, yes, but it is also emotional. It creates ease.
When a shower is clean, you notice more than the absence of grime. You notice how much more welcoming the room feels. You notice how the tile color comes back, how the glass reflects light, and how the entire space becomes easier to breathe in and enjoy. That is the real reward of cleaning well. It turns maintenance into comfort.
Final Thoughts on How to Clean Your Shower Effectively
The most effective shower cleaning approach is built on a simple truth: remove the buildup, then remove the moisture. Soap scum, hard water residue, and mildew each need slightly different attention, but the overall strategy is beautifully straightforward. Use the gentlest effective cleaner for your surfaces, allow it time to work, scrub thoughtfully, rinse thoroughly, and dry completely.
If you remember only a few things from this guide, let them be these. Start with soap and water or mild detergent when appropriate. Do not mix bleach with ammonia or other cleaners. Use protection if you are cleaning mold and are sensitive to irritants. Keep the bathroom ventilated, fix leaks promptly, and dry surfaces after showering whenever possible.
A sparkling shower is not only about cleanliness. It is about preserving one of the most personal spaces in your home so it feels soothing, bright, and ready to support your routines. With the right habits, your shower can stay fresher for longer, and your bathroom can become the kind of space that quietly adds comfort to every single day.



No Comment! Be the first one.