


How to Set Up Your Home Assistant for a Smart Home Makeover
There is a big difference between a house that contains smart devices and a home that truly feels smart. The first can be cluttered, inconsistent, and occasionally frustrating. The second feels supportive. Lights respond in a gentle way, the temperature stays comfortable without constant tweaking, and routines quietly take care of the little moments that usually pull at your attention. That is exactly why so many homeowners are turning to Home Assistant setup as the foundation for a more thoughtful smart home makeover.
Table Of Content
- Why Home Assistant Feels Different From Other Smart Home Platforms
- Choosing the Best Home Assistant Setup for Your Home
- A simple way to decide
- What You Need Before You Start
- Step by Step: Installing Home Assistant
- Adding Devices Without Turning Your Home Into a Puzzle
- Organizing Your Home With Areas and Entities
- Building a Dashboard That Feels Calm and Useful
- Creating Your First Automations for Comfort
- Easy first automations to try
- Using Presence Detection to Make the Home Feel More Intuitive
- Designing Scenes That Support Mood and Routine
- Security, Privacy, and Reliability for Peace of Mind
- Common Mistakes to Avoid During a Home Assistant Setup
- A Cozy Starter Plan for Your First Weekend
- Final Thoughts on Creating a Smarter, Softer Home
Home Assistant is a self-hosted smart home platform that runs on your own hardware, which means your automations, dashboards, and device data stay in your home rather than living entirely in someone else’s cloud. According to the official getting started guidance, many people can go from a fresh installation to a working system in about an afternoon, and most basic setup now happens through the user interface rather than complicated coding. That is encouraging news if you love the idea of a connected home but do not want your weekends swallowed by technical stress.
What makes Home Assistant especially appealing is not just the control it offers, but the emotional effect it can have on daily life. A connected home can feel quieter, less chaotic, and more attuned to your family’s rhythm. It can welcome you home with warm lighting, protect your privacy with local control, and simplify repetitive tasks that make busy days feel busier. In that sense, learning how to set up Home Assistant is not simply a tech project. It is a home comfort project.
In this guide, I will walk you through the full process in a practical and approachable way. We will cover how to choose the right installation method, how to complete your first setup, how to add devices, how to organize rooms and dashboards, and how to create automations that genuinely improve the way your home feels. By the end, you will have a clear path to building a smart home that is not only efficient but also welcoming, dependable, and easy to live with.
Why Home Assistant Feels Different From Other Smart Home Platforms
Many smart home systems begin with convenience but slowly become a collection of separate apps, passwords, and devices that do not always cooperate. One light uses one app, the thermostat uses another, and the security camera depends on a cloud account that seems to ask for attention at the wrong time. Home Assistant takes a different approach. It acts as the central layer that brings your devices, services, and routines into one place.
That centralization matters for more than organization. It creates a home experience that feels calmer because your systems begin to work together in a more natural way. Instead of opening three apps before bed, you can trigger one bedtime scene. Instead of manually adjusting temperature as people leave and return, you can let presence detection handle it quietly. That is where a smart home stops feeling like a gadget collection and starts feeling like support.
Another reason Home Assistant stands out is privacy. Because it runs locally on your own hardware, much of your smart home can continue working without relying on the internet. For homeowners who care about reliability and data control, that local-first design brings peace of mind. It means your routines are less fragile, and it reinforces the feeling that your home belongs to you in every sense.
There is also a common misconception that Home Assistant is only for advanced coders. In reality, the platform has moved steadily toward easier onboarding, clearer everyday usability, and more default-first experiences. Newer installations now benefit from a more user-friendly Home Dashboard, improved search, and a stronger app management experience. For many households, that means the barrier to entry is lower than people expect.
Choosing the Best Home Assistant Setup for Your Home
Before you begin, it helps to choose the installation path that matches your comfort level. The official recommendation for most users is Home Assistant OS, and the easiest out-of-the-box option is Home Assistant Green. If your goal is a smooth start with as little friction as possible, this is the path I would recommend first. It is especially well suited to homeowners who want a practical result quickly and do not want to manage lots of system details.
Home Assistant can also be installed on a Raspberry Pi, an existing computer, a virtual machine, or a container. These routes offer flexibility, but they also bring different levels of setup work and maintenance. A Raspberry Pi can be a satisfying option for a hands-on DIY homeowner who enjoys light tinkering. A virtual machine or existing computer can be ideal if you already have hardware available and feel comfortable dedicating it to your smart home.
Container installations are worth mentioning because they often sound appealing to experienced users, but they are not the easiest choice for beginners. Home Assistant’s official installation guidance notes that container setups do not include apps by default and require more manual management. If you are creating your first connected home and want it to feel effortless, starting with Home Assistant OS will usually give you the gentlest experience.
As you choose, think less about maximum technical power and more about the kind of home life you want. If you want something stable, family friendly, and easy to maintain, simplicity is a luxury. The smartest setup is often the one you will actually enjoy using a month from now, not just the one that sounds impressive on day one.
A simple way to decide
- Choose Home Assistant Green if you want the fastest, most beginner-friendly path.
- Choose Home Assistant OS on Raspberry Pi if you like a DIY project and want flexibility without too much complexity.
- Choose a virtual machine or existing computer if you already have hardware and feel comfortable with a more involved setup.
- Choose a container install only if you understand that it requires more hands-on management and does not include apps by default.
What You Need Before You Start
One of the nicest things about a Home Assistant setup is that the essentials are fairly straightforward. You need your chosen hardware, a reliable home network, power, and a phone or computer for the setup process. If you already own smart lights, plugs, thermostats, sensors, or speakers, keep a list nearby so you can add them methodically later. A little preparation makes the process feel lighter and more satisfying.
It is also useful to think about which wireless technologies your devices use. Some products connect over Wi Fi, while others rely on standards such as Zigbee, Z Wave, Thread, or Matter. Matter is especially worth knowing because it continues to evolve as a cross-ecosystem smart home standard focused on easier setup and better interoperability. It does not replace every platform or protocol, but it can make a mixed-device home feel much less fragmented.
If you plan to use Zigbee, Z Wave, or Thread devices, you may need compatible hardware such as the appropriate radio or accessory. This is not something to fear, but it is something to plan for early so your makeover does not stall halfway through. A connected home feels best when the foundation is settled first.
Finally, decide where your Home Assistant hardware will live. A quiet, ventilated spot near your router is often ideal. Tuck it somewhere practical, but not somewhere you will forget entirely, because easy access makes future updates, restarts, and checks much easier. Beautiful homes often work so well because the practical details have been considered with care.
Step by Step: Installing Home Assistant
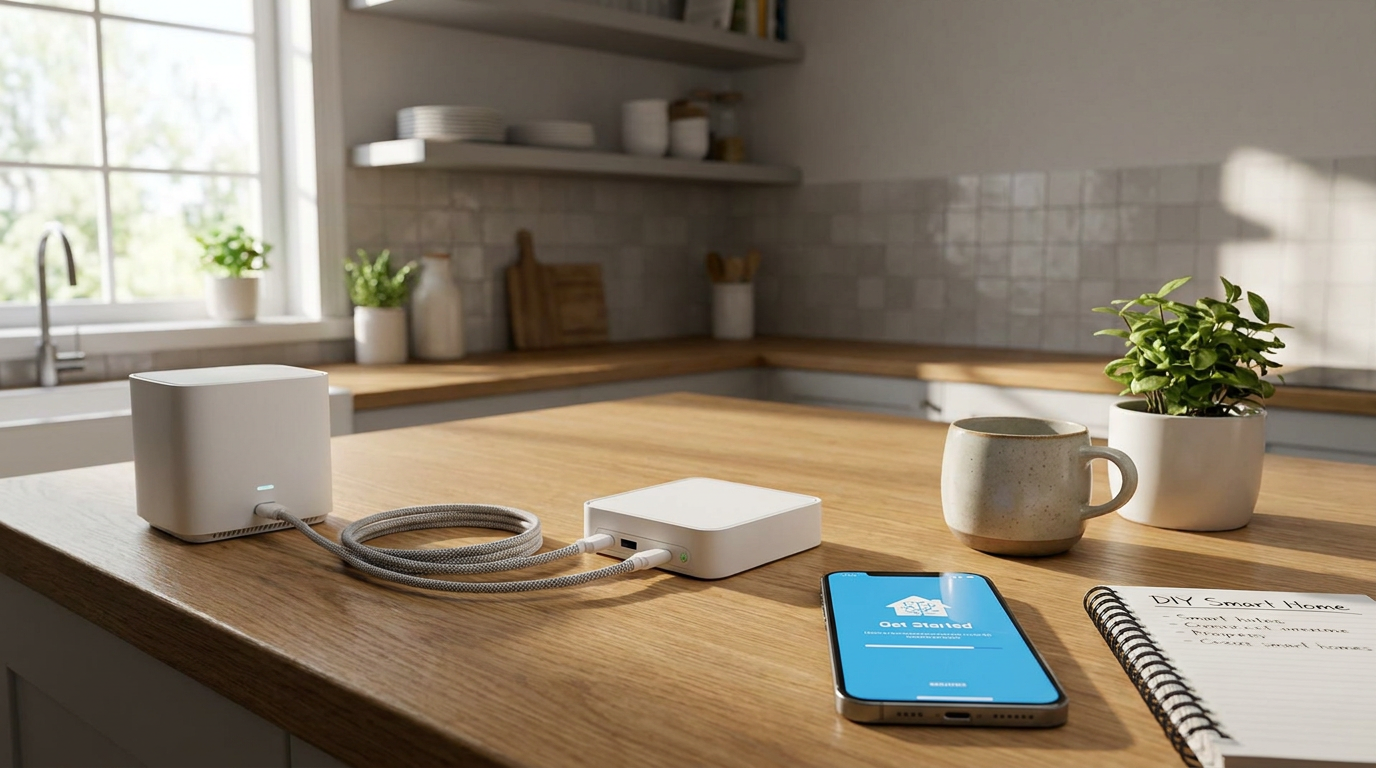
If you are using Home Assistant Green or another Home Assistant OS based method, installation is intentionally simple. Connect the device to power and your router, then allow it time to boot. From there, you can visit the local setup address from a browser on your phone or computer and begin the guided process. In many homes, this stage moves surprisingly quickly.
The first setup screens will usually guide you through creating your owner account, naming your home, confirming location settings, and reviewing any devices or services automatically discovered on your network. This is one of the points where Home Assistant feels especially approachable today. Instead of demanding code, it leads you through decisions in a visual way that feels closer to setting up a new phone than building a server.
Once installation is complete, you will arrive at the main dashboard area. Newer versions of Home Assistant use the Home Dashboard as the default experience for new installations, which helps the platform feel clearer from the beginning. You can think of this first dashboard as the welcome room of your smart home. It does not need to be perfect immediately. It simply needs to give you a working starting point.
If your system finds devices on its own, resist the urge to add everything all at once. It is tempting, but a better approach is to move in a calm, room-by-room way. Smart home comfort is often built through clarity, and clarity is easier when your setup grows intentionally rather than all at once.
Adding Devices Without Turning Your Home Into a Puzzle
After installation, the next step is bringing your devices into Home Assistant. Many integrations can be discovered automatically, while others can be added manually through the settings area. In current versions, apps are installed and managed from the Settings > Apps panel on Home Assistant OS, reflecting the project’s effort to make this part of the experience easier to understand. The language feels simpler, and that helps the whole platform feel more approachable for everyday homeowners.
When you start adding devices, work in categories that reflect real life. Begin with lighting if your priority is atmosphere. Begin with thermostats and sensors if your priority is comfort and energy awareness. Begin with locks, cameras, and contact sensors if your priority is peace of mind. There is no single correct order, but there is value in focusing first on whatever would make your home feel better fastest.
Pay attention to compatibility details as you go. Home Assistant has a broad ecosystem, and recent efforts like the community-powered device database have made it easier to understand how devices behave across integrations. That growing library of real-world device intelligence supports one of the nicest trends in smart home design, which is reducing unpleasant surprises and helping people make more confident choices.
As each device appears, test it immediately. Turn the light on and off. Confirm the thermostat shows the right temperature. Open the sensor and see if the status updates. Those tiny checks build trust, and trust is what makes a connected home feel restful instead of delicate.
Organizing Your Home With Areas and Entities
One of the most useful Home Assistant concepts for a lifestyle-focused setup is the idea of areas. Areas map to real rooms or zones in your home, such as the kitchen, primary bedroom, entryway, patio, or upstairs hallway. This sounds simple, but it is incredibly powerful because it lets your smart home think in the same way your family lives. You are not just controlling random devices. You are shaping experiences in spaces.
When devices are assigned to areas, room-based control becomes much easier. A family member can turn off everything in the living room without needing to know which smart bulbs or plugs belong there. You can also create more meaningful scenes, such as an evening wind-down scene that softens lights downstairs or a movie-time scene that adjusts several living room devices at once.
Entities are the individual controllable items within Home Assistant, such as a lamp, motion sensor, lock, or thermostat setting. It helps to give them names that make sense to real people, not just to installers. “Nursery Lamp” is better than “Light 3.” “Front Hall Motion” is better than “Sensor A.” Good naming sounds almost boring, but it becomes one of the secrets to a home that everyone can use comfortably.
If you share your home with family, this stage matters even more. The smartest setup is the one your partner, children, or guests can understand without a tutorial. That kind of ease has emotional value. It removes the feeling that the house belongs only to the most technical person in it.
Building a Dashboard That Feels Calm and Useful
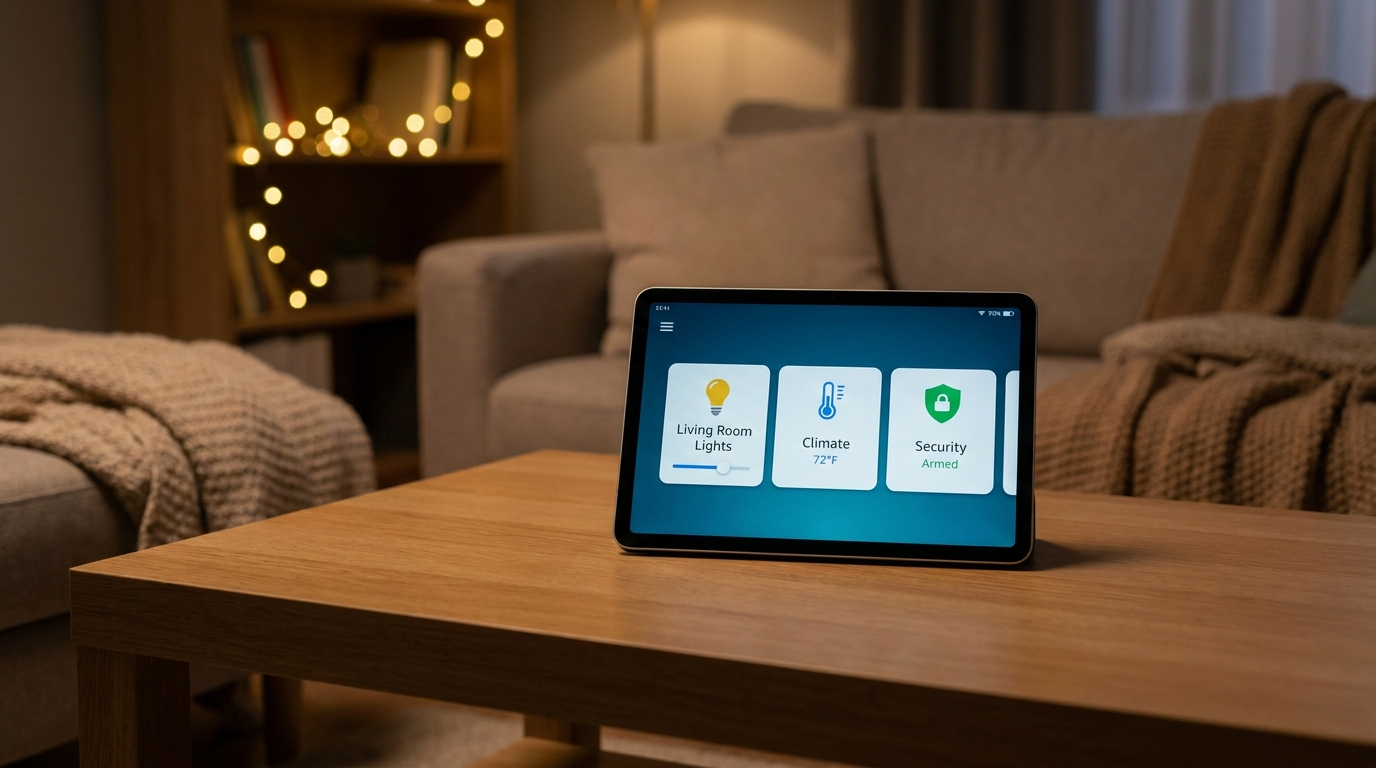
Dashboards are where your smart home becomes visible. They can either feel empowering or overwhelming depending on how they are arranged. A comfortable dashboard is not the one with the most buttons. It is the one that shows the right information at the right moment and makes frequent actions feel obvious.
Start with a home page that reflects the rhythm of your day. Include your most-used lighting controls, climate overview, locks, and a few key sensors. If you have children, you might also surface nursery temperature, bedroom lights, or the garage door status. If you work from home, you may want office lighting and comfort settings easy to reach. A good dashboard quietly reflects your life.
Use room sections to keep things understandable. A kitchen section can include main lights, under-cabinet lights, and a motion sensor. A bedroom section can include bedside lamps, shades, and white noise controls if relevant. Grouping by room mirrors how people think, and that makes the interface feel immediately more natural.
It is also wise to create one or two specialized views. You might have a family dashboard on a tablet in the kitchen and a simpler mobile dashboard for quick control from your phone. This is where Home Assistant becomes especially lovely because it allows you to shape the experience around your household instead of forcing your household to adapt to a rigid system.
A well-designed smart home should fade into the background of daily life. The goal is not more screen time. The goal is less friction.
Creating Your First Automations for Comfort
Automations are where the makeover really begins to feel real. In Home Assistant, automations connect triggers to actions. A trigger might be sunset, a person arriving home, motion in a hallway, or a scheduled time. The action might be turning on warm lamps, adjusting the thermostat, or locking doors at night. The best automations are not flashy. They are supportive.
If you are new to this, start with a few simple routines that solve ordinary moments. Turn on soft entryway lighting 15 minutes before sunset. Dim downstairs lights at bedtime. Send a reminder if the garage door is still open late at night. These are small things, but they add a surprising amount of ease to everyday life.
Blueprints can help here as well. Blueprints are ready-made automation templates that make setup easier for people who do not want to build every routine from scratch. They are one of the clearest signs that Home Assistant is not just for advanced users. They help you enjoy the benefits of automation without feeling like you need to invent everything yourself.
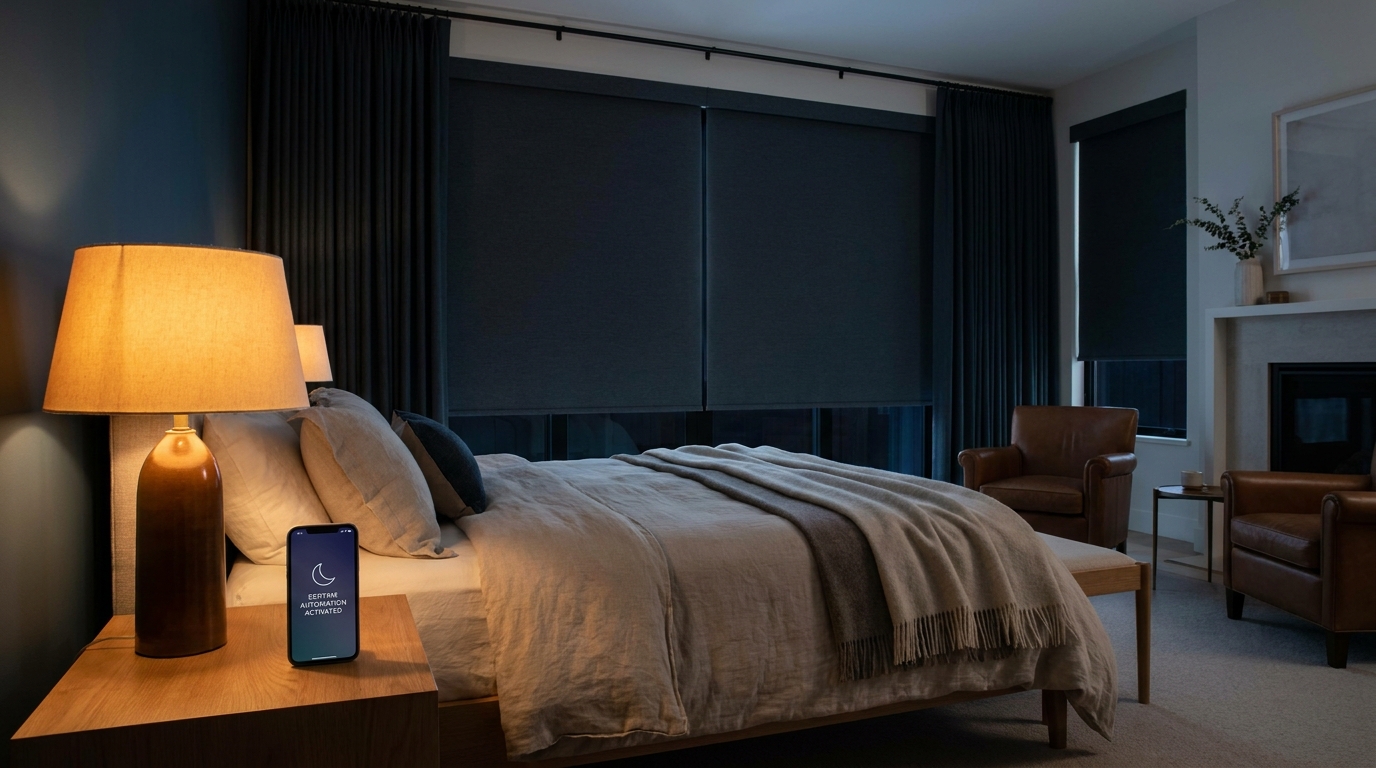
As your confidence grows, you can layer automations thoughtfully. For example, a goodnight routine might lock the doors, turn off common-area lights, dim bedroom lamps, lower shades, and set a comfortable nighttime temperature. When those steps happen quietly and reliably, your home begins to support rest in a very tangible way.
Easy first automations to try
- Quiet morning routine that gently raises lights and adjusts the thermostat before the household wakes.
- Evening lighting scene that warms living areas at sunset for a cozier atmosphere.
- All lights off routine for bedtime or when everyone leaves the house.
- Presence-based climate control that reduces heating or cooling when no one is home.
- Front door welcome scene that turns on entry lighting when someone arrives after dark.
Using Presence Detection to Make the Home Feel More Intuitive
Presence detection is one of the most meaningful features in a connected home because it helps the house respond to real life. Rather than asking you to manually toggle modes all day, Home Assistant can notice when people are home, away, or arriving. That awareness can shape lighting, climate, security, and notifications in ways that feel helpful rather than demanding.
For example, presence can keep the house in a more energy-efficient state when everyone is gone and then restore a comfortable environment before someone returns. It can also prevent unnecessary alerts while you are inside and make night routines more intelligent when the household has settled in. These details create a gentler relationship between you and your home.
If your family has different schedules, presence becomes even more valuable. One person may leave early, another may work from home, and children may come and go with activities. A connected home that notices those rhythms can avoid blunt all-or-nothing behavior. Instead of feeling mechanical, it begins to feel more aware.
The key is to use presence thoughtfully and respectfully. Start with low-stakes routines like lights and climate before tying it to more sensitive actions. That approach lets you build confidence while keeping the system feeling dependable and comfortable.
Designing Scenes That Support Mood and Routine
Scenes are one of my favorite smart home features because they focus less on devices and more on feeling. A scene is a saved combination of settings across multiple devices, such as dimmed lamps, lowered shades, a certain thermostat mode, and a selected music source. Instead of controlling everything separately, you create one atmosphere with one tap or automation.
For a family home, scenes can become little anchors in the day. A Morning scene might open shades and bring up soft kitchen lighting. A Homework Time scene might brighten the dining area and reduce distractions elsewhere. A Movie Night scene can lower lights in the living room while keeping the hallway softly lit for comfort and safety.
Bedtime is where scenes often feel especially rewarding. A calm bedroom with warm dimmed lighting, comfortable temperature, and reduced visual noise supports rest in a way that feels almost luxurious. It is not just about automation for its own sake. It is about making the transition from one part of the day to the next feel smoother.
When you create scenes, keep your household’s real routines in mind. Avoid building too many at once. A small set of beautifully chosen scenes tends to be more useful than a long list that no one remembers to use.
Security, Privacy, and Reliability for Peace of Mind
A smart home should feel dependable, not fragile, so security deserves a place in your setup from the beginning. Home Assistant’s security guidance recommends strong unique passwords, multi-factor authentication, proper handling of sensitive secrets, and regular monthly updates. These basics are not glamorous, but they are part of what makes a connected home emotionally easy to trust.
Local control is another major advantage. Because Home Assistant runs on your own hardware, much of your home can keep functioning even if the internet goes down. That reliability matters in practical ways, but it also matters psychologically. It reduces the uneasy feeling that your home is dependent on outside systems for every simple action.
Backups are equally important. Home Assistant improved backup resilience by making backups AES-128 encrypted by default and expanding restore support across installation methods. That means recovering from a hardware issue can be much smoother than many people expect. Still, it is essential to store your backup encryption key securely, because an encrypted backup is only useful if you can actually restore it later.
Set a recurring reminder to check updates and verify backups once a month. It is a small home maintenance ritual, like changing an air filter or testing smoke alarms. Those tiny care habits are what keep modern comfort feeling stable over time.
Common Mistakes to Avoid During a Home Assistant Setup
One of the biggest mistakes is trying to automate everything immediately. It sounds exciting at first, but it often creates confusion and troubleshooting fatigue. A better approach is to begin with a few high-impact areas, test them, and live with them for a week or two. Let the home teach you what it needs next.
Another common mistake is using unclear names and messy organization. If your dashboard is full of devices with technical labels, no one will enjoy using it. A connected home should feel intuitive to the whole family. Naming things clearly and organizing them by room is one of the simplest ways to get there.
People also sometimes choose installation methods that are more advanced than necessary. There is nothing wrong with a container or custom environment if that truly fits your skills, but beginners are usually happier with Home Assistant OS or Home Assistant Green. The easiest route is not a compromise. Very often, it is the most elegant choice.
Finally, do not skip security and backup steps just because the setup is going well. Smooth early success can make a system feel invincible, but every smart home needs routine care. The goal is to create a beautiful experience that is also resilient behind the scenes.
A Cozy Starter Plan for Your First Weekend
If you want a practical way to begin, imagine your first Home Assistant weekend as a comfort project rather than a full technical overhaul. On day one, install the system, create your account, and add just a few devices. Focus on living room lights, bedroom lamps, and your thermostat if you have one. Organize those devices into areas and create a clean, simple dashboard.
On day two, build two scenes and two automations. Create an Evening scene with warm lighting and a Bedtime scene that softens the house before sleep. Then automate your sunset lighting and an all-lights-off routine for nighttime. Keep notes about what feels good and what feels slightly off, because those observations are more valuable than adding five more features.
By the end of that weekend, your home may not be doing everything yet, but it will already feel different. It will feel a little more attentive, a little more restful, and a little more on your side. That early emotional payoff is what often motivates people to keep refining their smart home thoughtfully rather than turning it into a hobby pile.
Over time, you can add entry sensors, motion lighting, shades, weather-based routines, media controls, and presence-aware climate management. The important thing is that each addition should support how you want your home to feel. Every smart feature should answer a simple question: does this create more ease?
Final Thoughts on Creating a Smarter, Softer Home
A smart home makeover does not need to look futuristic to feel transformative. In fact, the most successful Home Assistant setup is often the one you barely notice because it fits so naturally into your life. Lights know when to glow softly, the temperature stays comfortable without constant fuss, and your family can interact with the system without needing special knowledge. That is not just convenience. It is a form of everyday ease.
Home Assistant makes this possible by giving homeowners a flexible, privacy-conscious platform that runs locally and grows with their needs. It supports simple beginnings, richer automations, and a room-by-room approach that feels grounded in real living. Whether you start with Home Assistant Green, Home Assistant OS on a Raspberry Pi, or another compatible method, the heart of the project is the same. You are shaping a home that supports you more gracefully.
If you have been waiting for a sign that smart home technology can be both capable and comforting, this is it. Start small, stay organized, and let your routines guide what comes next. A connected home should not make life feel busier. Done well, it should make your home feel warmer, easier, and a little more caring every single day.



No Comment! Be the first one.