


How to Set Up a DIY Security Camera System for Your Home
There is something deeply reassuring about being able to check in on your home, whether you are upstairs with the kids, at work for the day, or away for the weekend. A DIY security camera system offers that extra layer of awareness without forcing you into an expensive professional installation or a complicated contract. For many households, it has become one of the most approachable smart home projects because the products are easier to use, more affordable, and more flexible than they were even a few years ago.
Table Of Content
- Why DIY security cameras have become so popular
- Start with your living situation, not the product shelf
- What kind of camera system should you choose?
- Wireless battery powered cameras
- Wired Wi Fi cameras
- PoE camera systems
- Storage choices: cloud, local, or a mix of both
- Privacy matters more than many people realize
- How many cameras do you actually need?
- Step by step: how to plan your DIY security camera system
- Step 1: Walk your property or unit with fresh eyes
- Step 2: Map entry points and high value areas
- Step 3: Decide on power and connectivity
- Step 4: Choose indoor or outdoor rated models correctly
- Step by step: how to install the cameras
- Step 5: Test before mounting permanently
- Step 6: Mount at a useful height
- Step 7: Connect the system and update everything immediately
- Step 8: Adjust motion zones and notifications
- Budget friendly setup ideas for different homes
- Under $200: simple apartment starter setup
- $200 to $600: townhouse or small home setup
- $600 and up: larger property or reliability first homeowner setup
- How cameras fit into a broader home security plan
- Cybersecurity basics every camera owner should follow
- Common mistakes to avoid
- Maintaining your system so it actually stays useful
- A thoughtful DIY setup can feel both secure and comfortable
The beauty of a do it yourself setup is that it can meet you where you are. If you rent a small apartment, your needs will look very different from those of someone installing cameras around a detached home with a driveway and backyard. Some people want a single front door camera and instant motion alerts, while others prefer a fuller setup with local recording, smart lighting, and a video doorbell that works together as one calm, practical system.
This guide is designed to help you build a home camera system that feels realistic, affordable, and easy to live with over time. We will walk through how to choose between wireless and wired options, where to place cameras for meaningful coverage, how to protect your privacy and your neighbors’ privacy, and what settings matter most once everything is installed. The goal is not simply to add more devices, but to create a home security setup that supports your daily life and gives you more peace of mind.
It also helps to keep expectations balanced. Cameras can be incredibly useful for awareness, alerts, package monitoring, and reviewing events after the fact, but they are not a complete home security solution on their own. The strongest setup usually combines cameras with good locks, motion activated lighting, door and window sensors, strong passwords, and regular device updates so your system stays both physically and digitally secure.
A well designed home camera system is not the one with the most cameras. It is the one that balances coverage, privacy, power, connectivity, storage, and daily maintenance in a way your household can actually keep up with.
Why DIY security cameras have become so popular
DIY home security has moved firmly into the mainstream. Consumer cameras are now widely available in styles that suit almost every type of home, from battery powered peel and stick models for renters to more permanent PoE systems for homeowners who want stable, around the clock recording. Industry reporting has shown that DIY users now outnumber professionally installed systems in some parts of the market, which says a lot about how comfortable people have become with managing their own smart home security.
Part of that appeal is cost. Many people can start with one or two cameras for less than the price of a professionally monitored installation fee, then expand gradually as they learn what coverage they actually need. That slow build approach is especially helpful because the best security plan often reveals itself after a few weeks of real life use. You may think you need a backyard camera first, then realize the front entry and side gate are where you want visibility most.
Another reason DIY systems feel approachable is that the apps have improved dramatically. Today, setup usually involves scanning a QR code, connecting the camera to Wi Fi or a recorder, naming the device, and adjusting motion zones. For many households, that is a much more comfortable path than drilling into walls everywhere or committing to a larger service package before understanding how the system will fit into daily routines.
At the same time, more accessible technology does not mean less thought is required. Easy installation can make it tempting to buy the first camera you see and stick it anywhere. In practice, a little planning goes a long way toward getting better results, fewer false alerts, and a setup that feels secure without being intrusive.
Start with your living situation, not the product shelf
The smartest way to choose a DIY security camera system is to begin with your home and your lifestyle rather than a specific brand. A renter in a condo, a family in a suburban home, and a homeowner in a rural setting all have very different needs around power, internet reliability, privacy, and installation flexibility. When you start with your actual space, it becomes much easier to narrow down what type of system makes sense.
Renters often do best with wireless, removable products that do not require permanent changes. A battery powered camera at the front entry, a video doorbell designed for apartment doors, or an indoor camera aimed toward the main entrance can provide meaningful coverage while respecting lease terms. These systems tend to be easier to move when your lease ends, and they are usually friendlier for smaller spaces where you may only need one or two viewpoints.
Homeowners often have more freedom to think long term. If you plan to stay in your home for years, a wired or PoE setup can offer greater reliability because the cameras receive stable power and data through Ethernet. That usually means fewer battery concerns, stronger image consistency, and better support for continuous recording. It does require more setup effort, but for many households the lower maintenance becomes worthwhile over time.
Townhomes and duplexes often sit somewhere in the middle. You may want a mix of solutions, such as a wireless doorbell camera at the front, one wired outdoor camera over the garage, and a small indoor camera near the back door. Hybrid systems are increasingly attractive because they let you combine local recording with optional cloud backup, giving you both convenience and more control over your footage.
What kind of camera system should you choose?
Most DIY security camera systems fall into three broad categories: wireless battery powered cameras, wired Wi Fi cameras, and PoE cameras. Each has a place, and none is universally best. The right answer depends on how much recording you want, how strong your internet connection is, how comfortable you are with installation, and how much ongoing upkeep you are willing to do.
Wireless battery powered cameras
Battery powered cameras are often the easiest entry point. They are especially appealing for renters because they can usually be mounted with minimal drilling and placed in locations where no outlet is nearby. If your priority is flexibility and simplicity, they can be a wonderful first step. They are also useful for detached sheds, side yards, and other spots where power access is inconvenient.
The tradeoff is maintenance. Battery cameras need charging or battery replacement, and that routine can become easy to forget. Their recording behavior may also be more limited than a wired system because many of them rely on motion triggered clips rather than constant recording, which helps preserve power but can miss context if motion starts before the clip begins.
Wired Wi Fi cameras
Wired Wi Fi cameras plug into power but send video over your wireless network. This can be a very comfortable middle ground for households that want more dependable power but do not want to run Ethernet cabling. Indoor cameras often fall into this category, and many outdoor models do as well if you have a protected outlet nearby.
The biggest benefit is that you do not have to think about charging schedules. The main limitation is Wi Fi reliability. If your signal is weak near the garage, porch, or backyard, the camera may disconnect, lag, or deliver inconsistent alerts. That is why testing your signal strength before final installation matters so much.
PoE camera systems
PoE stands for Power over Ethernet, which means a single Ethernet cable carries both data and power to each camera. This is often the most stable and robust option for homeowners who want multiple outdoor cameras and dependable recording. PoE systems are commonly paired with a network video recorder, also called an NVR, for local storage.
PoE is not always the simplest setup, but it tends to reward the effort. These systems usually provide continuous recording, stronger reliability, and less dependence on battery maintenance or congested Wi Fi. If you want a more permanent whole home system, it is often worth considering from the start.
Storage choices: cloud, local, or a mix of both
One of the biggest myths around security cameras is that cloud storage is required for a useful setup. In reality, many excellent DIY systems support local storage through a microSD card, a home base, or an NVR. Cloud subscriptions can be convenient, especially if you want off site backup and easy clip sharing, but they are not the only good option.
Local storage gives you more direct control over your footage and can reduce monthly costs. It also appeals to privacy minded households who prefer not to send every recording to a third party server. The tradeoff is that if a camera or recorder is stolen or damaged, footage stored only on site may be lost unless you have some form of backup.
Cloud storage is often simpler for casual users because clips are accessible from anywhere and less dependent on hardware in the home. Still, subscriptions add up over time, and some systems limit features unless you pay. That is why hybrid systems are gaining attention. They offer local recording for everyday use, with optional cloud backup for important events or selected devices.
The best storage approach usually comes down to how much footage you want, how often you need to review it, and how much control you want over long term retention. It is also wise to check whether the system lets you set retention periods, manage downloads easily, and secure access with strong authentication.
Privacy matters more than many people realize
When people first shop for security cameras, they often focus on image quality, night vision, and price. Those things matter, but privacy deserves equal attention. The Office of the Privacy Commissioner of Canada has made clear that in landlord tenant and private sector contexts, surveillance must respect applicable privacy law, including PIPEDA or substantially similar provincial laws. In practical terms, that means cameras should be used thoughtfully, transparently, and in ways that do not intrude into private spaces such as the inside of another apartment.
Even if you own your home, it is still wise to treat camera placement with care. A front yard camera that clearly captures your porch and driveway is very different from one angled across a neighbor’s patio or a shared hallway. More coverage is not always better if it creates tension, discomfort, or legal questions. In many communities, camera etiquette is not only about what is legal, but also about being a respectful neighbor.
This is where privacy zoning and careful angle planning become so useful. Many modern cameras let you block parts of the frame, reduce unnecessary motion zones, or avoid recording public sidewalks in detail. If you live in a condo or apartment, be especially cautious around hallways, shared entrances, and doors facing other units. The safest approach is to focus tightly on your own doorway, windows, and immediate access points.
Good home security should help you feel calmer at home. If your camera placement creates stress for you or discomfort for the people around you, it is worth adjusting the plan.
How many cameras do you actually need?
It is easy to assume that more cameras automatically mean better protection, but that is rarely true. Better placement usually matters far more than quantity. For many homes, two to four thoughtfully positioned cameras offer a stronger and more practical result than a scattered set of six or eight devices installed without a plan.
Start with the places where someone would realistically approach or enter. In most homes, that means the front door, back door, driveway, first floor windows with hidden access, side gates, and any detached garage or shed containing tools, bikes, or equipment. Indoors, an entry facing the main door or a view toward a central hallway may be more useful than trying to watch every room.
If you are in a small apartment, one indoor camera facing the entry and one doorbell or peephole style camera may be enough. In a townhome, the front entry and rear access point often matter most. In a detached home, it is common to begin with front door coverage, driveway visibility, and one backyard or side yard camera. Live with those placements for a couple of weeks before adding more.
Step by step: how to plan your DIY security camera system
Step 1: Walk your property or unit with fresh eyes
Before you buy anything, do a simple walkthrough during the day and again at night. Notice where people approach the home, where lighting is poor, where packages are left, and where sight lines are blocked by shrubs, fences, or parked cars. Think less like a shopper and more like someone trying to understand how the home really functions from the outside.
This quick exercise often changes priorities. You may realize your side entrance is darker than expected, or that the driveway camera angle you imagined would mostly show car roofs. Nighttime is especially important because a camera that looks ideal in daylight can become far less useful if glare, deep shadow, or motion activated floodlights wash out the image after dark.
Step 2: Map entry points and high value areas
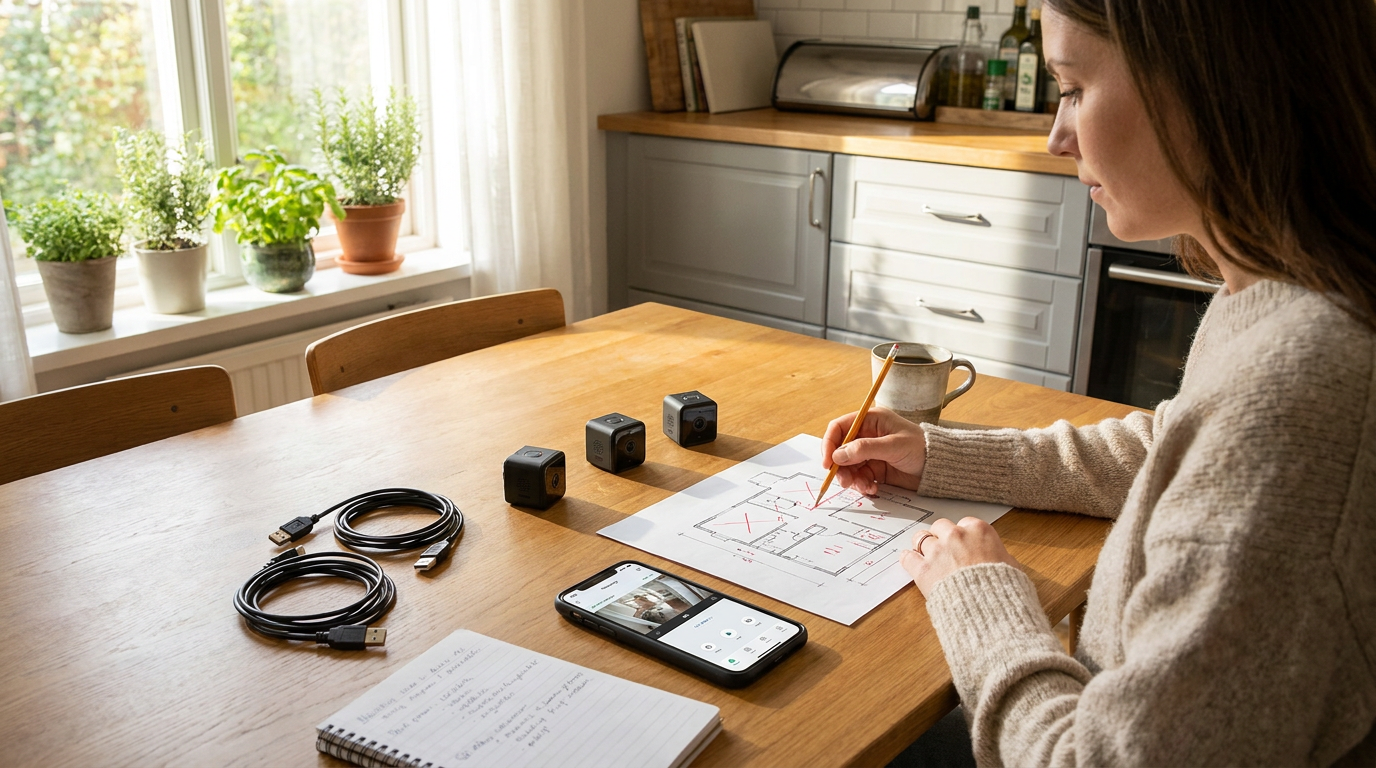
Sketch a simple floor plan or site layout. Mark all doors, accessible windows, garages, gates, and pathways. Then identify the zones where you would most want to review footage after an event, such as the porch for deliveries, the driveway for vehicle activity, or a rear door that is not visible from the street.
This planning phase also helps you avoid overspending. Once you see the home on paper, it becomes easier to separate nice to have coverage from truly useful coverage. The strongest camera system is built around likely movement paths, not around a vague feeling that every square foot must be watched.
Step 3: Decide on power and connectivity
Now think practically about how each camera will operate. Is there a nearby outlet? Is the Wi Fi signal strong enough at that location? Would a battery powered device be easier, or would it simply create more maintenance? If you are considering PoE, think about where cables would run and where the NVR would live inside the home.
NIST’s consumer IoT guidance is especially relevant here because it reminds us that connected devices should not only be easy to install, but also support software updates, access controls, and data protection. When comparing products, do not treat cybersecurity as an afterthought. A camera is part of your home, but it is also a networked device that should be chosen with care.
Step 4: Choose indoor or outdoor rated models correctly
It sounds obvious, but many problems begin with the wrong camera in the wrong place. Outdoor cameras should be weather resistant and suited to the temperatures in your area. If you live somewhere with harsh winters, strong sun, or driving rain, check the operating range and mounting guidance rather than assuming every outdoor device performs the same way.
Indoor cameras have their own role too. They can be especially effective facing an entry hall, mudroom, or common space rather than aiming into bedrooms or deeply private areas. The point is to support awareness, not to create a home that feels constantly watched.
Step by step: how to install the cameras
Step 5: Test before mounting permanently
Before drilling holes or attaching brackets, test each camera in its intended location. Open the live view on your phone, check image quality, assess the field of view, and trigger a motion event by walking through the area. It is much easier to shift a camera a few inches before installation than to redo the process after everything is mounted.
Pay close attention to practical details like sun glare, tree movement, reflective surfaces, and how much of the frame is occupied by the sky. A camera pointed too high often captures less useful detail than one aimed slightly lower at a doorway or path. You want purposeful coverage, not just a dramatic view.
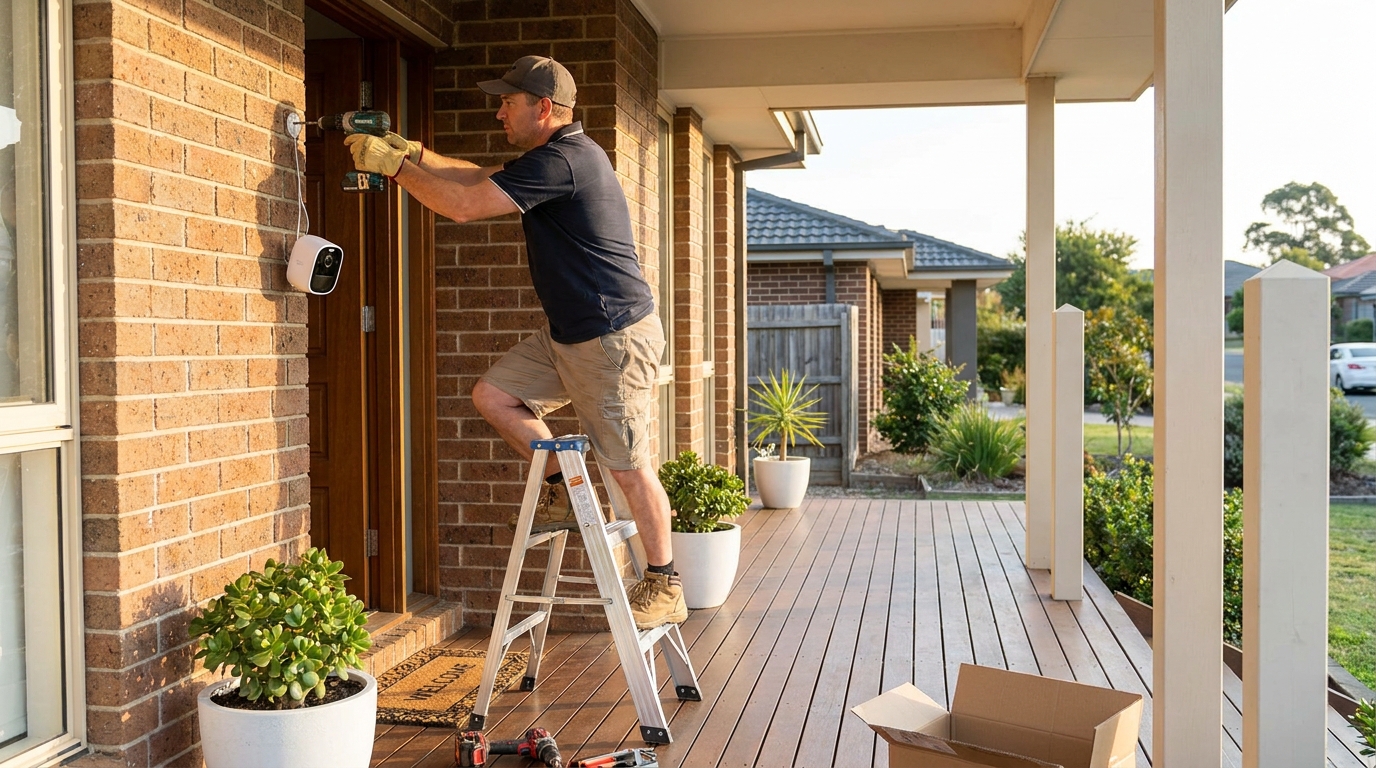
Step 6: Mount at a useful height
Many homeowners place cameras too high because they worry about tampering. Height can help protect the device, but if it is mounted excessively high, faces become harder to identify and package activity at the doorstep may be partially blocked. In many cases, a moderate height near the entry provides a better balance between coverage and detail.
For outdoor cameras, follow the manufacturer’s instructions for weather protection, sealing, and orientation. Make sure cables are tucked safely if you are using wired power, and confirm that any battery compartment is easy for you to access later. Convenience matters because any system that is awkward to maintain is less likely to stay in good working order.
Step 7: Connect the system and update everything immediately
Once the cameras are mounted, connect them to the app, base station, or recorder and run all available firmware updates before calling the setup finished. This step is essential. NIST recommends baseline security capabilities for home IoT devices, including software updates, access control, and data protection, and those recommendations are directly relevant to DIY camera systems.
Use a unique password for the account, turn on two factor authentication if available, and review who in the household has access. If your system supports role based sharing, consider giving each adult household member their own login rather than sharing one main password across everyone. It feels like a small detail, but it makes the system cleaner and safer to manage.
Step 8: Adjust motion zones and notifications
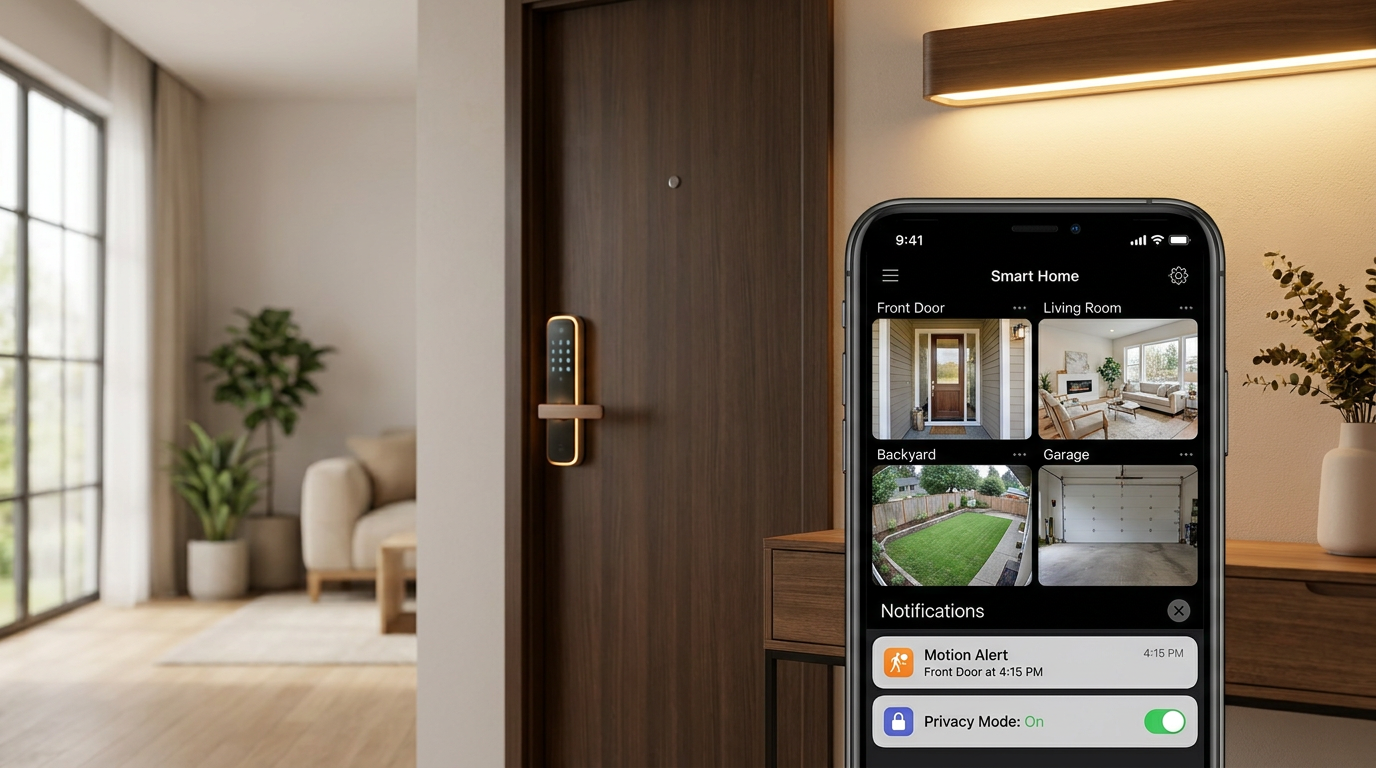
The difference between a helpful camera and an annoying one often comes down to notifications. If every passing car, moving branch, or neighborhood cat triggers an alert, most people eventually stop paying attention. That is why tuning motion zones matters so much after installation.
Use motion detection areas to focus on walkways, doors, gates, and driveways instead of broad scenery. If your camera offers person detection, package detection, or vehicle alerts, experiment with those settings over a few days. Smart alerts can make the system feel much more supportive and much less noisy.
Budget friendly setup ideas for different homes
Under $200: simple apartment starter setup
If you live in a small apartment or rental unit, a starter kit can be surprisingly effective. One indoor Wi Fi camera aimed at the front entry and one renter friendly door camera or removable wireless entry camera may be all you need. Focus on clear access point visibility, app reliability, and easy storage options rather than trying to recreate a full suburban security layout inside a compact space.
In this price range, battery maintenance and cloud upsells are common, so be sure to review long term costs. If local microSD recording is available, it can be a useful way to avoid monthly fees. Most importantly, verify your lease rules and avoid filming shared hallways in ways that could create privacy concerns.
$200 to $600: townhouse or small home setup
This range usually opens the door to a more comfortable multi camera setup. You might install a video doorbell, an outdoor camera covering the back entrance, and an indoor camera positioned toward the main entry hall. For many families, this is the sweet spot because it offers real everyday visibility without becoming overly complex to manage.
Look for better night vision, stronger app controls, and either local hub storage or a hybrid local plus cloud option. This is also a good stage to add one or two companion devices such as a door sensor or motion activated porch light. Those small additions make the cameras more effective because they create a layered response instead of relying on video alone.
$600 and up: larger property or reliability first homeowner setup
If your priority is strong coverage with less day to day upkeep, a PoE system or hybrid wired setup can be worth the investment. At this level, many homeowners install cameras at the front door, garage or driveway, rear entrance, and a side yard or backyard access point. Pairing them with an NVR provides more stable recording and less dependence on battery charging.
This tier is often best for people who plan to stay put for several years and want a more polished long term solution. Although the initial install takes more effort, the end result can feel calmer because the system is always powered, footage retention is more predictable, and alerts tend to be more consistent.
How cameras fit into a broader home security plan
The FBI estimated that burglary victims suffered about $3.0 billion in property losses in 2019, which is one reminder that property crime remains a real concern for many households. At the same time, it is important not to oversell what cameras can do. They are best understood as one part of a larger safety strategy, not a magic shield that prevents every problem.
In practice, cameras work best when they are paired with good lighting, quality locks, door and window sensors, and fast alerts. A bright front entry often does as much for comfort and visibility as the camera itself. A smart lock can help you verify whether the house is secured, while a contact sensor can tell you immediately if a door opens unexpectedly. Together, these elements create a layered system that is stronger than any one device acting alone.
Smart home routines can also add useful support. For example, you might set the porch light to turn on when motion is detected after dark, or receive a notification only when a person is detected near the back gate during certain hours. Those small automations make security feel more integrated into daily life and less like a separate, stressful task.
Cybersecurity basics every camera owner should follow
Because these devices connect to your network, digital security matters just as much as physical placement. NIST’s consumer IoT guidance recommends baseline capabilities such as software updates, access controls, and data protection, and those ideas translate directly into household habits. The simplest protective steps are often the most important ones.
-
Use a unique, strong password for the camera account and avoid reusing passwords from email or shopping sites. If one login is compromised elsewhere, reused credentials make your camera system much easier to access.
-
Turn on two factor authentication whenever the brand offers it. This adds a second verification step and meaningfully reduces the risk of unwanted access.
-
Install firmware updates promptly. Updates are not just about new features. They often include security improvements and bug fixes that help protect your system over time.
-
Review app permissions and account sharing. Give access only to the people who actually need it, and remove old users if household circumstances change.
-
If possible, place smart home devices on a separate guest or IoT network. Network segmentation is not mandatory for every household, but it can improve overall security by limiting how devices interact with the rest of your home network.
If all of this sounds more technical than you expected, do not worry. You do not need to become a network engineer. You simply need a few sensible habits that keep your connected devices from becoming the weak point in an otherwise thoughtful security plan.
Common mistakes to avoid
One of the most common mistakes is choosing cameras based on marketing language alone. Features like ultra high resolution sound impressive, but they matter less if the app is unreliable, the battery dies often, or the placement captures too much sky and not enough entry detail. Real usefulness usually comes from good coverage, dependable alerts, and easy ongoing maintenance.
Another common issue is ignoring the internet connection. People often install a camera in the farthest corner of the property and only later discover that the Wi Fi signal there is weak. Testing with your phone ahead of time can save a lot of frustration, and in some homes it may reveal that a wired or PoE option is the better long term path.
Many households also forget to revisit settings after the first week. Motion zones, sensitivity, privacy masking, and recording schedules often need a little fine tuning once you see how the camera behaves in real life. A DIY system is not truly finished on installation day. It becomes better when you adjust it to your rhythms and your space.
Finally, avoid placing cameras in deeply private interior areas. Bedrooms, bathrooms, and any space where privacy expectations are high should be approached with extreme caution or avoided altogether. Home security should support comfort, not compromise it.
Maintaining your system so it actually stays useful
The best security camera setup is one that still works well six months from now. That means building in a little maintenance. Check battery levels regularly if you use wireless models, wipe outdoor lenses clean after storms or pollen season, and confirm that night footage still looks clear after seasonal changes in foliage or lighting. A camera covered in spider webs or angled into summer leaves will not give you the clarity you hoped for.
It is also worth doing a quick monthly review of app settings, firmware, and storage. Make sure old clips are recording the way you expect, notifications still arrive, and household members can access the system if needed. If you have local storage, check available capacity and overwrite settings so you are not surprised later by missing footage.
Seasonal shifts may also change what your cameras see. Snowbanks, holiday decorations, patio furniture, and even a new tree canopy can affect motion detection and sight lines. A few small adjustments during the year can keep the system feeling polished and reliable.
A thoughtful DIY setup can feel both secure and comfortable
There is a reason so many people are drawn to DIY home security right now. It offers a satisfying blend of practicality, control, and reassurance. You do not need to spend a fortune or turn your home into a fortress to benefit from a camera system. In many cases, one or two carefully chosen devices, placed well and managed thoughtfully, can make everyday life feel more supported and less uncertain.
For renters, that may mean a simple removable setup that protects the entry without creating lease headaches. For homeowners, it may mean investing in a more permanent PoE system that runs quietly in the background and captures the areas that matter most. For everyone, the goal is the same: to create a home that feels easier to care for and easier to check on when life takes you elsewhere.
As you plan your system, keep the priorities clear. Focus on meaningful entry point coverage, reliable power and connectivity, secure account settings, and respectful privacy boundaries. Add smart lighting, sensors, or locks if they support the way your household actually lives. When you build the system around your space and your habits, the technology becomes less about gadgets and more about daily peace of mind.
That is ultimately what a good DIY security camera system should offer. Not fear, not noise, and not constant monitoring for its own sake, but a calmer sense that your home is being looked after in a practical, balanced, and human way.


No Comment! Be the first one.