


Transform Your Space: A Beginner’s Step-by-Step Guide to Creating Stunning Wall Murals
There is something quietly transformative about a mural. A painted wall does more than add color. It changes the rhythm of a room, introduces character, and gives a home a sense of authorship that cannot be bought off a shelf. For beginners, this can feel intimidating at first glance, yet mural painting is far more accessible than many people imagine. You do not need the hand of a trained illustrator to create something memorable. You need a thoughtful plan, a manageable design, and the confidence to begin.
Table Of Content
- Why a Wall Mural Feels So Personal
- Before You Paint: Health, Safety, and Smart Material Choices
- A Beginner’s Healthy Mural Checklist
- Step One: Choose the Right Wall
- Step Two: Find a Design That Fits Your Skill Level
- How to Translate Inspiration into a Real Design
- Step Three: Gather Tools Without Overcomplicating the Process
- Step Four: Prep the Wall Properly
- Step Five: Mark the Composition on the Wall
- Simple Transfer Methods for Beginners
- Step Six: Paint in Layers and Let the Design Breathe
- Step Seven: Add Depth Without Making It Complicated
- Step Eight: Protect the Finish and Let the Room Recover
- How to Make the Mural Feel Integrated with the Room
- Common Beginner Mistakes and How to Avoid Them
- Best Mural Styles for First-Time Painters
- A Practical Step-by-Step Mural Timeline
- Why This DIY Project Is Worth Trying
- Final Thoughts
In today’s homes, murals have re-emerged as a beautiful answer to generic interiors. They offer an alternative to the standard accent wall by creating a focal point with emotional meaning. A mural can be playful in a child’s room, serene in a bedroom, expressive in a hallway, or quietly architectural in a living area. Most importantly, it can reflect the people who live there. That personal connection is what makes murals so compelling. They allow a space to feel not simply decorated, but deeply inhabited.
This guide is designed for readers with no prior mural experience. It approaches the process as both a creative project and a practical home improvement task. Along the way, it also addresses a crucial subject that every painting guide should treat seriously, which is indoor air quality. According to the EPA, indoor VOC concentrations can be higher than outdoor levels, and paints and varnishes are common sources in homes. Health Canada similarly recommends source control, thoughtful product selection, and proper ventilation during renovations. So while this article celebrates creativity, it also encourages a healthier and more informed approach to making art inside the home.
If you have ever looked at a blank wall and felt it was waiting for something more, this is your invitation. Start small if you wish. Choose a simple idea. Let the room tell you what it needs. A mural does not have to be perfect to be successful. It only has to feel alive, intentional, and connected to your space.
Why a Wall Mural Feels So Personal
Paint color can shift the mood of a room, but a mural tells a story. It creates a visual language that says something about the home and the person who shaped it. Even the most minimal mural can evoke atmosphere through scale, movement, and form. A series of soft arches can make a compact corner feel architectural. Oversized botanicals can lend a bedroom a restful and enveloping calm. Geometric blocks can make a workspace feel sharper and more energizing.
What makes murals especially appealing for beginners is that they can be tailored to your comfort level. There is a persistent misconception that murals require advanced drawing skills. In reality, many successful beginner projects rely on repeatable shapes, painter’s tape, traced outlines, or projection methods. A limited palette and a strong sense of composition often matter more than technical realism. Simplicity, when well placed, can feel incredibly refined.
Murals also invite emotional intimacy. You might choose colors inspired by a favorite landscape, shapes drawn from family textiles, or abstract forms that echo the architecture of the room. This is where the beauty of mural painting becomes deeply personal. It is not simply about filling a blank surface. It is about building a relationship between art and everyday life.
A successful mural is not measured by perfection. It is measured by how naturally it belongs to the room and how clearly it reflects the person who made it.
Before You Paint: Health, Safety, and Smart Material Choices
Before discussing brushes and sketches, it is important to begin with the foundation of a responsible mural project, which is safe preparation. Painting indoors introduces chemicals and particles into the home, and these can affect air quality. The EPA notes that volatile organic compounds, or VOCs, can be emitted by paints and coatings, and indoor concentrations may be higher than outdoor levels. Health Canada also advises reducing exposure by choosing lower-emission products where possible and ensuring adequate ventilation during renovations.
For beginners, terms like low-VOC and zero-VOC can sound reassuring, but they are often misunderstood. A low-VOC label does not automatically mean a product is harmless, low-odor, or ideal for every household. A zero-VOC label does not guarantee the total absence of other emissions. Formulations vary, colorants can alter emissions, and individual sensitivities matter. This is why it is wise to read labels carefully, look for third-party certifications when available, and keep ventilation as a non-negotiable part of the project.
If children, seniors, pregnant people, or individuals with asthma or chronic respiratory conditions live in the home, these precautions become even more important. Health Canada identifies these groups as more susceptible to VOC-related effects. Consider painting when the room can remain unoccupied for a period of time, and open windows before, during, and after the work if weather allows. Fans, filtration, and breaks between painting sessions can also help reduce exposure. Creativity always feels more satisfying when it respects the well-being of the people sharing the space.
There is another safety issue that deserves close attention in older homes, which is lead paint. If your house predates modern restrictions on lead-based coatings, never assume that sanding or scraping old paint is harmless. Health Canada notes that painting over intact leaded paint may be acceptable in some circumstances, but disturbing older coatings can create hazardous dust. If you suspect lead paint, pause the project and seek local guidance or professional testing before beginning surface preparation. A mural is never worth compromising household safety.
A Beginner’s Healthy Mural Checklist
- Choose low-emission paint products whenever possible and read labels carefully.
- Open windows and improve airflow during painting and drying.
- Keep vulnerable household members away from the work area during and shortly after the project.
- Avoid sanding unknown old paint in older homes until lead risk has been assessed.
- Use drop cloths, gloves if needed, and a clean-up plan that limits dust and residue.
Step One: Choose the Right Wall
The most successful murals begin not with a design, but with the right location. For a first project, choose a wall that feels visible enough to matter but not so prominent that it creates pressure. A hallway niche, bedroom wall, reading corner, home office backdrop, or dining room accent wall can all be excellent choices. A smaller wall often helps beginners feel more in control, and it allows you to focus on composition without the exhaustion of covering a very large area.
Spend time observing how light moves through the room. Morning light can make cool colors feel crisp and fresh, while evening light may enrich warmer tones. Look at the furniture, textiles, flooring, and architecture around the wall. A mural should not feel isolated from its setting. It should speak to the room’s existing mood, whether that is calm, playful, dramatic, earthy, or airy. When a mural works well, it feels as though the wall and the room had been waiting for each other.
Also think practically about visibility and wear. In a child’s room or entryway, lower sections of the wall may be more vulnerable to scuffs. In a bathroom or kitchen, moisture resistance and suitable paint choice matter more. If the wall has strong imperfections, these can either be repaired or integrated into a more forgiving mural style, such as broad shapes or layered brushwork. The wall does not need to be flawless, but it should be sound, clean, and thoughtfully chosen.
Step Two: Find a Design That Fits Your Skill Level
One of the easiest ways to enjoy your mural project is to choose a design with kindness toward your current ability. Beginners often make the mistake of selecting highly detailed illustrations because they look beautiful online. Yet what photographs well is not always what feels manageable in practice. A better approach is to select a concept that combines visual impact with simple execution. Think in terms of large shapes, graceful repetition, and a restrained palette.
Excellent beginner mural ideas include soft arches, sunbursts, abstract landscapes, painted headboards, layered stripes, oversized leaves, cloud forms, scattered stars, organic curves, or geometric compositions built with painter’s tape. These ideas are elegant because they rely on proportion and placement rather than advanced realism. A wall mural does not need many colors to feel sophisticated. In fact, two to four well-chosen tones often create a more polished result than a crowded palette.
When searching for inspiration, gather references that match your room’s atmosphere instead of copying random trends. Save images that share a common feeling. You might notice that you are drawn to desert hues, classical symmetry, botanical silhouettes, or mural forms that echo Mediterranean plaster walls. Once you identify that visual direction, simplify it. Reduce it to the essence that you can execute confidently. A beginner mural should feel ambitious in mood, but forgiving in method.
How to Translate Inspiration into a Real Design
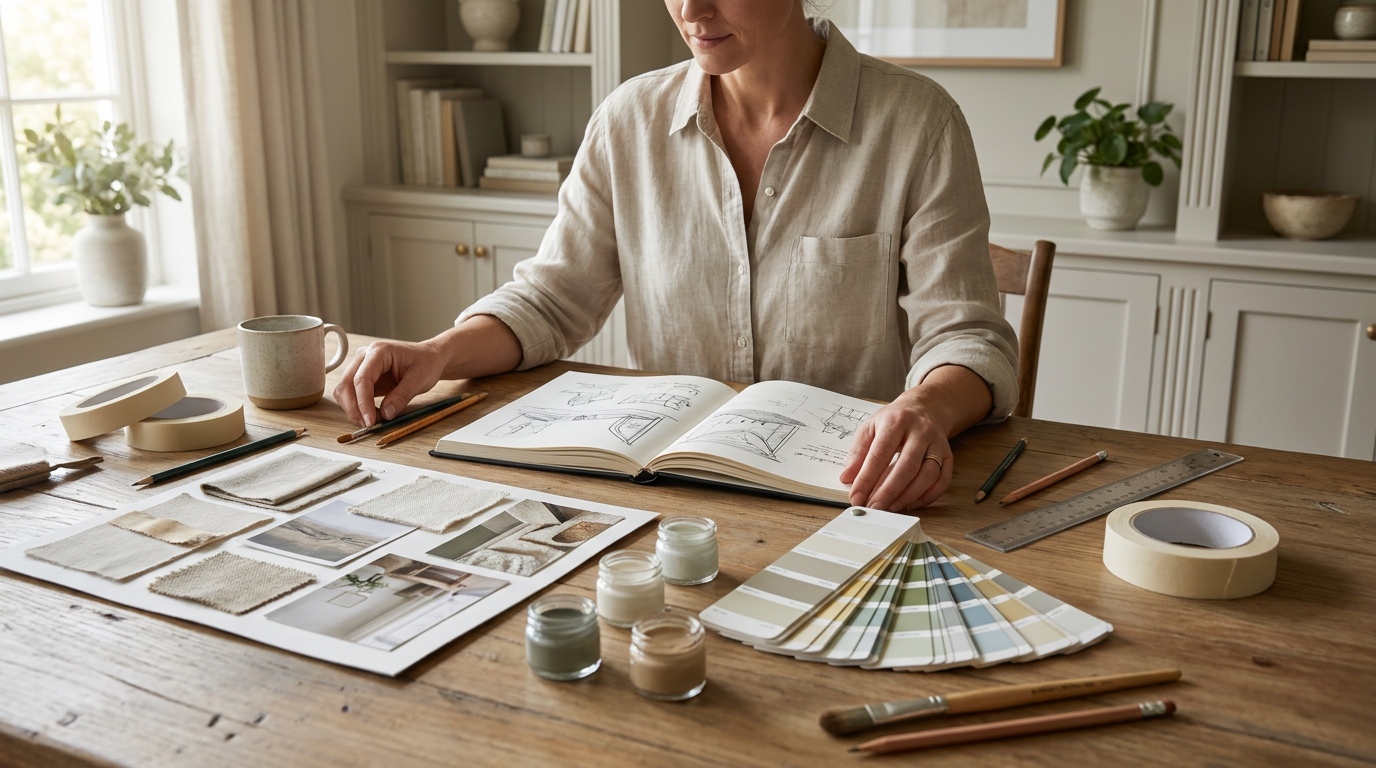
Start with a sketch, even if you do not consider yourself an artist. Draw the wall as a rectangle on paper or on a tablet, then test a few layouts. Mark where furniture sits and where the eye naturally lands when entering the room. This helps you place key forms intentionally. What seems balanced in your imagination can feel very different once scaled to an actual wall.
You may also find it helpful to create a loose mood board with paint swatches, fabric samples, and reference photos. This turns the mural into part of a broader interior composition rather than an isolated art project. Look for harmony between the mural and the room’s finishes. If your flooring is warm oak, your mural might benefit from clay, sand, olive, or muted blush tones. If the room is cool and minimal, a charcoal and ivory geometry may feel more natural.
Step Three: Gather Tools Without Overcomplicating the Process
A beautiful mural does not require an extravagant list of supplies. In fact, many first-time painters work best with a carefully edited toolkit. A few high-quality brushes, painter’s tape, drop cloths, a pencil, measuring tape, small roller, paint tray, and step ladder are often enough. If your design includes large filled areas, a roller will help produce a smoother finish. For curves and edges, artist brushes or angled sash brushes offer more control.
Primer may be necessary if your existing wall color is dark, uneven, glossy, or marked. It creates a better surface for your mural and helps colors appear truer. Paint sample pots can be useful for testing shades before committing to larger quantities. This is especially wise when trying to maintain a limited palette, because the wrong undertone can shift the mood of the entire composition.
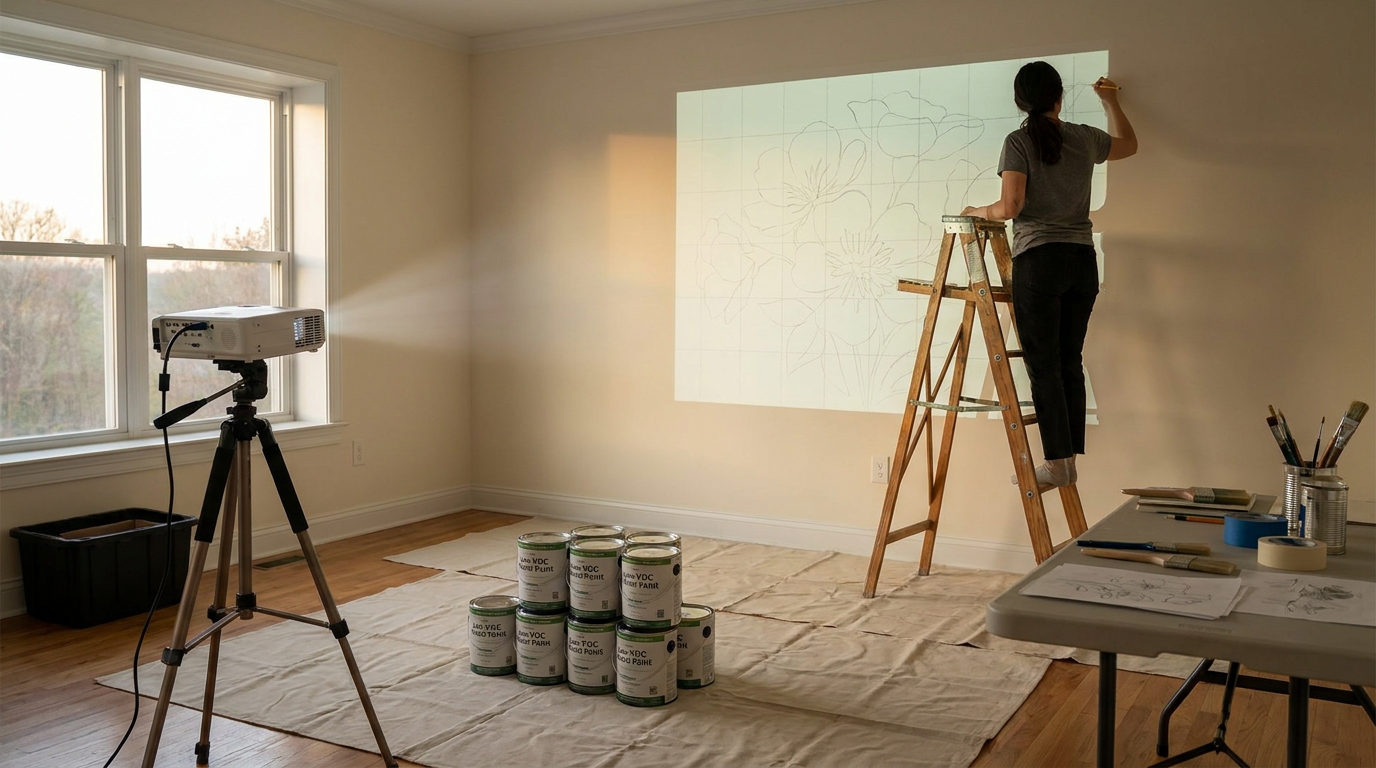
For transfer methods, choose the simplest option that suits your design. Some beginners prefer the grid method, which involves dividing both the sketch and the wall into matching sections. Others use a digital projector to trace outlines directly onto the wall. Stencils, templates, or painter’s tape are also excellent for repeatable shapes. These techniques are not shortcuts in a negative sense. They are practical tools that make mural painting more accessible, precise, and enjoyable.
Step Four: Prep the Wall Properly
Preparation is what allows a mural to feel crisp rather than accidental. Begin by removing wall decor, moving furniture, and protecting floors with drop cloths. Clean the wall gently to remove dust, grease, or residue, especially in kitchens, corridors, and children’s rooms. Even subtle surface dirt can interfere with paint adhesion and create uneven patches.
Next, inspect the wall closely. Fill nail holes, small dents, or cracks if needed, and let repairs dry fully before sanding lightly if it is safe to do so. Again, in older homes where lead paint may be present, do not sand unknown paint layers without proper assessment. If the wall is sound but heavily colored, stained, or glossy, apply an appropriate primer. This step can feel tedious, but it makes the mural easier to paint and often reduces the number of finish coats required.
At this stage, ventilate the room and keep your materials organized. Open windows if possible and set up a comfortable work zone. The emotional tone of a DIY project matters more than people realize. When the room is orderly and the tools are within reach, the process feels less overwhelming. Good preparation creates both technical and psychological ease.
Step Five: Mark the Composition on the Wall
Now the mural begins to take shape. Lightly mark your composition on the wall using pencil, chalk pencil, or another removable tool suitable for the paint surface. Work from the largest forms first. Establish the overall scale and placement before you commit to detail. This is the moment to step back often and assess the balance from different angles in the room.
If you are using painter’s tape for geometric designs, measure carefully and press edges firmly to reduce paint bleed. If you are working with organic shapes, sketch with gentle confidence rather than trying to make every line perfect in one pass. Murals often look better when they retain a slight sense of the hand. They should feel human, not mechanical.
Projection can be especially helpful for first-time painters. It allows you to scale your design accurately without advanced drafting skills. Dim the room, project the image onto the wall, and trace the outline lightly. This method is ideal for botanical forms, text-based murals, or abstract compositions with more complex curves. It turns a potentially intimidating step into something clear and manageable.
Simple Transfer Methods for Beginners
- Painter’s tape layout works beautifully for arches, stripes, color blocks, and graphic geometry.
- Grid transfer helps break a design into manageable sections when you want more control.
- Projection tracing is ideal for scaled sketches, curves, and more illustrative motifs.
- Templates and stencils make repeated patterns easier and more consistent.
Step Six: Paint in Layers and Let the Design Breathe
When it is time to paint, begin with the largest areas and background forms. This establishes the visual structure early and helps you see how the mural is developing. Use even, controlled strokes and avoid overworking wet paint. Depending on the color and wall surface, you may need two coats for full coverage. Allow proper drying time between coats, especially if you want edges to remain clean.
For many beginners, the most important painting advice is simply this: slow down. A mural is not improved by rushing. Paint one shape at a time. Step back frequently. View the wall from the doorway, from where you sit, and from across the room. Because murals exist in architectural space, they should be judged at room scale rather than from only a few inches away. What feels imperfect up close may look beautifully balanced at a distance.
If your design includes multiple colors, keep your palette cohesive by testing combinations on a spare surface first. Limited color stories tend to feel calmer and more sophisticated. Consider balancing one deeper anchoring tone with lighter shades that allow the room to breathe. Matte and eggshell finishes are common choices for murals, though the right finish depends on the room’s use, the wall condition, and the paint product itself.
Edges can be refined once the main shapes are dry. Use smaller brushes to sharpen lines, soften transitions, or add subtle accents. This is where your mural begins to look considered rather than merely painted. At the same time, resist the temptation to overcorrect every irregularity. A hand-painted mural should retain some warmth. Slight variation is not a flaw. It is evidence of authorship.
Step Seven: Add Depth Without Making It Complicated
Many first murals become more beautiful when the painter stops before overcomplication begins. You do not need heavy detail to create depth. Contrast, overlap, and scale can do much of the work. A pale shape layered behind a deeper one can introduce dimension. A single curved line can suggest movement. A tonal shift within the same color family can create softness and visual richness.
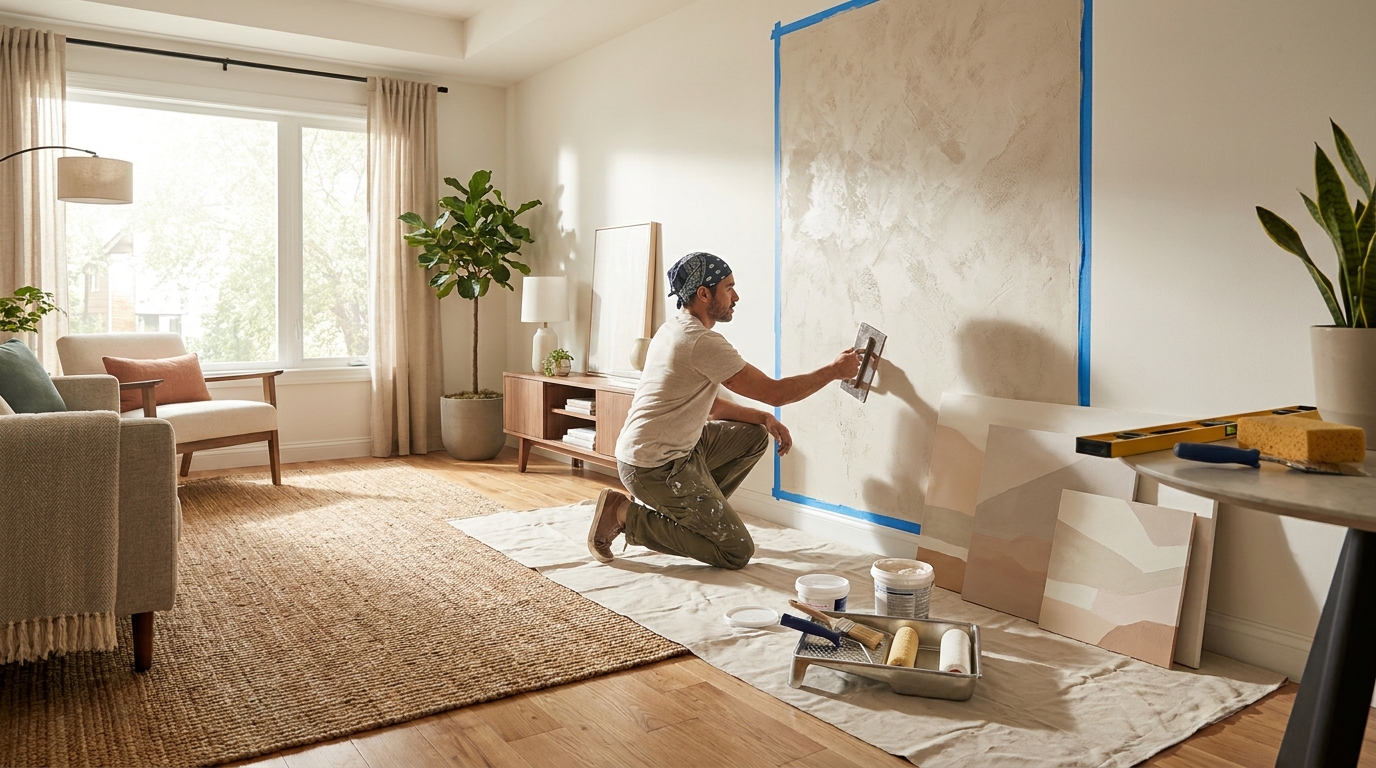
If you want a more expressive finish, consider dry brushing, color washing, or subtle freehand texture in selected areas. These techniques can mimic the nuance of plaster, landscape haze, or brush-drawn textile pattern. Use them sparingly. Murals often benefit from one focal moment and generous areas of rest. The eye needs both interest and calm.
Beginners sometimes worry that a simple mural will look unfinished. In truth, simplicity is often what gives a mural elegance. A room with thoughtful furniture, lighting, and proportion does not need a wall to perform every decorative task. The mural can act as an atmospheric gesture rather than a dense illustration. In many interiors, that restraint is what makes the final result feel elevated.
Step Eight: Protect the Finish and Let the Room Recover
Once your mural is complete, allow it to cure according to the paint manufacturer’s recommendations. Dry to the touch is not always the same as fully cured. If you are considering a sealer or topcoat, make sure it is compatible with the paint and suitable for the room. In some spaces, such as high-traffic corridors or children’s areas, an added protective layer may be useful. In other rooms, it may be unnecessary.
This is also the stage when healthy-home practices remain important. Even after the painting is done, continue ventilating the space. The EPA and Health Canada both emphasize source control and ventilation as key strategies for improving indoor air quality during renovation activities. Keep windows open when possible, use fans strategically, and allow the room time to air out before full reoccupation. This is especially wise if the space is used by children or individuals with respiratory sensitivities.
Cleaning should be gentle in the first days. Remove tape carefully, fold drop cloths in a way that contains debris, and wipe tools according to product instructions. If any touch-ups are needed, wait until the paint has settled visually in daylight. Colors often read differently once fully dry and once the room has been restored with furniture and decor.
How to Make the Mural Feel Integrated with the Room
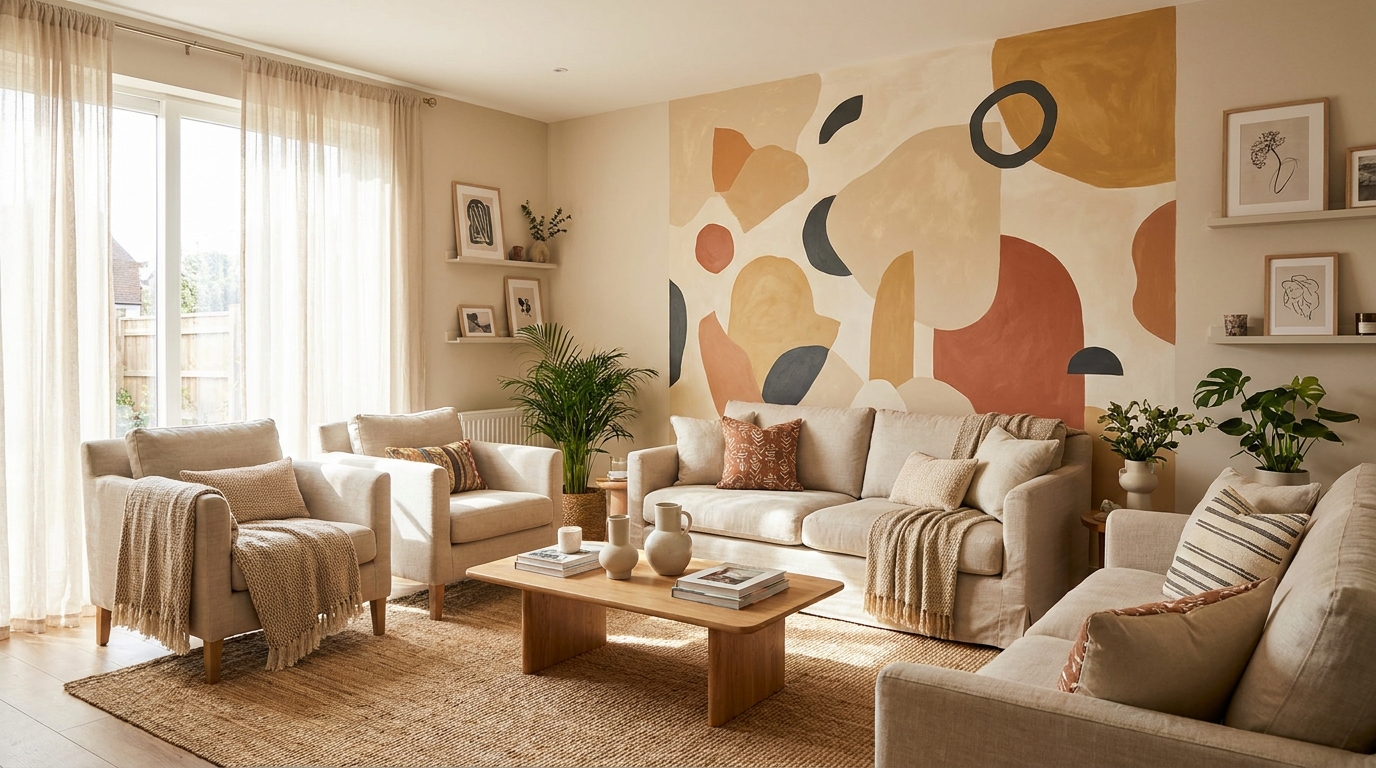
The mural may be finished, but the room still needs to welcome it. Good styling can make the artwork feel intentional rather than separate. Look at the wall as part of a whole composition. Pull one or two mural tones into cushions, rugs, ceramics, or curtains. If your mural is graphic and bold, surrounding furniture may benefit from quieter shapes and softer textures. If your mural is subtle, a few sculptural accessories can help echo its presence.
Lighting also matters. During the evening, wall sconces, table lamps, or warm overhead lighting can change how color and texture are perceived. A mural with earthy tones may glow beautifully under warm light, while pale architectural forms can look especially serene in gentle side lighting. Consider how the room will be used throughout the day and whether the mural supports that rhythm.
Most importantly, give yourself time to live with the result before deciding whether anything needs changing. Murals alter the emotional atmosphere of a space, and the eye often needs a little time to adjust. What first feels dramatic may soon feel perfectly natural. The room has simply acquired a stronger identity.
Common Beginner Mistakes and How to Avoid Them
One common mistake is choosing a design that is too complex for a first attempt. If you feel intimidated before starting, simplify the concept. Another frequent issue is underestimating scale. A shape that seems large on paper can disappear on a wall, while a motif that felt elegant in theory can become overwhelming in practice. Mocking up the design in advance, even loosely, can prevent this.
Paint selection is another area where assumptions can lead to disappointment. Do not rely on labels alone without considering ventilation and room use. As both EPA and Health Canada guidance suggest, product choice matters, but so do airflow, timing, and occupant sensitivity. The healthiest mural is not simply the one with a marketing claim. It is the one created with informed caution and respect for indoor air quality.
Finally, many beginners struggle because they judge the mural too early. Midway through the process, almost every mural looks uncertain. This is normal. Most designs only begin to make visual sense once the main shapes are blocked in and at least one full coat is dry. Trust the process long enough to let the composition come together.
Best Mural Styles for First-Time Painters
If you are still deciding where to begin, a few mural styles consistently work well for beginners. Painted arches can frame a bed, desk, or console beautifully. Abstract landscapes using layered curves and soft earthy tones create atmosphere without requiring realism. Geometric blocks and stripes offer precision and drama, particularly in modern interiors. Oversized botanical silhouettes bring movement and softness, especially in bedrooms and reading spaces.
Another accessible option is the faux architectural mural. This might involve a painted headboard, panel effect, alcove illusion, or tonal border that adds structure to a blank wall. These designs feel refined because they engage directly with the room’s architecture. They are especially useful in rentals or simple new builds where the space may lack ornamental detail.
For children’s spaces or highly personal corners, do not be afraid of whimsy. Stars, moons, clouds, checkerboard patterns, or storybook hills can all be executed simply and beautifully. The key is consistency. Even playful murals look polished when the palette is disciplined and the forms are clearly intentional.
A Practical Step-by-Step Mural Timeline
- Day one: Choose the wall, confirm the design, test colors, and gather materials.
- Day two: Prep the room, clean the wall, make repairs if needed, and prime if necessary.
- Day three: Transfer the design using tape, grid, stencil, or projection.
- Day four: Paint the main shapes and first coat, then allow drying time.
- Day five: Apply second coats, refine edges, and add any subtle final details.
- Day six and beyond: Ventilate, cure, style the room, and enjoy the transformation.
Why This DIY Project Is Worth Trying
Among all interior updates, a mural is one of the few that combines artistry, affordability, and emotional value so naturally. It can reshape a room without requiring new furniture, major construction, or a large budget. It invites you to see your home not as a fixed container, but as a place that can evolve with your imagination. Even a simple mural can make a modest room feel designed with intention.
There is also something quietly empowering about painting your own space. In a world of polished images and professional finishes, a hand-made wall offers authenticity. It reminds us that beauty in the home does not have to be outsourced to be meaningful. Sometimes the most memorable interiors are the ones that carry traces of personal risk, experimentation, and care.
And perhaps that is the true gift of a mural. It does not merely decorate the background of your life. It becomes part of the atmosphere in which daily life unfolds. Morning light touches it. Conversations happen beside it. The room begins to feel more like yours. That sense of connection is what turns paint into place.
Final Thoughts
If you have been waiting for permission to begin, let this be it. Choose a design that feels manageable, materials that support a healthier home, and a wall that welcomes expression. Start with simple shapes if that is where your confidence lives. Murals are not reserved for professionals. They belong to anyone willing to approach a blank wall with imagination and care.
As you work, remember that every strong interior contains something personal, something that could not have come from anywhere else. A mural offers exactly that. It lets you create a visual memory inside your home, one brushstroke at a time. In the end, the most stunning mural may not be the most intricate. It may simply be the one that makes the room feel unmistakably, beautifully yours.


No Comment! Be the first one.