



Elegant Solutions: Your Guide to Removing Stains from Interior Finishes
A beautiful home is never defined by ornament alone. Its lasting charm lives in the quiet integrity of its surfaces, the softness of its textiles, the glow of its wood, and the calm continuity of rooms that have been cared for with intelligence. When a stain appears, the temptation is often to attack it quickly and forcefully. Yet truly effective stain removal is more disciplined than dramatic. It asks not only how to erase a mark, but how to preserve the material beneath it.
Table Of Content
- Why stain removal begins with moisture, not chemicals
- The first principles of graceful stain removal
- How to assess the stain before you treat it
- Removing stains from fabrics and soft finishes
- Upholstery and removable covers
- Draperies, decorative textiles, and delicate fibers
- How to treat stains on wood while protecting patina
- Finished wood furniture, trim, and paneling
- Waxed, oiled, antique, or specialty finishes
- Removing stains from painted walls, plaster, and drywall
- Stone, tile, glass, and other hard surfaces
- Tile, sealed surfaces, and glass
- Natural stone and sensitive finishes
- Mold staining, musty odors, and when a stain is more than a stain
- The role of humidity in preserving refined interiors
- A room-by-room philosophy of stain prevention
- When do-it-yourself ends and professional care begins
- Common mistakes that damage finishes
- An elegant step-by-step method for most everyday stains
- The beauty of maintenance done well
That distinction matters. A wine ring on oak, a shadow on painted plaster, a watermark on drapery, or a dark bloom of moisture near a baseboard may all be called stains, but they do not belong to the same story. Some are superficial accidents. Others are symptoms of humidity, condensation, finish failure, hidden leaks, or early mold growth. In elegant homes, maintenance is not cosmetic theater. It is a form of respect for materials, proportion, and atmosphere.
This guide brings together practical stain removal methods and a more refined maintenance philosophy. It is grounded in widely accepted public health guidance that emphasizes moisture control, prompt drying, finish compatibility, and safe cleaning habits. Health Canada and the U.S. Environmental Protection Agency both stress that many persistent interior stains are linked to dampness and mold rather than ordinary dirt, and that successful cleanup begins with addressing the source of moisture. The U.S. Centers for Disease Control and Prevention also reminds homeowners to choose products suitable for the surface and never to mix bleach with ammonia or other cleaners.
In other words, the elegant approach is also the sensible one. Begin gently, observe carefully, dry thoroughly, and escalate only when the material and the condition demand it. A well-kept home is not one that is scrubbed harshly. It is one that is understood.
Why stain removal begins with moisture, not chemicals
One of the most common misconceptions in home care is that every mark requires a stronger cleaner. In reality, many stains on walls, ceilings, textiles, trim, and wood are evidence of water moving where it should not. Roof leaks, plumbing failures, basement dampness, condensation around windows, and elevated indoor humidity can all produce discoloration that returns no matter how often the surface is cleaned. This is why authoritative guidance places moisture control at the center of interior-finish maintenance.
The EPA recommends drying wet or damp materials within 24 to 48 hours and keeping indoor relative humidity below 60 percent, ideally between 30 and 50 percent, to reduce mold growth. Those figures are not abstract building science. They shape the day-to-day appearance of a home. Excess humidity can dull painted finishes, swell wood, leave rings on furniture, feed mildew in textiles, and produce shadowy stains that feel mysterious until one realizes they are environmental rather than accidental.
Before treating a stain, pause to ask a few elegant questions. Is the surface dry all the way through or only on top. Did this mark appear after a storm, spill, plumbing issue, or change in season. Is there peeling paint, a softened substrate, musty odor, warping, bubbling, or recurring discoloration. If the answer suggests ongoing dampness, cleaning alone will not solve the problem. The source must be repaired first.
This is also where restraint becomes a virtue. Painting over a moisture stain, or worse a mold-affected area, may seem like a quick restoration. Yet Health Canada specifically advises that painting over moldy surfaces does not kill mold or prevent it from returning. The mark may disappear visually for a time, but the material remains compromised. In refined interiors, concealment is never as effective as correction.
The first principles of graceful stain removal
No matter the material, successful stain treatment follows a clear order. Remove excess material first if something has spilled. Blot rather than rub. Use the least aggressive suitable cleaner. Test in an inconspicuous area. Avoid over-wetting, especially on porous finishes. Dry thoroughly and quickly. Observe whether the stain is gone, merely lightened, or signaling a deeper issue.
These principles are simple, but they prevent most common mistakes. Aggressive scrubbing can break fibers, strip paint sheen, abrade varnish, and burnish matte surfaces into visible patches. Too much water can drive a stain deeper into plaster, upholstery, wood joints, and sublayers. Random combinations of cleaning products can bleach unevenly, create residues, or even produce dangerous fumes. The most polished result usually comes from gentleness repeated with patience.
Refined maintenance rule: Start with the least aggressive method that suits the material, and only escalate if the finish remains stable and the stain truly requires it.
There is also a useful difference between cleaning, sanitizing, disinfecting, and remediating. Cleaning removes dirt and most germs from a surface. Sanitizing and disinfecting go further but are not automatically necessary for every stain. Remediation refers to correcting contamination or damage, especially when mold or significant water intrusion is involved. Knowing the difference helps homeowners avoid applying harsh chemistry where careful cleaning and drying would have been enough.
How to assess the stain before you treat it
Before selecting any product, identify three things: the source of the stain, the porosity of the material, and the type of finish. A fresh spill on glazed tile can often be cleaned easily because the surface is non-porous and sealed. A similar spill on unfinished wood is very different because the material absorbs liquid. A velvet cushion, a painted wall, lacquered cabinetry, and honed stone all need their own approach, even if the visible stain looks similar.
It is helpful to classify stains into a few broad families. There are everyday organic stains such as coffee, tea, wine, food, and body oils. There are pigment stains from ink, cosmetics, and dyes. There are mineral or moisture-related marks such as water rings, rust traces, and yellow-brown seepage. Then there are biological concerns, including mildew and mold staining, which should never be treated as ordinary dirt. Each category behaves differently, and the finish beneath it matters just as much as the stain itself.
When in doubt, document the area before cleaning. Take a clear photograph, note whether the stain feels damp, and observe whether it grows or returns after drying. This is especially important for ceilings, baseboards, window surrounds, and the backs or undersides of furniture. Recurrent staining is often diagnostic, and a careful homeowner who notices patterns early can prevent far greater restoration later.
Removing stains from fabrics and soft finishes
Textiles lend warmth and intimacy to a room, but they are among the most vulnerable interior finishes because they are porous. Upholstery, drapery, cushions, wall coverings, and decorative fabrics readily absorb moisture, odor, and pigment. Health Canada notes that porous materials such as fabrics often cannot be properly cleaned once mold-contaminated and may need to be discarded or professionally treated. This is why fabric care should be prompt, controlled, and material-specific.
Upholstery and removable covers
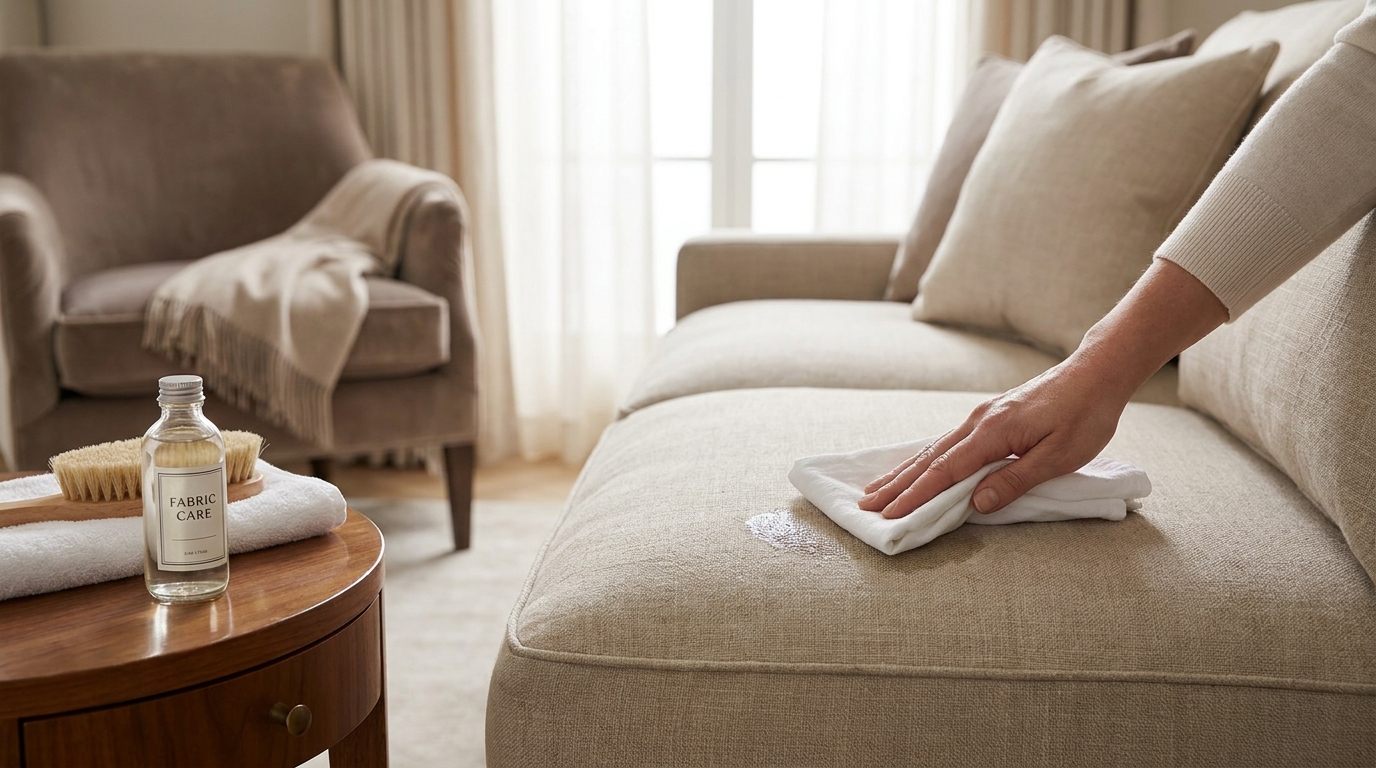
If a spill has just occurred on upholstery, begin by removing solids gently with a spoon or dull edge, taking care not to spread the material. Then blot with a clean white cloth or paper towel. Work from the outside of the stain inward so it does not widen. Never rub vigorously, because rubbing can push color deeper into the fibers and create a roughened patch that remains visible even after the stain is gone.
For many washable or durable upholstery fabrics, a small amount of mild detergent diluted in clean water is a sensible first step. Dampen a cloth rather than soaking the fabric directly, and blot lightly. Follow with a second cloth dampened only with clean water to lift any residue, then blot dry. Air circulation is essential. A fan, open window, or dehumidified room helps the textile dry promptly, reducing the risk of lingering moisture and watermarking.
Removable covers should be checked for care labels before laundering. Some can be washed successfully, while others may shrink, distort, or lose finish if treated at home. If the piece is lined, tailored, or part of high-value seating, caution is especially important. Elegant homes are often layered with textiles selected for hand, drape, and visual depth. Their care should honor those qualities.
Draperies, decorative textiles, and delicate fibers
Silk, wool, velvet, embroidered textiles, and lined draperies deserve a conservation mindset rather than an all-purpose cleaning routine. Spot testing is essential. Even plain water can leave tide lines on certain fibers. If a decorative textile has historic, sentimental, or substantial financial value, the wiser choice is often professional dry-cleaning or textile conservation advice rather than home experimentation.
For dust and very light surface debris, controlled vacuuming with a brush attachment on low suction can be safer than wet cleaning. If the issue is suspected mold after a leak or prolonged dampness, be realistic about the limits of household methods. Deep contamination in porous textiles is difficult to reverse. A fabric that looks clean may still hold odor, staining compounds, or moisture damage within the structure of the fiber.
The refined lesson is simple. Soft finishes respond best to patience, blotting, low moisture, and proper drying. They are not improved by force.
How to treat stains on wood while protecting patina
Wood is one of the most forgiving and most easily damaged materials in the home. Its beauty comes from grain, tone, and finish depth, all of which can be altered by excess water, abrasives, or incompatible cleaners. The EPA notes that finished wood surfaces can generally be cleaned with mild detergent and clean water, then dried thoroughly. That guidance is valuable because it favors a modest approach that preserves the finish first.
Finished wood furniture, trim, and paneling
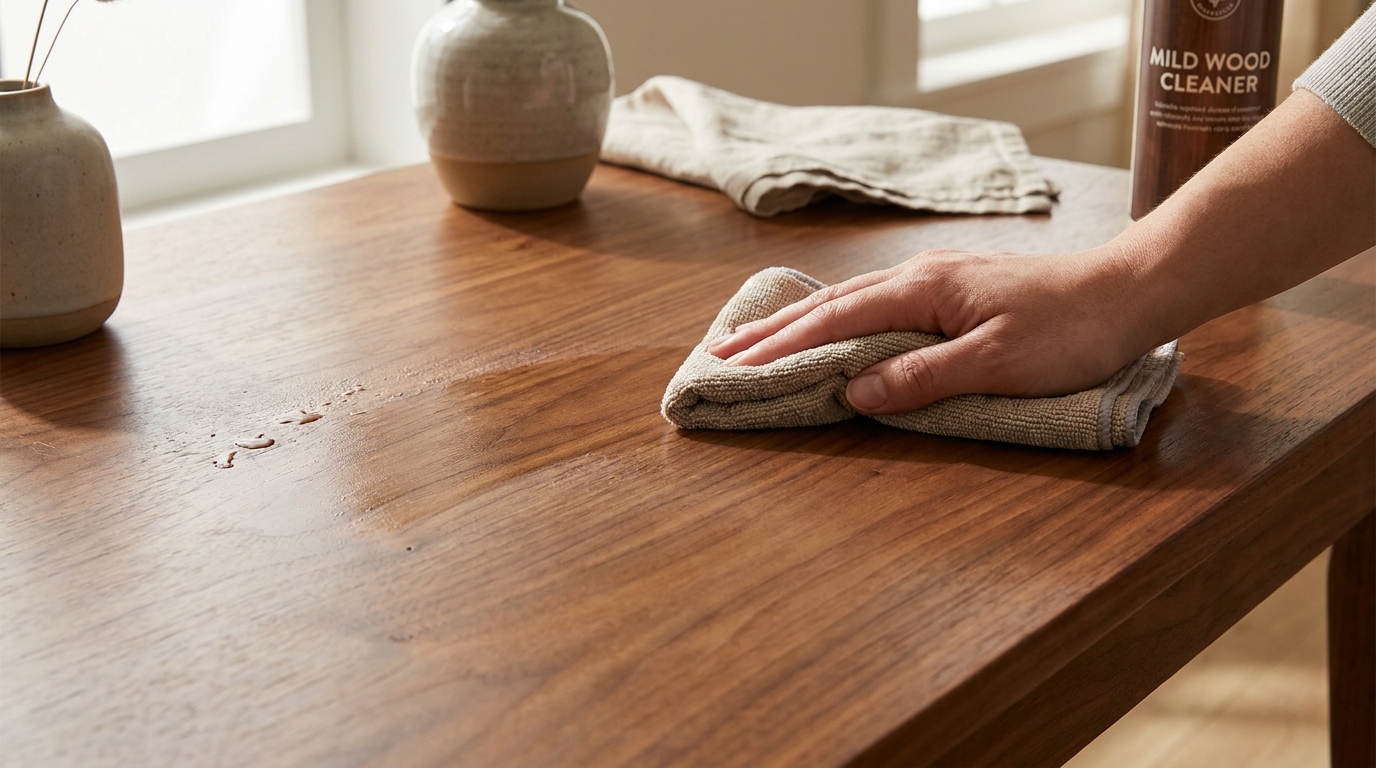
For finished wood, begin by dusting the surface so grit does not scratch during cleaning. Use a soft cloth lightly dampened with a mild detergent solution, then wipe again with a cloth dampened in clean water. Follow immediately with a dry cloth. The goal is a barely moist cleaning pass, not saturation. Wood should never remain wet after treatment.
Water rings, especially pale ones, are often signs that moisture has been trapped in the finish rather than deeply in the wood itself. Early intervention helps. However, if a mark persists, appears dark, or feels raised or rough, the issue may involve finish failure or penetration into the substrate. In such cases, repeated wiping will not produce restoration and may worsen the surface. It becomes a finishing or conservation question rather than routine cleaning.
Dark staining near windows, beneath planters, around cabinet bases, or along floor edges should prompt a moisture inspection. Wood that has swelled, softened, or developed mold-like spotting needs careful evaluation. Untreated or water-damaged wood may require replacement if staining or contamination has penetrated deeply. The elegant mistake to avoid is polishing over a structural problem until the sheen hides it temporarily.
Waxed, oiled, antique, or specialty finishes
Not all wood behaves like contemporary factory-finished furniture. Waxed, oiled, shellacked, antique, and hand-finished surfaces can react unpredictably to water and detergent. If you are uncertain about the finish, treat the surface as delicate. Dust gently, test minimally, and seek specialist advice when the piece is significant. Patina is not dirt. It is the quiet evidence of age, handling, and material life.
Abrasion is particularly risky here. Scrubbing pads, melamine sponges, and aggressive degreasers may remove not only the stain but the finish character that made the object beautiful. A home with soul often contains pieces that are better preserved than perfected. There is wisdom in allowing a conservator, furniture restorer, or skilled finisher to step in before irreversible damage occurs.
Removing stains from painted walls, plaster, and drywall
Walls collect more than fingerprints. They absorb the atmosphere of daily life. Yet painted surfaces are also vulnerable to over-cleaning, especially matte paint, older plaster, and drywall that has been softened by hidden moisture. Begin by identifying whether the mark is ordinary surface soil, a splash, grease, smoke residue, a water stain, or a possible mold issue. The method depends entirely on this distinction.
For routine marks on sound painted walls, a soft cloth or sponge lightly dampened with water and a small amount of mild detergent is usually sufficient. Wipe gently and avoid saturating the area. Dry with a clean cloth. Always test first in a discreet place, since some paints may burnish, lighten, or lose sheen if rubbed. Flat and matte finishes are especially delicate.
Yellow, brown, or gray patches on ceilings and walls often suggest water movement rather than ordinary dirt. If the area feels cool, damp, bubbled, or soft, stop cleaning and investigate the source. The true task is leak detection, drying, and repair. Once the substrate is dry and sound, staining can be reassessed. Covering active moisture damage with paint does not resolve the issue and may simply delay more expensive repairs.
If the stain includes visible mold on a small area, proper precautions matter. Health Canada says small mold areas can often be cleaned with proper precautions, but larger areas require qualified professional assessment and cleanup. The CDC recommends protective equipment for mold cleanup, including gloves, eye protection, and an N95 respirator for more involved tasks. This is not alarmist housekeeping. It is a measured response to biological contamination.
Stone, tile, glass, and other hard surfaces
Hard surfaces are often easier to clean because they are less porous, but they still require finish awareness. Glazed tile, glass, sealed engineered surfaces, and many laminates tolerate gentle cleaning well. Natural stone, unsealed grout, and matte architectural finishes require more nuance. The more luxurious the surface appears, the less likely it benefits from generic products used aggressively.
Tile, sealed surfaces, and glass
For sealed tile and glass, a mild surface-appropriate cleaner and soft cloth are often enough. Remove residue thoroughly and dry to avoid streaks or mineral spotting. In kitchens and bathrooms, recurring discoloration may reflect condensation and ventilation issues as much as splash or soap residue. Improving airflow can be as important as cleaning itself.
Grout deserves a lighter touch than many homeowners realize. It is often more porous than surrounding tile and can darken if repeatedly soaked. Spot cleaning, controlled moisture, and prompt drying help preserve its color and integrity. If mildew returns quickly, inspect fans, shower habits, and room humidity before assuming the grout simply needs stronger chemicals.
Natural stone and sensitive finishes
Marble, limestone, travertine, and other natural stones can etch or discolor if cleaned with inappropriate products. A stain on stone may not be a removable deposit at all. It may be a chemical reaction in the finish. This is why product labels and manufacturer guidance matter so much. Surface suitability is not a technical detail. It is the difference between cleaning and accidental damage.
Even on durable surfaces, avoid assuming bleach is the universal answer. It is not the right fix for every stain and can worsen certain materials, leave odors, or distract from a moisture problem that remains unresolved. The safest routine remains the same: identify the finish, choose the mildest effective product, and dry carefully.
Mold staining, musty odors, and when a stain is more than a stain
Some of the most troubling interior marks are not caused by a dropped glass or a misplaced vase. They appear quietly at window corners, behind furnishings, in basements, along exterior walls, under sinks, or around HVAC components. They may look like dust, soot, or vague discoloration at first, yet they are often linked to sustained humidity or hidden moisture. In such cases, the visible stain is only one symptom.
The EPA and Health Canada both emphasize that source control comes first. Wet materials should be dried within 24 to 48 hours when possible, and humidity should be kept below 60 percent, ideally 30 to 50 percent. If a leak, flood, or condensation pattern has occurred, cleanup must be paired with drying and ventilation. Without that, stains and mold can return regardless of how carefully the surface was wiped.
Small areas may sometimes be addressed by a careful homeowner using appropriate protective gear and surface-appropriate cleaning. But large mold-affected areas, recurring contamination, floodwater exposure, sewage-related damage, or hidden moisture inside walls are not ordinary housekeeping problems. They call for qualified professionals. This is especially true when materials are porous, when residents have health vulnerabilities, or when there is uncertainty about the extent of damage.
Important safety note: Never mix bleach with ammonia or other cleaners. Follow product labels carefully and use gloves, eye protection, and respiratory protection where appropriate for mold cleanup.
The role of humidity in preserving refined interiors
One of the most modern expressions of elegant housekeeping is not a spray bottle. It is a hygrometer. Monitoring indoor relative humidity gives homeowners an early warning system against many of the stains and finish failures that gradually erode a room’s beauty. In North American homes, seasonal shifts, basement dampness, tightly sealed envelopes, and storm events make humidity awareness especially useful.
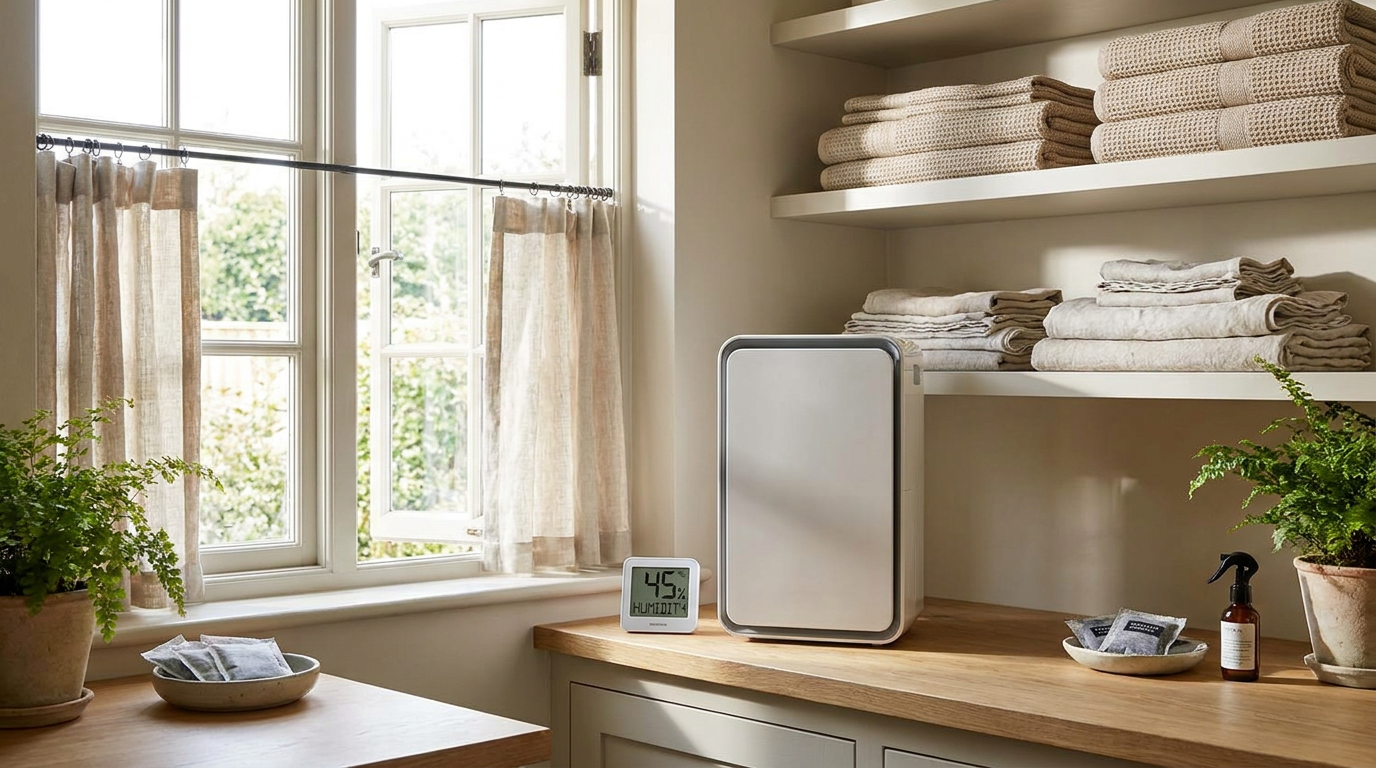
Keeping humidity in the ideal range of 30 to 50 percent helps protect textiles, painted surfaces, wood furnishings, and even air quality. It reduces condensation risk, discourages mold growth, and limits the subtle mustiness that can cling to draperies, closets, and upholstered rooms. During damp seasons, dehumidifiers may be necessary in lower levels or enclosed spaces. In colder weather, balanced ventilation and insulation around windows can reduce moisture accumulation on surrounding trim and walls.
This is the quiet side of style. The loveliest room can be undermined by an unventilated bathroom, a chronically damp basement, a hidden roof leak, or furniture pushed too tightly against an exterior wall. Maintenance habits such as using exhaust fans, allowing airflow around furnishings, addressing spills immediately, and drying materials promptly after cleaning are not merely practical chores. They are design preservation in daily form.
A room-by-room philosophy of stain prevention
Different rooms create different staining patterns, and a thoughtful maintenance rhythm can reduce intervention later. In living rooms, upholstery and rugs benefit from quick spot treatment, careful vacuuming, and sunlight management to prevent uneven fading around cleaned areas. In dining spaces, wood tables and chairs should be protected from standing moisture, hot vessels, and unnoticed drips around decorative arrangements. The goal is not anxiety but attentiveness.
Kitchens invite grease, steam, pigment, and splash. Here, surface-appropriate wiping before residues cure is far gentler than deep scrubbing later. Bathrooms demand ventilation discipline. If mirrors fog heavily and remain wet, other surfaces are absorbing that same moisture load. Bedrooms and dressing rooms often conceal textile vulnerability because stains there may come from body oils, fragrances, cosmetics, or poor airflow in wardrobes rather than food or drink.
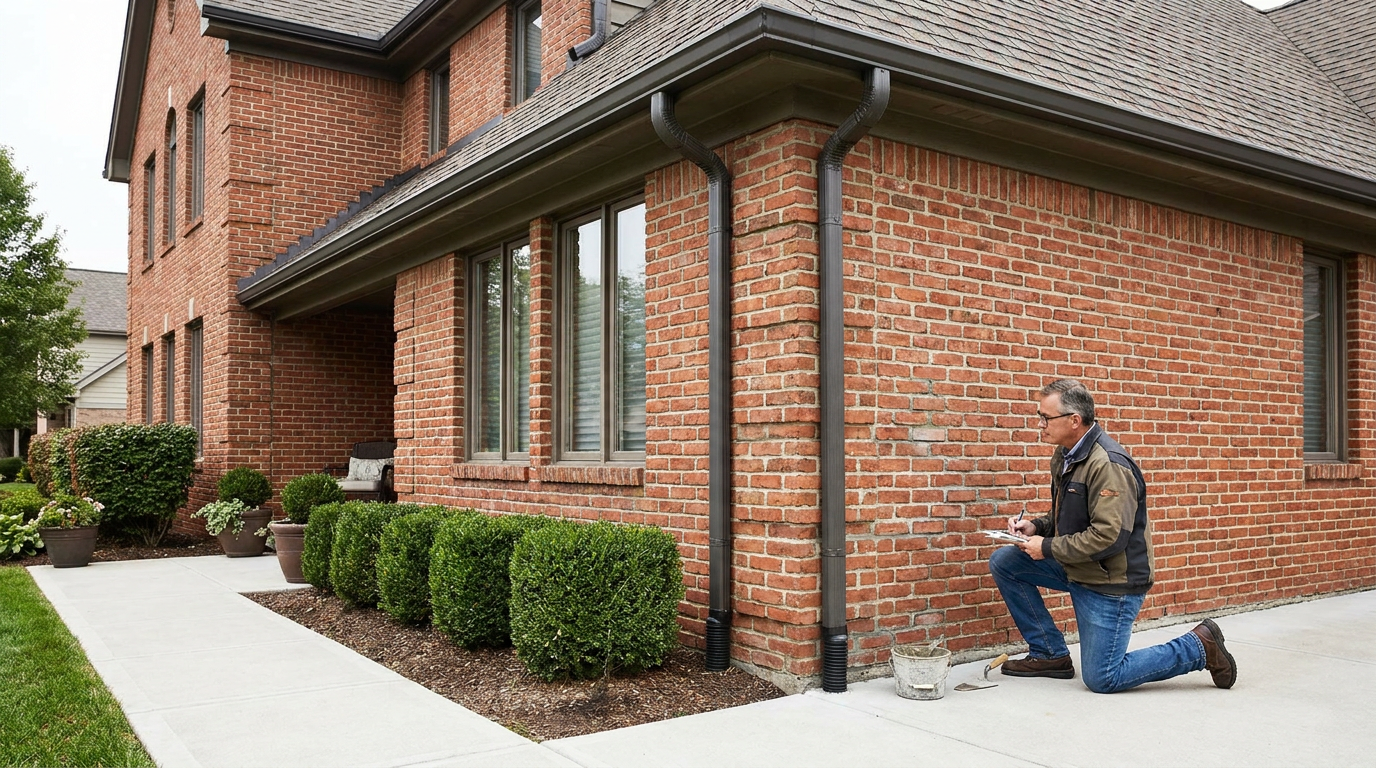
Basements and entry areas deserve special vigilance in North America, where weather, groundwater, snow, and heavy rain can compromise finishes quickly. After storms or plumbing incidents, time matters. Prompt drying within 24 to 48 hours can prevent a manageable cleanup from becoming a mold remediation project. This is where practicality and elegance are perfectly aligned.
When do-it-yourself ends and professional care begins
Good taste includes knowing when not to proceed alone. Homeowners can often handle fresh everyday stains on stable surfaces when the material is known and the affected area is small. Yet several situations call for professional help: valuable or antique textiles, delicate or unknown wood finishes, recurring wall stains, water-damaged drywall, large mold-affected areas, hidden leaks, sewage or floodwater exposure, and any contamination that has penetrated porous materials deeply.
Professional support may come from different disciplines. A remediation specialist addresses moisture and mold. A furniture conservator preserves valuable wood and finish systems. A textile cleaner or conservator can assess drapery, rugs, and upholstery. A painter or plaster specialist may be needed after drying and repair to restore wall surfaces correctly. Elegant maintenance is interdisciplinary because homes are made of many layered materials, each deserving competent care.
Do not underestimate the value of early consultation. A small recurring stain can reveal flashing failure, plumbing seepage, or condensation patterns that would otherwise spread quietly behind finished surfaces. The sooner the cause is identified, the more likely it is that beauty can be preserved rather than reconstructed.
Common mistakes that damage finishes
Many disappointing stain-removal outcomes are caused not by the stain itself but by the response. Scrubbing too hard can abrade paint, shred fibers, and dull wood. Oversoaking can create rings, swelling, and hidden dampness. Using the wrong product can discolor stone, strip wax, cloud varnish, or set a textile stain. Painting over moisture damage may make a room look improved briefly while the problem continues underneath.
Another subtle error is treating appearance as proof of safety. A surface may look clean while remaining damp below the finish. This is particularly common with upholstered items, wall assemblies, and wood components near leaks. The return of odor, spotting, or discoloration days later often reflects incomplete drying rather than failed cleaning alone. Good maintenance follows cleanup with ventilation, observation, and moisture awareness.
There is also the modern temptation to use stronger and more numerous products than necessary. Yet CDC guidance makes clear that products should be chosen based on the surface and label directions, and that bleach should never be mixed with ammonia or other cleaners. More chemistry does not necessarily mean better care. On fine interiors, it often means greater risk.
An elegant step-by-step method for most everyday stains
For readers who want a simple framework, the following sequence suits many routine stains on stable household finishes, provided the material is appropriate for light cleaning and there is no sign of active moisture damage or extensive mold.
-
Identify the material and the probable cause. Confirm whether you are treating fabric, finished wood, painted wall, tile, stone, or another surface, and whether the stain is from a spill, humidity, or a possible leak.
-
Remove excess matter gently. Lift solids carefully and blot liquids with a clean white cloth. Do not rub.
-
Test first. Apply the mildest suitable cleaner to a hidden spot and check for color change, dulling, or texture disruption.
-
Clean lightly. Use a soft cloth with a small amount of surface-appropriate cleaner, working with controlled moisture rather than saturation.
-
Rinse residue if appropriate. On many surfaces, a second cloth lightly dampened with clean water helps remove detergent traces.
-
Dry thoroughly. Blot, buff, ventilate, and if needed use fans or dehumidification. Drying is part of stain removal, not an afterthought.
-
Observe the result. If the mark returns, spreads, smells musty, or reveals substrate damage, investigate moisture and seek professional assessment where appropriate.
The beauty of maintenance done well
There is a graceful kind of intelligence in caring for a home. It does not announce itself, yet it can be felt in every room. Finishes retain their depth. Fabrics remain supple and fresh. Wood keeps its warmth. Walls appear calm rather than repeatedly patched. This is the result of small choices made well: responding promptly, cleaning gently, drying thoroughly, and respecting the nature of materials instead of forcing them into a generic routine.
Stain removal, at its best, is not about perfectionism. It is about continuity. It allows a home to age with dignity rather than deterioration. It preserves not only appearance but atmosphere, which is far more difficult to restore once lost. A room that has been maintained thoughtfully carries an ease that no purely decorative gesture can imitate.
If there is one final principle worth keeping, it is this: the mark you see is not always the whole story. Some stains ask for a cloth and a little detergent. Others ask for dehumidification, leak repair, conservation judgment, or professional remediation. Knowing the difference is what keeps a house not only clean, but truly well kept.
In the end, elegance is rarely dramatic. It lives in discipline, restraint, and the patient preservation of what deserves to endure. When you remove stains with that spirit, you protect more than a surface. You protect the quiet beauty of home itself.


No Comment! Be the first one.