


Essential Steps for Checking Your Solar Inverter: A Beginner’s Guide for Homeowners
If you have solar panels at home, your inverter is one of the most important pieces of the system. It is the part that takes the direct current electricity produced by your panels and converts it into alternating current electricity your home can actually use. In many homes, it also supports monitoring, grid interaction, and built-in safety shutdown functions. Because it works quietly in the background, it is easy to overlook, but a little attention can go a long way.
Table Of Content
- Why the Solar Inverter Deserves Your Attention
- What Kind of Inverter Do You Have?
- Start with Safety and Boundaries
- Your Beginner-Friendly Solar Inverter Check Routine
- Step 1: Check the inverter display or status lights
- Step 2: Open the monitoring app or portal
- Step 3: Listen for unusual sounds
- Step 4: Feel the area around the inverter for heat buildup
- Step 5: Check for dirt, dust, debris, and blocked vents
- Step 6: Compare current performance against your baseline
- Step 7: Review the system’s age and warranty information
- Step 8: Keep a maintenance log
- What a Normal Inverter Check Might Look Like
- Common Signs Something May Be Wrong
- Misconceptions That Can Lead Homeowners Astray
- When to Call a Professional
- A Simple Monthly Checklist You Can Actually Keep Up With
- How Inverter Checks Support Sustainability
- Final Thoughts
The reassuring news is that most homeowners do not need to become solar technicians to care for an inverter properly. In fact, the most useful maintenance habits are simple ones: look at the display, check the monitoring app, keep the area around the unit clean, and notice changes before they become bigger problems. This kind of practical observation supports energy efficiency, helps reduce unnecessary waste, and can extend the life of your equipment without adding stress to your routine.
This guide is designed for beginners, especially homeowners who want a calm, achievable approach to solar system maintenance. You will not find complicated electrical repairs here, because those belong to licensed professionals. Instead, you will learn how to check whether your inverter appears to be operating normally, how to document what you see, and how to recognize when it is time to ask for expert help.
Why the Solar Inverter Deserves Your Attention
A solar system may look like it is all about the panels on the roof, but the inverter is often the true control center. It manages the conversion of electricity, coordinates with your monitoring tools, and may also communicate with the grid or a battery system. If the inverter is not functioning properly, your panels can still be in perfect condition while your home gets less benefit from the system than it should.
Research and government guidance consistently point to inverters as one of the most common sources of photovoltaic system downtime. The U.S. Department of Energy notes that the majority of downtime and maintenance in PV systems is associated with inverters. Common failure points include capacitors and printed circuit boards, and heat is one of the biggest stressors on inverter reliability. That means a simple homeowner habit such as checking for overheating, blocked vents, or repeated fault messages can be surprisingly valuable.
This is also why inverter checks fit so well into a practical sustainability mindset. Preventive attention is usually less wasteful than waiting for a complete failure. By noticing a problem early, you may preserve energy production, avoid prolonged system downtime, and keep equipment in service longer. Sustainable living does not always mean doing more. Often, it means doing a few thoughtful things consistently.
Practical takeaway: You do not need to fix your inverter yourself to protect your solar investment. Observation, documentation, and timely professional support are often the most effective maintenance tools a homeowner has.
What Kind of Inverter Do You Have?
Before you begin checking your system, it helps to know what type of inverter setup you have. Many residential homes use a string inverter, which is usually a single wall-mounted unit connected to a group of panels. Others use microinverters, which are smaller devices attached at the panel level, usually paired with an app or monitoring platform that reports performance by panel or by group.
This distinction matters because the maintenance experience can feel different. With a string inverter, you are more likely to have one central display or one utility-area device to inspect regularly. With microinverters, the physical hardware may not be visible in the same way, so your monitoring portal becomes even more important. In either case, the homeowner’s role remains similar: observe, compare, document, and escalate concerns when patterns suggest a genuine issue.
It is also useful to understand lifespan expectations. According to DOE guidance for home buyers, string inverters typically last around 10 to 15 years, while microinverters often have lifespans closer to the panels themselves. Since solar panel systems are commonly expected to last 20 to 30 years, an inverter replacement may happen before the panels need replacement. That does not mean something is wrong. It simply means planning ahead is part of owning a well-run system.
Start with Safety and Boundaries
One of the most important parts of checking a solar inverter is knowing what not to do. Homeowners can safely perform visual checks, monitor performance, keep the area clear, and log basic information. Homeowners should not open the inverter enclosure, remove covers, touch internal components, or attempt electrical troubleshooting. Even if a reset button seems simple, any repeated or unclear fault should be treated carefully.
In Canada and across North America, standards and certification matter. Natural Resources Canada guidance notes that inverter and charge controller equipment should be certified to CSA C22.2 107.1 or CSA C22.2 62109, and battery-backup installation or inspection should be handled by licensed and trained professionals. This is especially relevant as more homes add batteries or solar-plus-storage systems, which increase both the capability and the complexity of the setup.
Think of your role as the informed observer rather than the repair person. That is not a limitation. It is a smart division of responsibility. Most useful solar maintenance is low-pressure and low-risk when approached this way, and it keeps your system aligned with the broader goal of safe, reliable, long-term clean energy at home.
Your Beginner-Friendly Solar Inverter Check Routine
A good inverter check does not need to take long. For many households, a short visual and digital check once every week or two is enough, with a deeper review every month and a more formal annual comparison of system output. What matters most is consistency. If you build a routine that feels manageable, you are more likely to catch small issues before they affect months of production.
Below is a simple step-by-step approach that works well for most homeowners. The goal is not to diagnose every technical possibility. The goal is to notice what is normal for your system and to recognize when something has changed.
Step 1: Check the inverter display or status lights
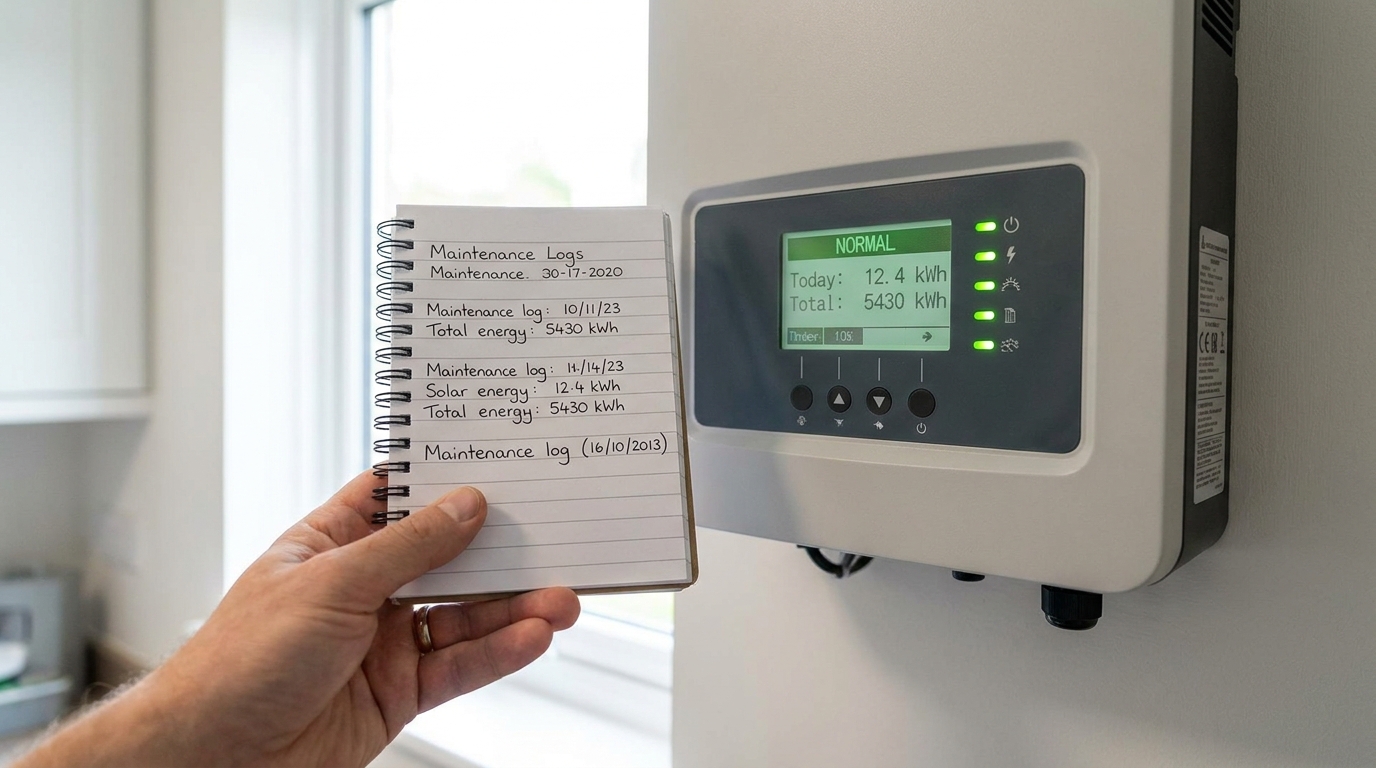
Start by looking at the inverter itself if you have access to a visible unit. Many inverters have a display screen, indicator lights, or both. A normal operating status is often shown by a green light or a clear message indicating production, standby, or normal operation, although the exact language varies by manufacturer. If you are not sure what your unit’s normal display should look like, refer to the owner’s manual or installation documents.
What you are looking for is not technical perfection. You are simply checking whether the unit appears calm and normal. A red light, flashing fault code, blank screen, or repeated warning symbol deserves a closer note. It does not automatically mean the inverter has failed, because temporary warnings can happen during grid events or utility interruptions, but it does mean you should document what you see.
Take a photo if the display is showing an alert. Photos are helpful because they capture the exact code, date, and message in a way that is easy to share later with your installer or service provider. If the message clears by itself, your photo still gives you a record of what happened.
Step 2: Open the monitoring app or portal
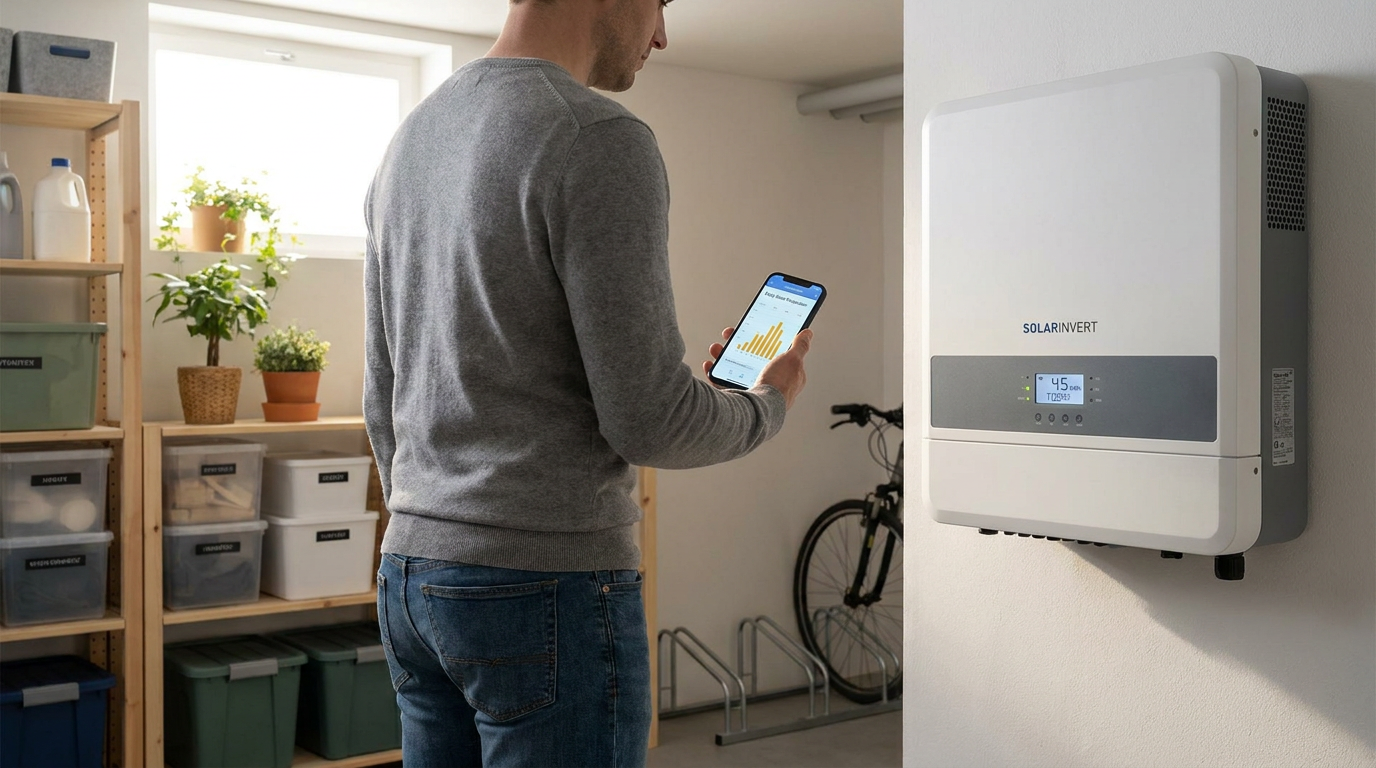
Monitoring is one of the highest-value checks you can do as a homeowner. It is easy, non-invasive, and often more revealing than a quick glance at the hardware. If your system came with a web portal or smartphone app, open it and verify that it is still connected and reporting data correctly. Password issues, software changes, and account access problems can sometimes leave homeowners without visibility even when the system itself is still running.
Look at today’s production and ask a very practical question: does this look reasonable for the weather and season? You do not need advanced mathematics to answer that. A bright sunny day should generally show stronger production than a dark, rainy one. Winter output may be lower than summer output in many climates. What matters is whether the result aligns with your expectations based on the time of year and local conditions.
Monitoring is also a good place to watch for repeated patterns such as unexplained midday drop-offs, frequent fault events, missing data, or lower-than-usual output over several days. DOE guidance suggests that a year-over-year output drop of more than about 10 percent may indicate a maintenance issue worth investigating. That kind of comparison is much easier when you maintain a habit of checking your portal regularly.
Step 3: Listen for unusual sounds
Not all inverters are silent all the time. Some may hum softly or use fans, depending on the design and operating conditions. Still, abrupt changes in sound can be meaningful. If your inverter suddenly begins making persistent buzzing, clicking, rattling, or louder-than-usual fan noise, write it down and check whether it coincides with a warning light or reduced output.
Do not assume that a sound automatically signals failure, but do treat it as information. Changes in sound can sometimes reflect heat stress, fan issues, electrical switching, or another internal condition that may need professional assessment. Because the inverter is a key reliability point in many systems, it is worth paying attention to these subtler clues.
If the noise is severe, repeated, or accompanied by a burning smell, visible damage, or an active fault alarm, stop there and contact a qualified technician promptly. Safety always comes first.
Step 4: Feel the area around the inverter for heat buildup
Heat is one of the biggest enemies of inverter longevity. DOE and NREL materials both emphasize that thermal cycling and elevated temperatures place serious stress on inverter components, particularly capacitors. That matters because capacitors are among the common failure points associated with inverter downtime. In practical terms, an inverter that consistently runs too hot may wear out sooner than expected.
You should not touch hot electrical components directly or open the unit to investigate. What you can do is assess the environment around the inverter. Is the utility room excessively hot? Is the unit installed in direct sun? Are there boxes, bins, tools, coats, or stored materials crowding the vents? Is airflow restricted by dust or debris?
If the installation area feels stale, cramped, or very warm, that is a useful observation. Inverter cooling depends on adequate ventilation. Clearing the surrounding space and preserving airflow can be one of the simplest ways to reduce stress on the equipment. If overheating warnings keep appearing despite a clean, ventilated area, that is a strong reason to call a professional.
Step 5: Check for dirt, dust, debris, and blocked vents
Most inverter maintenance at home is really environmental maintenance. You are not repairing internal parts. You are helping the device operate in the conditions it was designed for. Dust, cobwebs, leaves, and general clutter can interfere with ventilation or make it harder to notice early signs of wear.
Use a gentle approach. Keep the surrounding wall, shelf, or floor area clean. If the exterior casing is dusty, follow the manufacturer guidance for safe cleaning, which often means a dry or slightly damp cloth on the outer surface only. Never spray water directly on the unit unless the manufacturer specifically allows it, and never insert tools or cloths into vent openings.
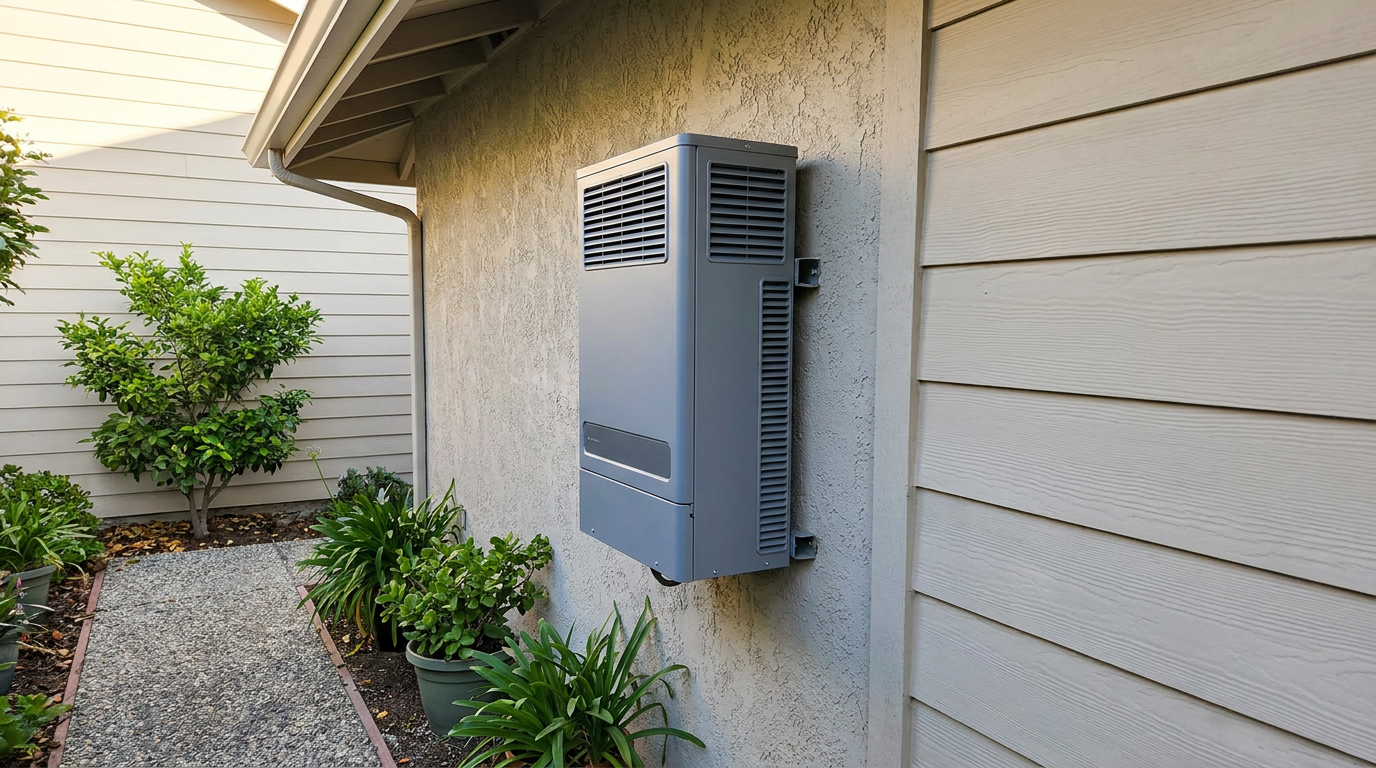
This kind of care may seem small, but it supports durability. Since heat is such a major stressor for inverters, even basic vent awareness matters. If your inverter is mounted outdoors, also check that nearby vegetation has not grown too close and that windblown debris is not collecting around the housing.
Step 6: Compare current performance against your baseline
One of the most useful things a homeowner can do is build a simple baseline. That baseline might include what a clear spring day usually produces, what a cloudy winter week tends to look like, or what monthly totals you saw last year. Once you know what is typical for your system, it becomes much easier to spot a deviation that deserves attention.
Try not to react to a single low-output day without context. Weather, snow cover, seasonal sun angle, and temporary shading all affect production. A more grounded approach is to compare like with like: this month versus the same month last year, or several sunny days this season versus similar sunny days in a prior period. If production has dropped significantly and conditions seem comparable, the inverter is one possible place to investigate.
Again, the 10 percent year-over-year figure is a useful reference point. If your system output has dropped by more than about 10 percent compared with a similar previous period, DOE guidance suggests that maintenance may be needed. That does not mean the inverter is definitely the problem, but it is enough to justify a closer review.
Step 7: Review the system’s age and warranty information
An inverter check is not only about what is happening today. It is also about understanding where your equipment sits in its expected lifespan. If you have a string inverter that is already approaching or beyond the 10 to 15 year range, small issues may deserve more attention than they would on a nearly new unit. Repeated minor alarms, intermittent shutdowns, or gradual declines can sometimes be part of age-related wear.
Locate your installation paperwork, warranty documents, model number, and installer contact information. If you do not already have them in one place, create a simple digital folder and a printed backup. This makes future service much easier, especially if a technician needs the serial number, installation date, or original configuration details.
Budgeting for eventual inverter replacement is also part of thoughtful ownership. Since PV systems often last 20 to 30 years, planning for at least one inverter decision during that time is sensible. Preparation can reduce both financial pressure and avoidable downtime later on.
Step 8: Keep a maintenance log
A maintenance log sounds formal, but it can be very simple. A notebook, spreadsheet, or notes app is enough. Record the date of each check, what the display showed, whether the app was connected, what today’s output looked like, and whether you noticed any alarms, unusual sounds, or heat concerns. If there was a utility outage, storm event, or service visit, include that too.
This log becomes more valuable over time. It helps you separate one-off glitches from recurring patterns, and it gives technicians a clearer picture if service is ever required. Canadian guidance often emphasizes the usefulness of maintenance records because they make troubleshooting easier and support long-term system care.
From a sustainability perspective, documentation is underrated. Good records can help avoid unnecessary part replacement, support warranty conversations, and reduce guesswork. In other words, a few quiet notes today can prevent waste later.
What a Normal Inverter Check Might Look Like
For many homeowners, a normal check is refreshingly uneventful. You glance at the inverter and see the expected status light. You open the app and see production that makes sense for the weather. The area around the unit is clear and well ventilated. There are no new noises, no recurring alerts, and no obvious decline compared with prior weeks or months.
That kind of ordinary result is exactly what you want. Solar systems are widely considered safe, reliable, and relatively low-maintenance when installed and maintained properly. The goal of checking is not to create anxiety or find problems where none exist. The goal is simply to confirm that things remain on track.
If your system includes battery backup or a more advanced energy management setup, your normal check may also include confirming that the storage system is reporting correctly and that no battery-related warnings appear. Because these systems involve additional safety considerations, any irregularities beyond basic monitoring should be handled by qualified professionals.
Common Signs Something May Be Wrong
It helps to know what kinds of changes are worth attention. Some signs are obvious, while others are more subtle. A red light, fault code, or complete loss of production is easy to recognize. More often, homeowners notice smaller signs first, such as missing monitoring data, lower output than expected, intermittent connection issues, or a unit that seems hotter than usual.
Below are some common warning signs that deserve documentation and, if persistent, professional review.
- Repeated warning lights or error codes that return after weather changes or resets.
- Output that is consistently lower than expected despite similar sun conditions.
- Year-over-year production drops greater than about 10 percent without another clear explanation.
- Monitoring portal disconnections that prevent visibility into system performance.
- Persistent overheating messages or a very hot, poorly ventilated installation area.
- Unusual noises such as new buzzing, rattling, or excessive fan operation.
- Visible exterior damage such as cracked casing, corrosion, water intrusion, or scorch marks.
Any one of these signs may have a simple explanation, but a pattern is what matters. When in doubt, write down what you see and contact your installer or a licensed solar professional with specific details rather than a vague concern. That makes the next step easier for everyone.
Misconceptions That Can Lead Homeowners Astray
One common misconception is that if the panels are producing some power, the inverter must be fine. In reality, inverter problems can be partial rather than total. A system may still generate electricity while underperforming, disconnecting intermittently, or recording faults in the background. This is why monitoring data and warning logs matter so much.
Another misconception is that inverters need no attention at all. It is true that solar systems are low-maintenance compared with many other home energy systems, but low-maintenance does not mean no-maintenance. A few minutes spent checking status lights, clearing airflow around the unit, and comparing output over time is often enough to catch problems early.
A third misconception is that any inverter problem means immediate replacement. In some systems, especially smaller residential units, replacement is common. In larger systems, some inverters can be repaired by replacing certain components. As a homeowner, your role is not to decide the repair path on your own. Your role is to document the issue so a qualified professional can make an informed recommendation.
Finally, some people assume they should open the unit or troubleshoot electrical issues themselves. This is not a good idea. Inverter care at the homeowner level is observational and environmental. Internal inspection and electrical diagnosis belong to trained technicians.
When to Call a Professional
There is a healthy middle ground between ignoring your inverter and overreacting to every small fluctuation. Many one-time anomalies are temporary, especially around utility interruptions or severe weather. But some situations clearly deserve professional help, and it is wise to act promptly when they arise.
Call a licensed solar technician or your installer if you see repeated fault codes, ongoing overheating warnings, a persistent drop in production, visible damage to the inverter housing, water intrusion, a burning smell, or any safety concern. You should also seek help if your monitoring platform has gone dark for an extended period and you cannot restore access through normal account troubleshooting.
If your home has a solar-plus-storage setup, be especially cautious. Battery systems add another layer of equipment, communication, and safety protocol. NRCan guidance reinforces that battery-backup installation and inspection should be completed by licensed and trained professionals. In this context, your best contribution is clear observation and fast reporting.
A Simple Monthly Checklist You Can Actually Keep Up With
If you like having a routine, a short monthly checklist can make inverter care feel almost effortless. The point is not to turn your home into a mechanical room. The point is to create a repeatable habit that protects performance and keeps clean energy systems working well over time.
- Confirm the inverter display or indicator lights show normal operation.
- Open the monitoring app and verify data is current.
- Compare output with recent weather and seasonal expectations.
- Check for any alerts, faults, or connection issues in the portal.
- Look around the inverter for blocked vents, clutter, dust, or debris.
- Notice any unusual sounds, smells, or excess heat in the area.
- Write a brief note in your maintenance log.
If you do this consistently, you will build confidence in what normal looks like for your system. That confidence is helpful because it reduces uncertainty. You are no longer guessing whether something seems off. You have a record and a baseline.
How Inverter Checks Support Sustainability
Sometimes sustainability is framed as a major lifestyle shift, but home energy maintenance often tells a gentler story. Taking care of a solar inverter is not dramatic. It is about preserving the value of equipment already in use, supporting steady clean electricity production, and reducing the chance that small issues become larger material losses later.
There is also a bigger lifecycle perspective here. As solar adoption grows, more attention is being paid to reliability planning, end-of-life management, and recycling for system components including inverters. A homeowner who understands equipment age, keeps records, and plans responsibly is participating in that larger culture of stewardship. This does not require perfection. It simply requires attentiveness.
In a practical sense, sustainable maintenance means doing enough, not doing everything. It means making the easy checks easy, staying within safe boundaries, and knowing when professional service is the right next step. That approach is realistic, efficient, and far more approachable than trying to master every technical detail yourself.
Final Thoughts
Your solar inverter may not be the most visible part of your home’s energy system, but it is one of the most important. Because inverter-related issues are among the most common causes of solar downtime, a few simple checks can make a meaningful difference. Looking at the status lights, reviewing the monitoring app, keeping the area ventilated, and logging changes are all practical ways to support performance.
Just as importantly, these checks help you stay engaged with your system without feeling overwhelmed by it. You do not need to become an expert in power electronics to be a responsible solar homeowner. You only need a calm routine, a little consistency, and a willingness to call a professional when the pattern suggests something is truly wrong.
That is a helpful way to think about sustainability at home. It is not pressure. It is care. When small habits protect long-term clean energy performance, they support both your household and the larger goal of building homes that work smarter over time.



No Comment! Be the first one.