



How to Inspect and Maintain Your Exterior Walls for Long-Term Durability
Your exterior walls are not just there to hold up the roof and make the house look finished. They are a major part of the building envelope, which is the system that separates indoors from outdoors and helps control water, air, heat, and vapor. When that system is doing its job, your home stays drier, healthier, more energy efficient, and far less likely to suffer hidden structural damage. When it starts to fail, small warning signs on the surface can lead to wet insulation, mold growth, rotten framing, corroded fasteners, and expensive repairs behind the walls.
Table Of Content
- Why Exterior Wall Maintenance Matters More Than Many Homeowners Realize
- How Exterior Walls Actually Fail
- When and How Often You Should Inspect Exterior Walls
- Tools You Need for a Useful Homeowner Inspection
- A Step-by-Step Exterior Wall Inspection Process
- Start with the big picture
- Inspect the wall surface itself
- Check joints, openings, and penetrations
- Examine the base of the wall and water management around it
- Inspect from inside too
- The Most Important Warning Signs to Watch For
- How to Maintain Exterior Walls So They Last Longer
- Keep roof drainage working properly
- Maintain grading and clearances
- Repair failed sealants and damaged surfaces promptly
- Keep drainage paths and weep areas clear
- Seasonal Maintenance Checklist for Homeowners
- Common Misconceptions That Lead to Bigger Problems
- When to Call a Professional
- Exterior Wall Maintenance During Renovations and Energy Upgrades
- How to Document Problems and Track Progress
- Final Thoughts
That is why routine exterior wall inspection matters. Most serious wall problems do not begin as dramatic failures. They start with a cracked joint, a failed seal around a window, a clogged gutter that overflows every storm, or a patch of siding that stays damp longer than it should. Over time, water finds a path into the assembly, and once moisture gets trapped, the wall can begin to deteriorate in ways that are easy to miss until the repair bill becomes hard to ignore.
The good news is that homeowners can do a lot to catch problems early. A careful visual inspection, done at least twice a year and after major storms, can reveal many of the common trouble spots before major damage develops. This article explains how to inspect your exterior walls properly, what warning signs matter most, what maintenance steps actually protect the structure, and when a problem is beyond basic homeowner work and needs professional help.
If you want your walls to last, think less about surface appearance alone and more about how the whole assembly handles water and drying. Well-maintained walls shed water, resist air leakage, and still have a chance to dry if they get wet. That practical mindset is what preserves homes over the long term.
Why Exterior Wall Maintenance Matters More Than Many Homeowners Realize
Many homeowners treat wall maintenance as a paint and appearance issue. In reality, exterior wall care is one of the most important parts of protecting a home’s structural integrity. Once water penetrates the outside surface and reaches framing, sheathing, or insulation, the problem is no longer cosmetic. Moisture can feed mold, weaken wood, rust metal connectors, damage finishes, and reduce the thermal performance of insulation. A wall that looks acceptable from the curb may still be performing poorly if moisture is entering behind the cladding.
Authorities in North America, including the U.S. EPA and CMHC, consistently point to moisture as the main long-term threat in wall assemblies. Water damage rarely stays in one place. It spreads through materials, follows gravity, moves with capillary action, and often appears in a different location than where it entered. That is one reason homeowners should never ignore stains, peeling paint, bulging finishes, or persistent damp odors near exterior walls.
There is also an energy and comfort side to the issue. Exterior walls that leak air or hold moisture generally do a poor job of maintaining indoor comfort. Cold drafts around windows and electrical outlets, damp insulation, and gaps in the envelope can make rooms harder to heat and cool. In colder parts of Canada and the northern United States, freeze thaw cycles add another layer of risk because moisture in masonry, stucco, or small cracks can expand when frozen and gradually make damage worse.
Regular maintenance is cheaper than repair because it deals with causes early. Replacing failed caulking, correcting drainage, cleaning gutters, and sealing a small penetration costs very little compared with opening walls, replacing rotten framing, and remediating mold. The practical goal is simple: keep bulk water out, reduce unnecessary air leakage, and allow assemblies to dry when minor wetting does happen.
Practical rule: If you see a wall defect that can hold water, channel water, or let water in, treat it as a durability issue first and a cosmetic issue second.
How Exterior Walls Actually Fail
To inspect walls properly, it helps to understand the basic failure paths. Exterior walls usually do not fail because one material suddenly gives out on its own. They fail because water management, air control, thermal control, and maintenance have broken down together. A wall that gets wet but cannot dry is at risk. A wall with repeated water exposure from poor runoff is at risk. A wall retrofitted with insulation or air sealing without understanding vapor movement can also be at risk.
Bulk water is the biggest concern. This includes rain driven behind cladding, roof runoff spilling down the wall, splashback near the base of the wall, and leaks at windows, doors, vents, light fixtures, and service penetrations. Then there is air leakage, which can carry moisture-laden indoor air into cooler wall cavities where condensation forms. Vapor movement is more subtle, but it matters when materials and climate conditions trap moisture and prevent drying.
Heat flow matters too. Cold surfaces inside a wall assembly can create condensation risk. Newer high-performance wall systems often use continuous exterior insulation because it improves thermal continuity and can reduce moisture problems by keeping key components warmer. But upgrades need to be done with care. Adding insulation without understanding the existing wall can change drying behavior and create hidden moisture problems if the assembly is not designed correctly.
For homeowners, the lesson is straightforward. Never assume one bead of caulk solves a leak, and never assume more insulation automatically means a healthier wall. Good wall performance depends on the whole system working together.
When and How Often You Should Inspect Exterior Walls
The best inspection schedule is regular and predictable. For most homes, inspect exterior walls at least twice a year, usually in spring and fall. Spring inspections help you catch damage from snow, ice, and freeze thaw cycles. Fall inspections prepare the home for winter by identifying issues that could allow water intrusion or air leakage during colder months. You should also inspect after major storms, wind-driven rain, hail events, or any incident where gutters overflowed or tree branches hit the structure.
Do not limit inspections to eye level or to the most visible side of the house. Problems often begin in less noticed areas such as behind shrubs, beneath decks, around chimney intersections, under roof eaves where runoff patterns are unusual, or on the side of the home that gets the least sun and stays damp longer. North-facing or heavily shaded walls are often more vulnerable to moisture retention, algae growth, and slower drying.
Timing matters during the day as well. Early morning or after rain can reveal damp areas, staining, or drying differences that are harder to spot in full afternoon sun. Low-angle light can also make bulges, waviness, and surface irregularities easier to see. If possible, inspect walls from several viewing angles rather than only straight on.
Keep a simple record of what you find. Take dated photos of cracks, stained areas, open joints, and any spots that seem to be changing over time. A small defect that remains stable may be manageable, while the same defect growing over several months can point to active movement or ongoing moisture entry.
Tools You Need for a Useful Homeowner Inspection
You do not need a truck full of specialty equipment to do a first-line wall inspection well. In fact, one of the most useful points from EPA guidance is that your eyes and nose are often the most important tools. A careful visual inspection and attention to musty odors, persistent dampness, and visible deterioration can tell you a great deal before advanced tools ever come out.
For a practical homeowner inspection, useful tools include a bright flashlight, a ladder used safely and only within your comfort level, binoculars for higher wall sections, a notepad or phone for documentation, and a small screwdriver or awl for checking suspicious wood trim for softness. A basic moisture meter can also be helpful, especially around trim, siding transitions, and interior wall areas that correspond to exterior concerns, but readings should be interpreted carefully. Moisture meters can support your observations, not replace them.
More advanced tools such as borescopes, infrared cameras, or professional-grade moisture diagnostics are usually best left to experienced inspectors, especially when there are hidden leak concerns inside wall assemblies. Those tools can be useful, but they can also be misleading if used without understanding the wall system and the local climate conditions.
Wear practical footwear, avoid inspections during unsafe weather, and stay off high ladders if you are not comfortable. No maintenance task is worth a fall. You can still inspect a surprising amount from the ground and from windows inside the house.
A Step-by-Step Exterior Wall Inspection Process
Start with the big picture
Begin several steps back from the house and look at each elevation as a whole. You are checking for sagging lines, bulges, surface waviness, areas that seem darker or dirtier than the rest, plant growth too close to the wall, and signs that water is consistently running down one path. Uneven weathering often points to a drainage issue. If one section of wall looks aged far beyond the rest, there is usually a reason.
Pay attention to where wall materials change, such as from siding to brick, stucco to trim, or cladding to foundation. These transitions are common weak points because they depend on flashing, sealants, and careful detailing to shed water. Also note roof edges and valleys above wall sections. Problems that appear to be “wall issues” often begin higher up with roof runoff.
Inspect the wall surface itself
Next, move closer and inspect the cladding. On painted wood or engineered wood, look for peeling paint, soft spots, swelling, split ends, and dark staining. On vinyl siding, check for cracks, loose panels, heat warping, and gaps where sections should interlock. On fiber cement, watch for cracked boards, failed joints, and improper clearances near roofs, decks, or soil. On brick or stone veneer, look for cracked mortar joints, spalling, efflorescence, displaced units, and rust marks from embedded steel components or corroding fasteners.
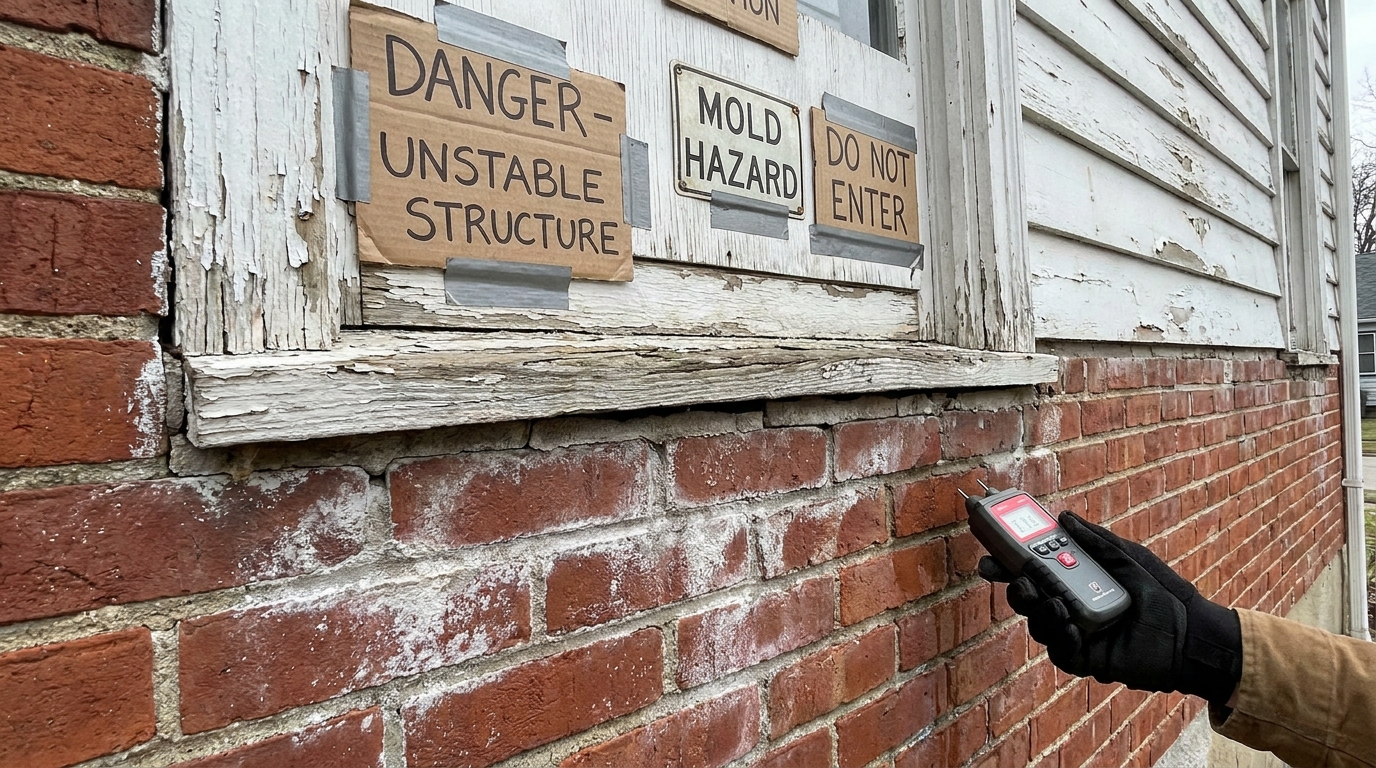
Efflorescence deserves attention because it tells you water has been moving through masonry. The white powder itself is not the main problem. It is the moisture transport behind it that matters. Likewise, peeling paint is usually not just a paint issue. It often means moisture is pushing from behind or wetting the surface repeatedly.
Any bulging, bowing, or displacement should be treated seriously. Walls should appear plumb and stable. Bulging masonry, bowed siding, or trim that has visibly pulled away can signal trapped moisture, fastener failure, substrate deterioration, or structural movement.
Check joints, openings, and penetrations
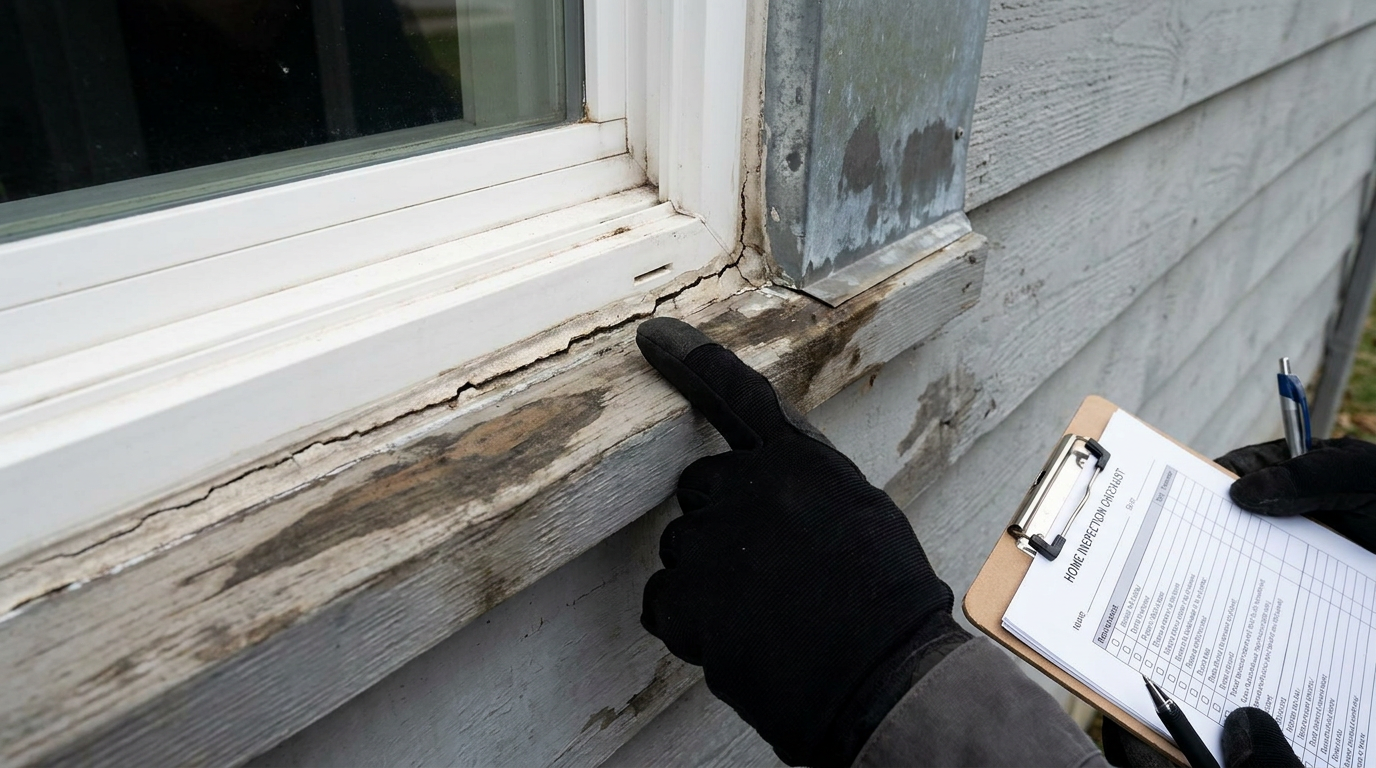
Windows and doors are among the most common leak locations in any wall system. Inspect the sealant around frames and trim for cracking, gaps, brittleness, shrinkage, or separation from adjacent materials. Look at head flashings, sill conditions, and trim joints. If dirt streaks, staining, or paint failure consistently appear below a window, that opening deserves closer attention.
Do the same around vents, hose bibs, exterior lights, electrical boxes, meter bases, and any pipe or cable penetration. A small gap around a penetration can funnel water directly into the wall cavity. Sealants do not last forever, and movement from temperature change often opens joints gradually.
At corners, expansion joints, and vertical seams, look for separation and failed sealant. Remember that caulking is not a permanent repair. It is a maintenance item. If a joint keeps opening, there may be movement, poor backing, or another assembly issue that needs more than fresh sealant.
Examine the base of the wall and water management around it
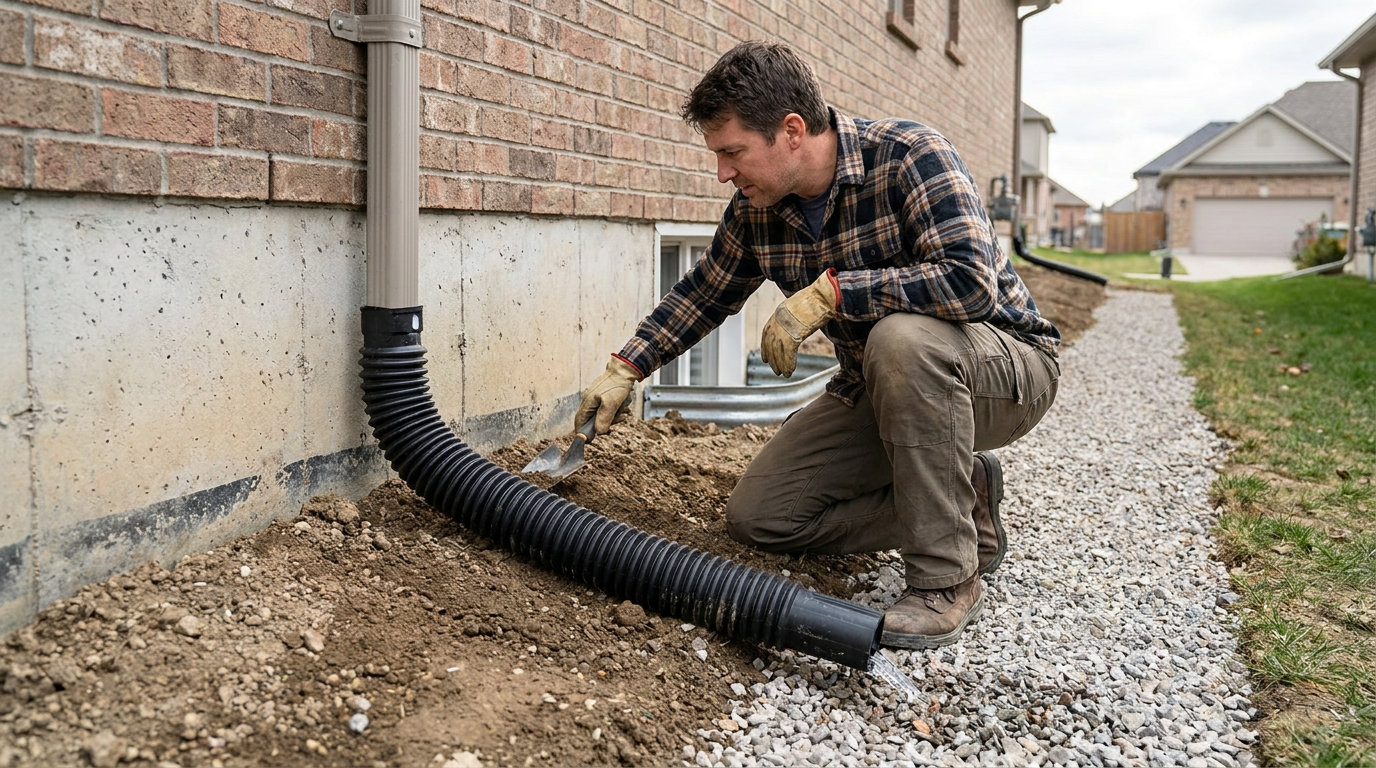
The bottom of the wall tells you a lot about how the house handles water. Check where the wall meets the foundation and where the finished grade meets the cladding. Soil, mulch, paving, or decking should not be crowding materials that need clearance to dry. Siding that sits too close to soil or hard surfaces is more likely to wick moisture, rot, and attract insects.
Look for splashback staining, standing water, erosion, moss, and signs that runoff is concentrating near the foundation. Grading should slope away from the house so surface water does not collect at the base of the wall. Downspouts should discharge well away from the foundation, not directly beside it. Gutters should not overflow onto the cladding during rain.
If you only fix visible wall damage without correcting drainage, the problem is likely to return. Water management always comes first. That includes roof runoff, grading, downspout extensions, and keeping debris from building up where walls intersect with decks, porches, and hardscapes.
Inspect from inside too
An exterior wall inspection should include the interior side of those walls. Check around windows, at baseboards, inside closets on exterior walls, and in corners for staining, musty odors, bubbling paint, swollen trim, or cold damp spots. If one room consistently feels drafty or smells musty, the problem may be in the wall assembly rather than the heating system.
Use your nose. Hidden moisture and mold often announce themselves with odor before they become clearly visible. If there has been a leak or wetting event, quick drying matters. Areas dried within 24 to 48 hours are less likely to develop mold than materials that stay damp for days.
The Most Important Warning Signs to Watch For
Some wall defects are more urgent than others. Homeowners should know which signs deserve quick action and which signs should trigger a professional assessment. Surface cracking, open joints, soft trim, peeling paint, white mineral deposits on masonry, rust streaks, and repeated staining below windows are all meaningful. They may seem minor alone, but each one can indicate that water is finding a path where it should not.
Pay special attention to recurring moisture staining. If you clean, repaint, or recaulk and the same stain comes back, the real source has not been solved. Repetition is one of the clearest signs that you are dealing with a water-management failure rather than a one-time cosmetic problem. Likewise, any area that remains damp much longer than surrounding materials deserves investigation.
Cracks should never be dismissed automatically as cosmetic. Some are minor shrinkage or finish issues, but others can signal movement, substrate failure, or freeze thaw damage. Masonry cracks that step through mortar joints, widen over time, or coincide with displacement are especially worth watching. Bulging is more serious than cracking because it suggests loss of stability or moisture-related deterioration behind the surface.
If you see visible mold, strong mold odors, active leaks, or widespread softness in wood-based materials, do not keep postponing action. These are signs that damage may already be spreading behind finishes and should be addressed before the repair scope gets larger.
How to Maintain Exterior Walls So They Last Longer
The most effective maintenance strategy is not complicated. It starts with keeping water off the walls as much as possible and letting them dry when wetting does occur. That means routine care for gutters, downspouts, sealants, cladding surfaces, and the ground around the house. It also means understanding that a clean, freshly painted wall can still be at risk if drainage is poor.
Keep roof drainage working properly
Gutters and downspouts protect walls more than many homeowners realize. A clogged gutter can dump a large volume of water directly down the facade, saturating trim, siding, and wall-to-foundation transitions. Overflowing roof edges can also create concentrated wetting that leads to staining and premature material breakdown.
Clean gutters regularly, check for leaks at joints, confirm that water flows to downspouts, and make sure downspouts discharge away from the foundation. If downspouts end right at the wall base, extend them. This is one of the lowest-cost, highest-value maintenance steps you can take.
Maintain grading and clearances
Walk the perimeter and check whether the ground still slopes away from the house. Settlement, landscaping changes, and added mulch can all alter drainage over time. Regrade where necessary so water moves away rather than pooling against the wall. Keep vegetation trimmed back to improve airflow and reduce constant dampness on the cladding.
Also preserve proper clearances between wall materials and soil, decks, roofing, and paving. When cladding stays too close to wet surfaces, it loses its ability to dry and is more likely to deteriorate. If a deck renovation, new garden bed, or walkway has reduced those clearances, correct it before damage develops.
Repair failed sealants and damaged surfaces promptly
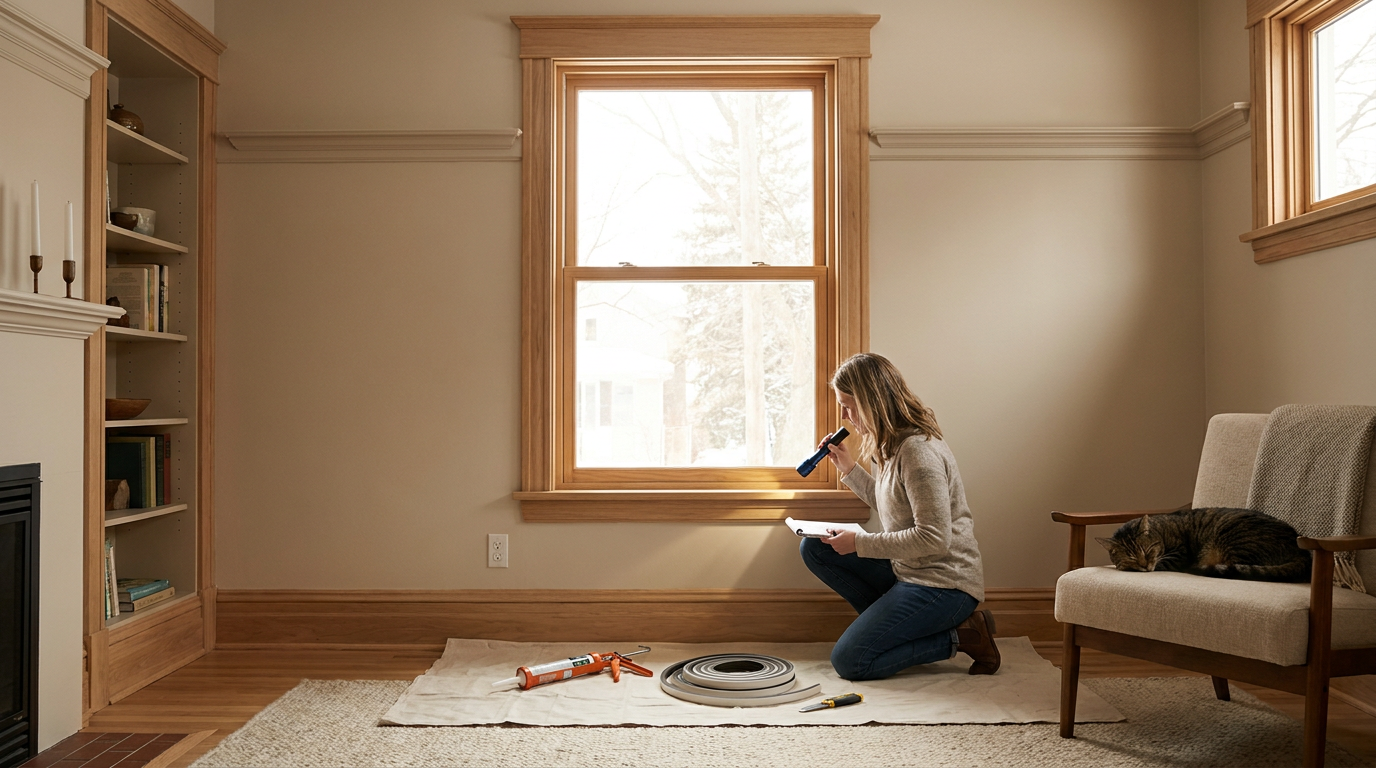
Sealants around windows, doors, and penetrations age with sunlight, temperature swings, and movement. Check them annually and replace failed sections before water can enter. Use a product appropriate for the materials involved and follow proper joint preparation practices. Poorly applied sealant rarely lasts long.
Similarly, repair cracked siding, missing mortar, damaged trim, and peeling protective coatings promptly. Delayed maintenance almost always expands the repair area. On wood surfaces, repainting should happen after the underlying moisture issue is addressed, not before. Paint is a protective layer, but it cannot compensate for chronic wetting from bad flashing or overflow.
Keep drainage paths and weep areas clear
Many wall systems are designed with drainage and drying in mind. Brick veneers have weep openings. Some claddings have drainage gaps or channels. These should not be blocked by debris, sealant, insulation scraps, or landscaping. If water gets behind the exterior finish, the assembly needs a way to release it and dry.
Homeowners do not need to become building scientists to respect this principle. The practical point is simple: do not block the places where walls are designed to drain or breathe. During maintenance and remodeling, avoid sealing paths that were intentionally left open for drainage.
Seasonal Maintenance Checklist for Homeowners
Exterior wall care works best when it becomes routine. Instead of waiting for visible failure, use a seasonal approach. The checklist below keeps maintenance manageable and helps you catch small issues before they become larger ones.
- Spring: Check for winter damage, cracked masonry, failed caulking, paint failure, and downspout discharge issues caused by snow and ice.
- Summer: Repair sealants, repaint or refinish vulnerable materials, trim vegetation, and inspect shaded walls for persistent dampness or biological growth.
- Fall: Clean gutters, verify grading, inspect wall penetrations, and fix drainage issues before freezing weather returns.
- After storms: Look for impact damage, displaced siding, overflow staining, new cracks, and water entry around windows and doors.
- Year-round: Document changes with photos and track repeat problem areas rather than treating each sign as an isolated defect.
This rhythm makes inspection practical. Most homes do not need dramatic annual intervention, but they do need consistent attention. A one-hour walkaround twice a year can prevent months of repair work later.
Common Misconceptions That Lead to Bigger Problems
One common mistake is assuming that if a wall looks fine from a distance, there is no moisture problem. Hidden moisture can exist behind siding, trim, insulation, and interior finishes long before surface damage becomes obvious. That is why repeat staining, odor, or localized softness should not be ignored just because the rest of the wall looks normal.
Another misconception is that caulking alone fixes wall leaks. In some cases, replacing failed sealant is part of the solution, but it is rarely the whole solution if drainage, flashing, grading, or cladding detailing are wrong. Water often enters above the visible symptom and follows concealed paths. Chasing the stain with more caulk can waste time while the real damage continues behind the wall.
Homeowners also sometimes assume that more insulation always improves wall performance. Better insulation can be a major benefit, but only when it is part of a moisture-safe retrofit. Changes to airtightness, vapor control, and thermal profile affect how the wall dries. During remodeling or energy upgrades, it is important to understand the existing assembly before adding materials that might trap moisture.
Finally, do not assume mold testing is always the first step. In many cases, the priority is finding and stopping the moisture source. Sampling can have a role in specific situations, but visual inspection and moisture correction are usually more useful at the beginning than collecting test data without a plan.
When to Call a Professional
There is plenty a careful homeowner can do, but some conditions need expert evaluation. Call a professional if you see active water intrusion, widespread cracking, bulging masonry, repeated interior staining, hidden mold concerns, structural movement, or any sign that the wall may have damage inside the assembly. If a problem keeps returning after basic maintenance, that is also a good reason to get experienced eyes on it.
Professionals may include a building envelope consultant, experienced home inspector, qualified contractor, masonry specialist, siding specialist, or structural engineer depending on the symptoms. The right choice depends on whether the issue appears to be mainly moisture-related, cladding-related, or structural. If safety is in question, start with the more conservative option and seek a structural assessment.
Professional investigation matters especially in newer retrofits and high-performance upgrades. Homes with added exterior insulation, replaced windows, extensive air sealing, or recladding work can perform very well, but details matter. If those changes were done without full attention to flashing, drainage, and drying potential, moisture problems can be hidden behind an otherwise improved exterior.
Good professionals do more than point at damage. They help identify the source, the path, and the extent of the problem. That is what leads to repairs that last rather than temporary patching.
Exterior Wall Maintenance During Renovations and Energy Upgrades
One of the biggest current trends in residential construction is improving the performance of older homes through insulation upgrades, air sealing, and envelope tightening. Done properly, these improvements can lower energy bills and improve comfort. Done carelessly, they can create new moisture problems by changing how the wall stores and dries moisture.
If you are replacing siding, adding insulation, or installing new windows, use the opportunity to inspect and upgrade water-management details. That includes flashing at openings, drainage planes behind cladding, continuity of the air barrier, and preserving drying potential appropriate to your climate. Continuous exterior insulation is getting more attention because it can reduce thermal bridging and improve moisture performance, but assembly design still needs to fit the wall type and local conditions.
Older homes deserve extra caution because they often rely on a certain balance of leakage and drying that modern materials can change. Tightening one part of the assembly without understanding the whole system can shift moisture to a new location. This does not mean homeowners should avoid upgrades. It means upgrades should be approached with the same practical respect as structural repairs.
Smart renovation principle: Every wall upgrade should answer three questions clearly. How does the wall keep water out, how does it control air movement, and how does it dry if it gets wet?
How to Document Problems and Track Progress
Good maintenance gets easier when you have records. Take clear photos of all elevations twice a year and close-up photos of any defects. Label them by date and location. If a crack widens, a stain spreads, or a patch of trim softens from one season to the next, that trend tells you far more than memory alone.
Keep a simple log of repairs, including what product was used, where, and when. If you replace sealant around a window and staining still returns, the history helps you and any professional understand that the leak source may be elsewhere. This also helps with budgeting because repeat issues often point to a need for broader correction rather than another small patch.
Documentation is especially useful after major weather events. If a hailstorm, windstorm, or ice event hits your area, post-event photos can reveal what changed. That can support insurance conversations and help separate old conditions from new damage.
Final Thoughts
Exterior walls last when they are inspected regularly, maintained practically, and understood as part of a complete building envelope. The key idea is not complicated. Water causes most of the expensive trouble, and moisture problems are easiest to fix at the earliest stage. If you pay attention to drainage, surface condition, joints, openings, and the base of the wall, you will catch many of the warning signs before they grow into structural repairs.
The most reliable maintenance habits are simple ones. Inspect twice a year. Look harder after storms. Keep gutters and downspouts working. Make sure grading slopes away from the house. Repair failed sealants and damaged cladding promptly. Watch for cracks, stains, efflorescence, soft spots, rust, and recurring dampness. Document what you see and take repeated symptoms seriously.
Most of all, remember that exterior wall maintenance is not just about appearance. It is about preserving the structure, comfort, health, and long-term value of the home. A wall that sheds water and can dry properly will almost always outlast one that simply looks good on the surface. That is the difference between cosmetic upkeep and real building care.


No Comment! Be the first one.