


How to Create Stunning Decorative Finishes on Your Walls: Easy DIY Techniques That Really Work
Decorative wall finishes have a way of making a room feel personal. A plain painted wall does its job, but a wall with soft texture, subtle movement, or a crisp pattern adds character that standard paint alone often cannot. The good news is that you do not need to be a trained mural artist or a faux finish specialist to get that effect. Many of the most attractive decorative painting techniques are approachable for ordinary homeowners, provided the prep is sound and the method is practiced before it goes on the wall.
Table Of Content
- Why Decorative Finishes Work So Well
- Start With the Right Wall, Not Just the Right Idea
- The Prep Work That Makes Decorative Painting Succeed
- Build a Sample Board Before You Touch the Wall
- Choose the Best Decorative Finish for Your Skill Level
- Technique One: Sponge Painting for Soft Texture and Imperfection Hiding
- Technique Two: Color Washing for Depth, Warmth, and a Soft Aged Look
- Technique Three: Rag Rolling for More Movement and Slightly Stronger Texture
- Technique Four: Stenciling for Pattern Without Wallpaper
- Technique Five: Stripes, Diamonds, and Geometric Patterns for a Modern Look
- Technique Six: Simple Mural Style Shapes Anyone Can Paint
- What About Faux Brick and Surface Building Effects?
- Timing, Drying, and How Long These Projects Really Take
- Common Mistakes That Make Decorative Finishes Look Amateur
- How to Choose Colors and Sheen for the Best Result
- Where Decorative Finishes Make the Most Sense in a Home
- A Step by Step Project Plan for Your First Decorative Wall
- Final Thoughts
That is the part people often miss. Decorative painting is less about raw artistic talent and more about process. If the wall is cleaned, patched, sanded, taped, primed where needed, and coated with the right base layer, the actual finish becomes much easier to control. Major paint brands and home improvement retailers keep making this point because it is true on nearly every project. Good prep work makes average hands look a lot more skilled.
This guide focuses on practical decorative finishes that work in real homes. We are not talking about high polish Venetian plaster that demands years of touch and timing. We are talking about finishes like sponge painting, color washing, rag rolling, stenciling, stripes, diamonds, simple mural style shapes, and faux brick effects that can transform a room without turning it into a week long construction zone. Some can be done in a single day, while others may take a couple of days with drying time.
If you want to personalize a bedroom, hallway, powder room, dining space, or living room feature wall, these methods give you a high impact upgrade for a relatively modest cost. They can also solve practical problems. Softly mottled finishes can hide minor drywall flaws. Strategic patterns can draw attention away from uneven spots. A carefully chosen sheen can improve durability or soften harsh wall surfaces visually. Done right, decorative finishes are not just decoration. They are a useful tool in the overall quality and feel of a room.
Before you start, it helps to understand one basic truth. Paint only effects and surface building systems are not the same thing. A color wash is a decorative paint treatment. Faux brick panels are a cladding product. Decorative moulding adds actual profile to the wall. Texture compounds and plaster build physical depth. Homeowners often group these together, but they have different prep, skill, timeline, and maintenance requirements. In this article, the main focus is on decorative painting techniques that are practical for DIY use, with a few notes on when a more built up surface effect may make sense.
Why Decorative Finishes Work So Well
Most rooms have large uninterrupted wall areas. That means even a small change in finish reads clearly the moment you enter the space. Decorative painting lets you use that square footage as part of the design rather than leaving it as a blank backdrop. A soft wash can make a room feel warmer. Clean vertical stripes can make a low ceiling appear taller. A diamond pattern can bring order and energy to a plain wall without adding furniture or clutter.
There is also a cost advantage. Replacing wall finishes with tile, wood paneling, stone veneer, or custom wallpaper can get expensive quickly. Decorative painting usually asks for paint, a few tools, and your time. For homeowners who want a fresh result without committing to a major renovation, that is a practical middle ground. It is especially useful in older homes where you want improvement, but you also need to stay realistic about budget and disruption.
Another reason these finishes are popular is that they are far more flexible than many people assume. Decorative painting moved away from the heavy faux Tuscan look that dominated some older design trends. Today, cleaner geometric work, subtle texture, mural style forms, and restrained layered color are more common. That shift matters because it makes decorative finishes easier to fit into modern, transitional, farmhouse, or classic interiors without making the room look themed or dated.
Start With the Right Wall, Not Just the Right Idea
Choosing the wall matters almost as much as choosing the technique. Some decorative finishes look best on a single feature wall where they can hold attention without overwhelming the room. Others, especially soft low contrast finishes like color washing, can work across all four walls if the room has decent natural light and enough space. A small powder room, for example, can handle more drama than a long dark hallway where heavy contrast may feel cramped.
Light level is a practical factor that gets overlooked. Matte and flat finishes can soften flaws and create a velvety look, but they absorb more light. Satin and soft eggshell reflect a bit more, which can help decorative effects show up in dimmer spaces and can offer better wipeability in high touch areas. If you are working in a child’s room, stairwell, or entry, maintenance should carry real weight in your decision.
Wall condition matters too. If your drywall has small waves, patched spots, or old repair marks, a heavily taped geometric pattern may highlight those defects because straight lines make uneven surfaces more obvious. In that case, a sponge painted or color washed finish may actually produce a better result because the variation disguises imperfections. On the other hand, if your wall is smooth and true, stripes or a clean stencil pattern can look sharp and intentional.
The Prep Work That Makes Decorative Painting Succeed
If there is one place to be disciplined, this is it. Decorative finishes sit on the wall in a way that draws attention. That means dirt, ridges, missed patches, and poor cut lines will show. Retailer tutorials and manufacturer guides repeatedly emphasize prep because they know homeowners often want to jump straight to the fun part. Resist that urge. A decorative finish on a poorly prepared wall usually looks like a shortcut, not a design choice.
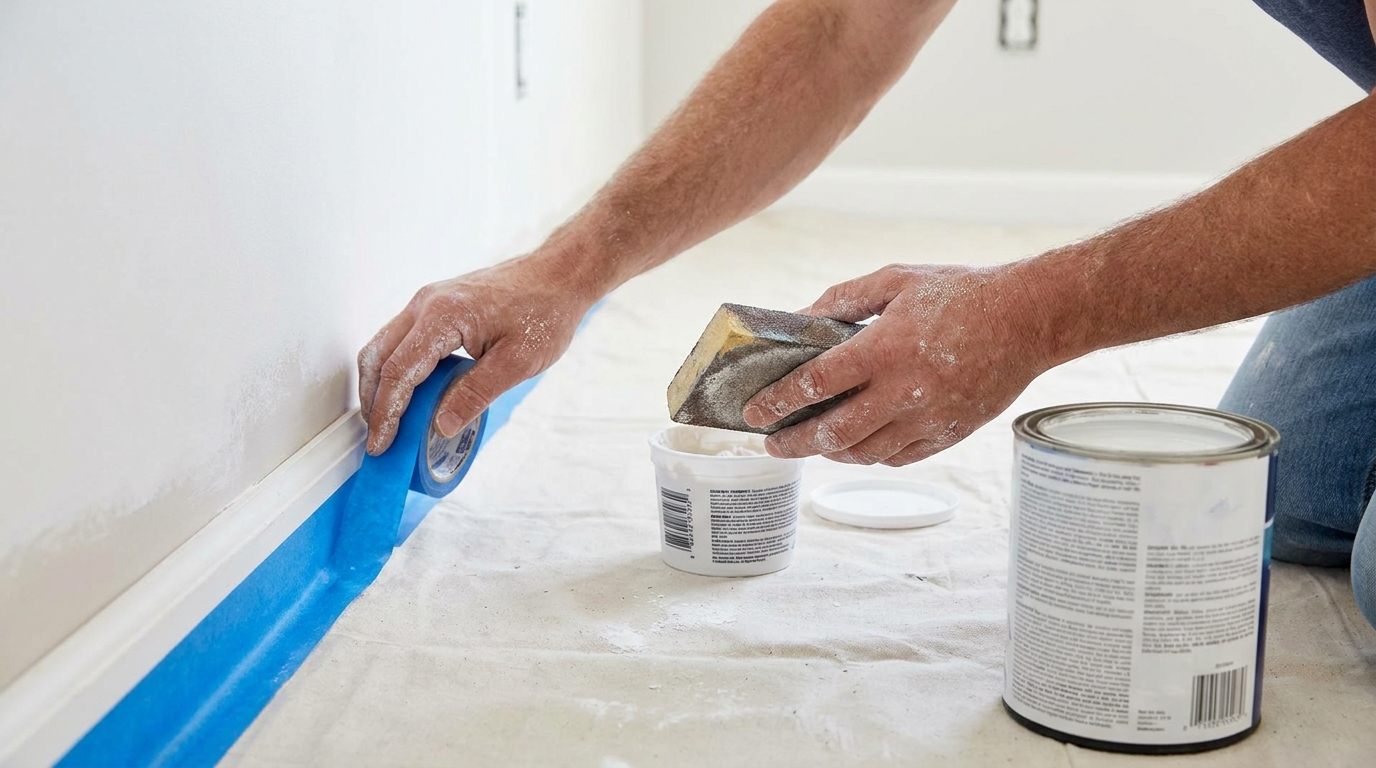
Start by clearing the room as much as possible. Move furniture away from the wall, remove outlet covers, and protect floors with drop cloths. Wash the wall to remove dust, grease, and hand oils, especially in kitchens, hallways, and around switches. If the wall has nail holes, dents, or peeling areas, patch and scrape them first. Once the repairs dry, sand them smooth and feather the edges so they disappear into the surrounding surface.
Next, assess whether primer is needed. If the wall has repairs, stain bleed, uneven porosity, or a strong existing color, primer is often the right call. It gives you a uniform base and helps your decorative layers behave consistently. After priming if required, apply the base coat selected for your finish. Many techniques rely on a properly cured base color before the decorative layer goes on top, especially when a glaze or transparent top effect is involved.
Use painter’s tape with care. Low tack tape is useful for stripes, diamonds, stencils, and edge protection, but it still needs to be applied to a clean, dry surface and pressed down firmly at the edges. Bleed under the tape is usually caused by either poor adhesion or loading too much paint along the tape line. It is worth taking your time here because crisp boundaries are one of the easiest ways to make a DIY finish look professional.
Practical rule: if you are tempted to skip cleaning, patching, or making a sample board, you are setting yourself up for the kind of result people blame on the technique when the real problem was preparation.
Build a Sample Board Before You Touch the Wall
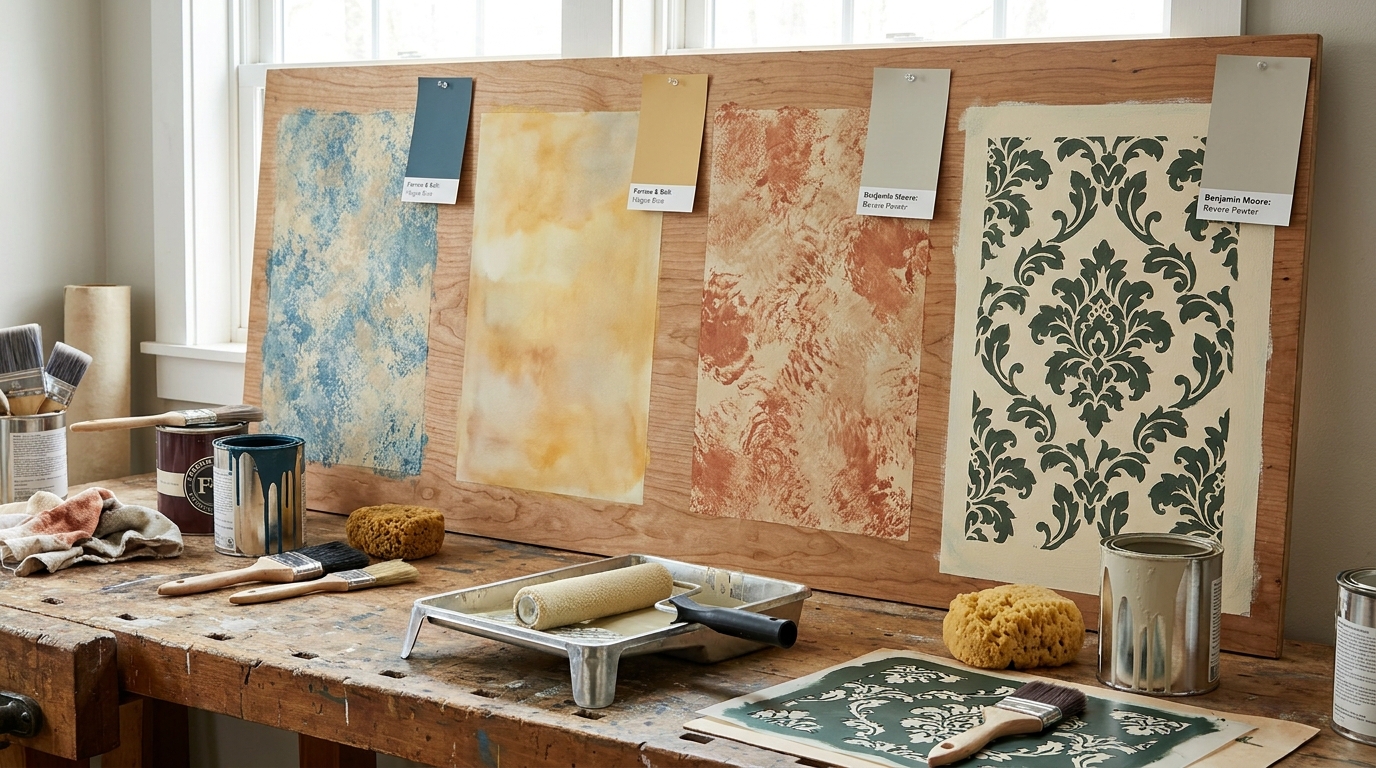
Practice boards are not optional if you care about the result. Several major paint brands recommend testing color and technique on a board around 2 feet by 2 feet before starting the wall. That advice saves time, money, and frustration. It lets you see whether the color contrast is too strong, whether the pattern scale fits the room, and whether your hand motion is producing the look you had in mind.
A sample board should mimic the real wall as closely as possible. Prime it if the wall will be primed. Apply the same base coat and let it dry. Then test your sponge pressure, rag rolling direction, stencil loading, or stripe width. Keep notes about what worked and what did not. You will often find that a finish looks best with less contrast than you expected, or that a glaze mix needs more open time to stay workable.
This step is especially important because decorative finishes often look messy halfway through and come together only after a section is complete. A sample board helps you learn what the awkward middle stage looks like so you do not panic and overwork the paint on the actual wall. That is a common beginner mistake. People keep touching an area that was on its way to looking good, and they muddy the effect trying to force it.
Choose the Best Decorative Finish for Your Skill Level
Not every finish belongs on your first project. The easiest techniques are those that allow some variation and do not punish small inconsistencies. Sponge painting, color washing, rag rolling, simple stenciling, broad stripes, and large mural style shapes all fit that category. More technical plaster style finishes, metallic layering, or faux stone work tend to demand tighter timing and better tool control. That does not mean you can never do them, but they are better tackled after you have one or two simpler projects behind you.
It also makes sense to match the technique to the room’s style. If your house leans modern, cleaner patterns like stripes, squares, arches, or diamonds usually feel right. If you want softness and warmth, color washing and light sponge texture often work better. For a child’s room or creative area, oversized shapes and mural style forms are forgiving and playful. The right finish should look intentional in the context of the room, not like a random effect added because it looked interesting online.
Technique One: Sponge Painting for Soft Texture and Imperfection Hiding
Sponge painting is one of the most approachable decorative finishes for homeowners, and it remains useful because it creates movement without requiring perfect precision. It can also help hide minor drywall imperfections by breaking up the uniformity of the wall surface. That is one reason it still has practical value even when trends change. Used with restraint, it reads as soft texture rather than a dated gimmick.
Start with a dry base coat. Many people choose a lighter base color with a slightly darker top shade, though the reverse can work too if you want a more airy effect. Mix the top color according to the product instructions if you are using a glaze system, then pour a manageable amount into a tray. Dampen a natural sea sponge and wring it out so it is just barely moist. You do not want water dripping into the paint.
Dip the sponge lightly, then blot the excess onto cardboard or the tray liner. Begin in an upper corner and dab the wall with a random, rotating motion. Avoid repeating the exact same imprint. The goal is variation. Work in small sections so the effect stays consistent, and step back often to make sure one area is not getting too heavy compared to the next. If the pattern builds too fast, switch to a cleaner part of the sponge or blot more thoroughly before touching the wall again.
A good sponge finish usually has restraint. Leave some of the base coat visible so the wall breathes. If you completely cover the wall in the secondary color, you lose the depth that makes the method attractive. This technique is a strong choice for powder rooms, foyers, and feature walls where you want visual texture without hard geometry.
Technique Two: Color Washing for Depth, Warmth, and a Soft Aged Look
Color washing creates a layered, cloudy effect that gives walls depth and warmth. Benjamin Moore and other paint authorities often describe it as a glaze based technique that works particularly well with two related shades. The higher sheen base coat can help the wash move more easily across the surface, while the translucent top layer creates the character. The end result can feel relaxed, slightly old world, or simply more nuanced than a flat solid color.
To apply it, begin with a fully dry base coat. Prepare your glaze or translucent top mixture according to instructions. Using a brush, rag, or large paint applicator, apply the wash to a small section of wall in a loose crossing pattern. Then soften and blend it using a clean dry brush, soft cloth, or circular rag motion depending on the exact method you tested on your sample board. The key is to keep the effect open and varied rather than streaky.
Work one manageable section at a time because open time matters. If you spread too large an area and the glaze starts to set, you can create lap marks and uneven transitions. This is why manufacturer guidance often stresses smaller sections and steady progress. In practical terms, that might mean working from ceiling to floor in strips about two or three feet wide, blending the edges before moving on.
Color washing suits spaces where you want calm depth rather than strong pattern. Bedrooms, dining rooms, and reading nooks are natural candidates. It can also work on all four walls if the contrast is subtle. If you push the difference between base and wash too far, however, the finish can start to look forced. Similar tones often give the best result.
Technique Three: Rag Rolling for More Movement and Slightly Stronger Texture
Rag rolling gives a more directional texture than sponge painting. It works by rolling a bunched rag through wet glaze or paint to leave a broken pattern across the surface. Depending on the fabric and pressure, the result can be soft and linen like or more dramatic and rustic. This makes it flexible, though it also means your sample board matters a great deal because the exact rag, moisture level, and rolling pressure all affect the look.
After your base coat has cured, apply the glaze or top coat to a small section with a roller. Immediately roll the bunched rag through that wet area, refreshing or repositioning the rag as needed to maintain pattern variation. Some people prefer to load the rag lightly and roll it onto the wall rather than through freshly applied glaze. Both methods can work, but whichever one you choose should be practiced first so the wall gets a consistent treatment.
Rag rolling can look busy if overdone. It usually works best when the color difference is moderate and the room has enough visual calm elsewhere. For that reason, it is often better on a single wall than throughout a tight space. It can be especially effective in guest rooms, studies, and dining areas where a little texture adds interest without requiring decorative accessories to do all the work.
Technique Four: Stenciling for Pattern Without Wallpaper
Stenciling is one of the easiest ways to get a wallpaper style effect with paint. It appeals to homeowners who want pattern but either do not want wallpaper or are working on a budget. The look can range from subtle repeated tone on tone motifs to bold statement designs. Current trends lean toward cleaner stencil work rather than fussy ornate repeats, but the basic process is the same.
Lay out your starting point carefully. A stencil pattern that drifts out of level becomes obvious fast, especially on a long wall. Mark reference lines and use low tack tape or adhesive spray if the stencil manufacturer recommends it. Load the brush or small roller lightly. This is where many DIY projects go wrong. Too much paint is what causes bleed and mushy edges. Less is better, and you can always build coverage with another pass if needed.
Press the stencil flat, apply the paint with a pouncing or light rolling motion, then remove it carefully and reposition using the registration marks. Check alignment every few repeats. Small cumulative errors are the enemy of pattern work. If you are a beginner, consider using a simple motif on a feature wall or the upper half of a wall above panel moulding. That gives you the decorative impact without asking you to cover a huge surface on your first attempt.
Technique Five: Stripes, Diamonds, and Geometric Patterns for a Modern Look
Clean geometric finishes are one of the strongest modern alternatives to older faux looks. Sherwin-Williams and other brands regularly feature stripes, squares, diamonds, and wall graphics because they are accessible and visually current. They also pair well with many interiors because they rely on layout and contrast more than texture. If your taste runs more modern or architectural, this category is worth serious attention.
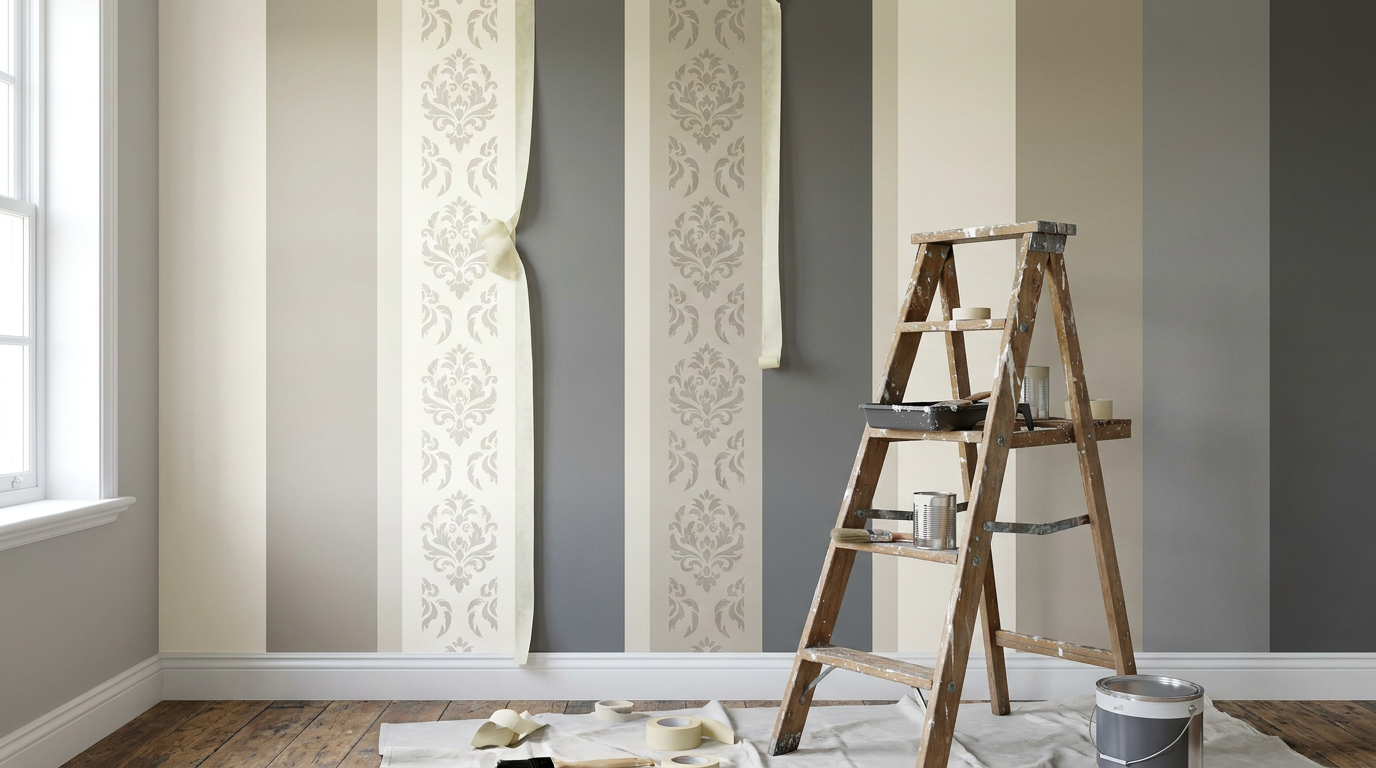
Stripes are often the best entry point. Start with a base coat, let it cure, then measure and mark your stripe layout carefully. Use a level or laser level if possible. Tape both sides of the stripe if alternating colors are involved, then seal the tape edges by pressing them firmly. Paint with a light hand to avoid forcing paint under the tape. When the paint is still slightly tacky rather than fully hard, remove the tape carefully for cleaner lines.
Diamonds or harlequin patterns take more planning but are still manageable. Mark a grid first, then connect points to create consistent angles. The room will tell you quickly if your spacing drifts, so take your time on layout. These patterns work especially well in nurseries, dressing rooms, hallways, or dining spaces where you want a strong decorative statement. Done in low contrast tones, they can feel surprisingly elegant rather than loud.
Geometric work is less forgiving of bad walls and sloppy tape lines, so preparation is crucial. But if your surface is decent and your measurements are careful, this approach delivers some of the cleanest, freshest decorative results available to homeowners.
Technique Six: Simple Mural Style Shapes Anyone Can Paint
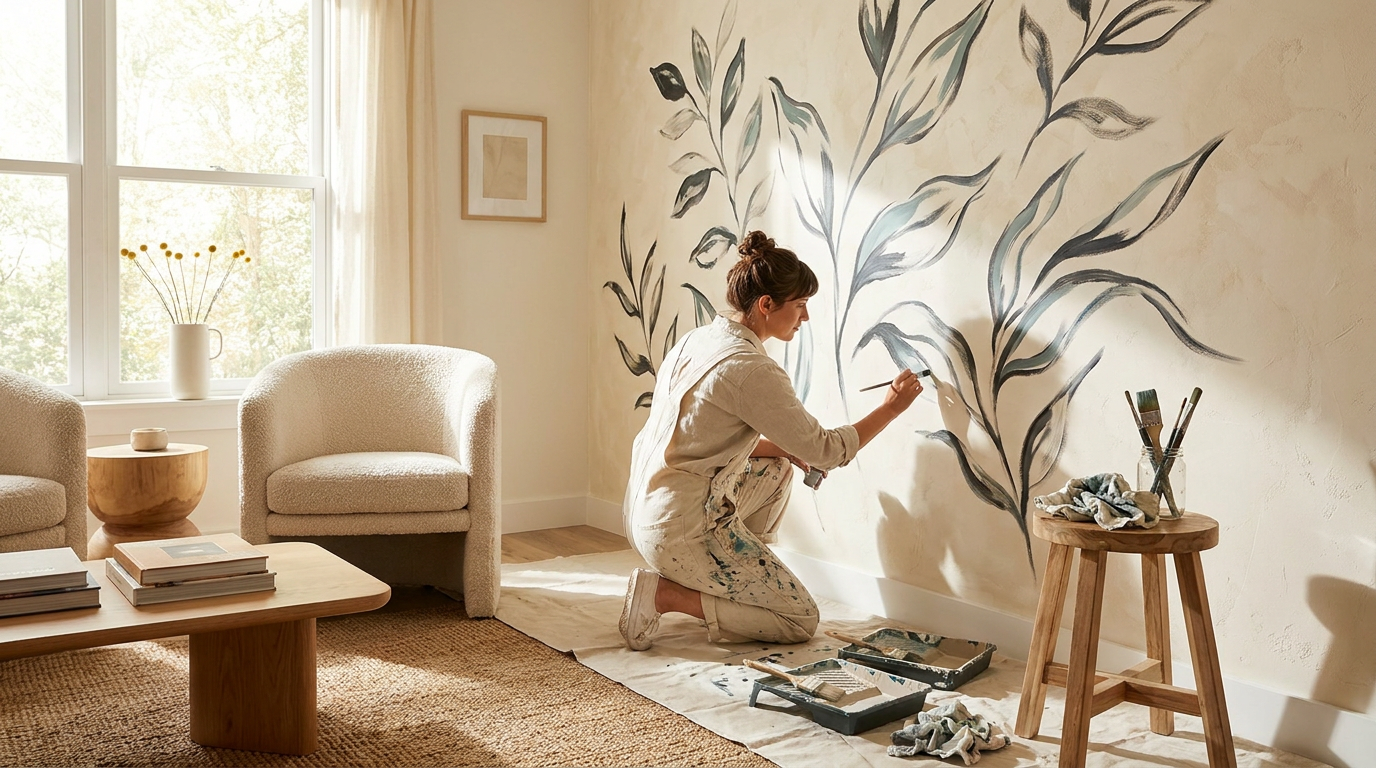
Many people hear the word mural and assume they need advanced drawing skills. In practice, some of the best mural style walls are built from very simple shapes. Arches, half circles, color blocks, mountain silhouettes, and abstract organic forms are all accessible with basic layout tools. They are particularly useful in bedrooms, playrooms, offices, and entry walls where you want a custom look without the pressure of painting a detailed scene.
Begin by sketching the shape on paper and deciding on scale. Then transfer the outline to the wall using a pencil, chalk line, string, or a homemade cardboard template. Tape sharp edges where needed, and freehand only the sections that are meant to feel soft or organic. Use a good angled brush for cut lines and a roller for filling larger areas. Two thin coats usually give a better finish than one heavy one.
These walls succeed because they feel intentional and bold while still being forgiving. A large painted arch behind a bed can act like a headboard. A half height color block in a home office can define the desk area. Abstract forms can add energy without requiring the room to revolve around a single complicated art piece. If you want a personalized wall but do not want to commit to a repeated pattern, this is often the smartest route.
What About Faux Brick and Surface Building Effects?
It is worth pausing here because many readers researching decorative finishes end up looking at faux brick, decorative moulding, and plaster style treatments too. These can be excellent choices, but they are not paint only methods. Faux brick panels or thin wall systems involve installation, cutting, fastening, and finishing seams. Decorative moulding requires layout, fastening, caulking, and painting. Plaster and texture compounds create an actual build on the wall surface.
That distinction matters because the prep and effort are different. If you want the lowest cost, lowest mess route with the easiest reversibility, paint based decorative finishes still come out ahead. If you want actual depth and shadow lines, moulding or panel systems may justify the extra work. There is no single right answer, but it helps to know what category you are entering before you buy materials and set expectations.
Timing, Drying, and How Long These Projects Really Take
One of the most useful practical notes from manufacturer guidance is that decorative finishes often take longer than people expect, even when they are beginner friendly. Some faux finish projects may take roughly four to seven hours spread across one to three days depending on wall size and complexity. A larger textured treatment can stretch to about eight total hours over two or three days for a substantial wall area. The actual painting may not be difficult, but drying time, taping, layout, and touch ups add up.
For homeowners, that means planning matters. Do not start a decorative wall late in the afternoon assuming you will have the room back by dinner. Base coats need to cure. Tape lines need patience. Glazes need controlled sections. If you rush because you want the room reassembled quickly, the finish will show it. A better approach is to choose one wall, reserve enough uninterrupted time, and let the project breathe.
Common Mistakes That Make Decorative Finishes Look Amateur
The first mistake is skipping the sample board. The second is underestimating prep. The third is using too much product at once. Whether you are sponge painting, washing, stenciling, or striping, heavy application is usually what creates drips, muddy texture, and bleed. Decorative finishes depend on controlled layering. Thin, deliberate passes almost always look better than trying to force full coverage in one hit.
Another common issue is working too large an area at one time. Open time matters, especially with glazes and blended effects. If the material starts drying before you finish manipulating it, lap marks appear and transitions become obvious. The fix is simple. Work in smaller sections and maintain a wet edge. That advice may sound basic, but it is the difference between a finish that feels cohesive and one that looks patched together.
Color choice causes problems too. Homeowners often assume a dramatic finish requires strong contrast. In practice, many of the best decorative walls use colors that are closer together than expected. Subtle value changes create depth without screaming for attention. If your goal is elegance rather than novelty, start with related shades and only increase contrast if the sample board proves it needs more separation.
How to Choose Colors and Sheen for the Best Result
Color selection should follow the room, not the other way around. Look at flooring, trim color, natural light, furniture, and the mood you want. Soft earth tones, grayed blues, warm whites, muted greens, and layered neutrals are dependable for finishes like color washing and sponge texture. Black and white or beige and taupe can be excellent for geometric patterns if you want a cleaner architectural look.
Sheen matters in a practical way. Flat and matte products can help conceal surface defects and create a softer appearance, but they are usually less washable. Satin or eggshell can be a better balance for spaces that see contact. For decorative layers that use glaze or semi transparent effects, the underlying sheen may affect movement and final look, so follow product guidance and test on the sample board first.
If you are undecided, remember this. Decorative walls already add visual activity, so they often work best when the rest of the room stays relatively calm. A feature wall should support the room, not fight every other finish in it. Practical design nearly always wins over trying to showcase every idea at once.
Where Decorative Finishes Make the Most Sense in a Home
Feature walls behind beds, sofas, and dining tables are reliable choices because furniture naturally frames the finish. Powder rooms are also ideal because they are small enough to feel special and manageable enough for a first project. Entry walls can work well if they are visible on approach and not heavily interrupted by doors and trim. In children’s rooms, mural style shapes and broad stripes are often more durable visually than very intricate patterns that can feel age specific too quickly.
Large open concept spaces require more caution. A decorative finish may need enough distance to read properly, and too much pattern in a shared living area can become tiring over time. In those rooms, subtle texture or a single geometric accent wall is usually the smarter move. Again, the practical question is not just what looks attractive close up, but what feels right living with it every day.
A Step by Step Project Plan for Your First Decorative Wall
-
Pick one wall, not a full room, for your first project. Choose a wall with decent condition and a clear visual purpose.
-
Select a beginner friendly technique such as sponge painting, color washing, broad stripes, or simple stenciling.
-
Gather materials, including drop cloths, painter’s tape, patching compound, sandpaper, primer if needed, base coat paint, top coat or glaze, and the tools specific to your technique.
-
Clean, patch, and sand the surface thoroughly. Prime where necessary and apply the base coat.
-
Create a sample board and test color, pressure, spacing, and timing before moving to the wall.
-
Lay out the design or plan your working sections. Protect trim and adjacent surfaces.
-
Apply the decorative finish in manageable areas, checking often for consistency and stepping back to assess the whole wall.
-
Allow adequate drying time, remove tape carefully, and complete any touch ups only after the finish has settled visually.
-
Reinstall covers, move furniture back, and evaluate the wall in morning and evening light before deciding if any adjustment is really needed.
Final Thoughts
Decorative finishes are one of the few home upgrades that combine creativity, practicality, and affordability in a way most homeowners can actually use. You do not need advanced painting credentials to get a strong result. What you need is a realistic technique, careful wall prep, a sample board, and the patience to work in stages. That is what turns decorative painting from a risky weekend experiment into a reliable DIY improvement.
If you are just starting out, keep the first project simple. Choose one wall, use a finish that allows some natural variation, and let the room guide the color and scale. Once you complete one successful wall, the process becomes much less intimidating. You begin to see that decorative painting is not some secret trade reserved for specialists. It is a practical skill, and like most practical skills in the home, it gets better with sound preparation and steady hands.
The main thing is to respect the basics. Clean surfaces, proper repairs, good tools, manageable sections, and tested colors will take you further than any complicated product claim. Decorative finishes should feel approachable because, in many cases, they are. Done with care, they can make a room feel more finished, more personal, and more thoughtfully built around the way you actually live.


No Comment! Be the first one.