



10 DIY Eco-Friendly Cleaning Solutions for a Greener, Healthier Home
There is something deeply satisfying about a clean home that feels fresh, calm, and comfortable the moment you walk in. For many people, that feeling is tied not only to tidy counters and sparkling glass, but also to the sense that the products being used are gentler on the air, safer around everyday life, and kinder to the planet. DIY eco-friendly cleaning solutions appeal for exactly that reason. They can help reduce plastic waste, simplify your routine, and cut back on some unnecessary ingredients you may not want drifting through your living spaces.
Table Of Content
- Why DIY Eco-Friendly Cleaning Matters
- Before You Start: Essential Safety Rules for DIY Cleaning
- Quick Do Not Mix Reminder
- The Best Basic Ingredients for Green Home Cleaning
- 1. Everyday All-Purpose Surface Spray
- Recipe
- How to Use It
- 2. Vinegar Glass and Mirror Cleaner
- Recipe
- How to Use It
- 3. Baking Soda Sink and Tub Scrub
- Recipe
- How to Use It
- 4. Refrigerator Deodorizing Powder
- Recipe
- How to Use It
- 5. Gentle Oven Spot-Cleaning Paste
- Recipe
- How to Use It
- 6. Microwave Steam-and-Wipe Cleaner
- Recipe
- How to Use It
- 7. Fragrance-Free Floor Cleaning Solution
- Recipe
- How to Use It
- 8. Soft Furniture and Upholstery Freshening Method
- Method
- How to Use It
- 9. Toilet Bowl Baking Soda and Vinegar Refresh
- Recipe
- How to Use It
- 10. Trash Can and Recycling Bin Deodorizing Rinse
- Recipe
- How to Use It
- Where DIY Cleaners Work Best and Where They Do Not
- Simple Greener Cleaning Habits That Matter Just as Much as Recipes
- Creating a Cleaning Routine That Feels Good to Live With
- Frequently Asked Questions About DIY Eco-Friendly Cleaning
- Are homemade cleaners safer than store-bought cleaners?
- Can DIY cleaners disinfect surfaces?
- What ingredients should I avoid in DIY cleaning?
- What is the easiest first step toward greener cleaning?
At the same time, green cleaning works best when it is grounded in reality. Public health guidance in North America has made it clear that household cleaning products can affect indoor air quality. Health Canada notes that cleaning products can be a source of volatile organic compounds, often called VOCs, and recommends increasing ventilation and choosing low-emission products when possible. The U.S. Environmental Protection Agency also advises consumers to look beyond vague claims like green or eco-friendly and instead rely on trusted labels such as Safer Choice or DfE when buying ready-made products.
That balance is what makes a greener cleaning routine truly useful. Homemade cleaners can be wonderful for routine wiping, deodorizing, and light scrubbing, but they are not magical and they are not always the right tool for every job. EPA guidance points out that homemade cleaners do not typically perform as well as commercially formulated products designed for higher performance. In other words, the smartest approach is often a hybrid one: use DIY solutions where they work beautifully, and choose certified or purpose-specific products when you need stronger cleaning power or true disinfection.
In this guide, you will find 10 practical DIY eco-friendly cleaning solutions made with simple ingredients many households already have on hand. You will also find safety tips, surface guidance, and realistic expectations so your routine feels sustainable in every sense of the word. A greener home is not about perfection. It is about making informed, thoughtful choices that support comfort, wellness, and everyday ease.
A healthier cleaning routine starts with three simple goals: reduce waste, reduce unnecessary exposure, and improve indoor air by cleaning with care, ventilation, and the right product for the right task.
Why DIY Eco-Friendly Cleaning Matters
One of the biggest reasons people switch to DIY cleaning is the desire to avoid an endless stream of disposable packaging and heavily fragranced formulas. Reusing spray bottles, mixing concentrates at home, and choosing a small set of basic ingredients can make your cleaning cabinet feel far less cluttered. It also creates a more intentional relationship with the products you bring into your home. When you know what is inside a cleaner and what it is designed to do, you are often more likely to use it correctly and more sparingly.
There is also a meaningful indoor-air-quality angle. Household products do not only affect the surfaces they touch. Health Canada explains that these products can contribute to indoor air pollution through direct use, emissions into the air, and gradual breakdown into household dust. That does not mean all commercial products are bad or all homemade products are automatically better, but it does mean that reducing unnecessary fragrance, improving ventilation, and avoiding overuse can have real benefits for how your home feels day to day.
Another important piece of the conversation is greenwashing. EPA has long warned that broad terms like green or natural can be misleading if they are not backed by credible standards. If you prefer to buy certain products rather than make them, look for established labels such as EPA Safer Choice, which certifies products that meet ingredient safety criteria for human health and the environment. The program has also strengthened packaging sustainability criteria and restrictions related to intentionally added PFAS in primary packaging, which is encouraging for households trying to clean more thoughtfully.
Before You Start: Essential Safety Rules for DIY Cleaning
Homemade cleaning can feel wholesome and simple, but natural ingredients still deserve respect. A common misconception is that if something comes from your pantry, it must be harmless in every context. That is not true. Vinegar is acidic and can damage certain surfaces. Baking soda is mildly abrasive and can dull delicate finishes if overused. Ammonia and bleach should never be mixed, because they can generate toxic chloramine gas. EPA also warns that borax is associated with reproductive, developmental, and neurological hazards, which is why this guide avoids using it altogether.
Ventilation matters just as much with DIY cleaning as it does with store-bought products. Open windows when possible, turn on exhaust fans in kitchens and bathrooms, and avoid spraying large amounts into still air. It is also wise to wear gloves if you have sensitive skin, especially when using vinegar frequently or scrubbing for extended periods. Label every bottle clearly with its contents and date so there is no confusion later.
Finally, remember the difference between cleaning and disinfecting. Cleaning removes dirt, grease, and some germs from surfaces. Disinfecting is a product-specific process that uses tested active ingredients and instructions to kill certain pathogens. If someone in your home is sick, if you are cleaning up after raw meat, or if you are dealing with mold or a contamination concern, a homemade cleaner may not be enough. In those moments, use an EPA-registered disinfectant or another product with clear, proven performance claims.
Quick Do Not Mix Reminder
- Never mix bleach and ammonia.
- Never mix bleach and vinegar.
- Do not assume multiple natural ingredients are better simply because they are natural.
- Avoid using DIY recipes on surfaces you have not checked for compatibility.
The Best Basic Ingredients for Green Home Cleaning
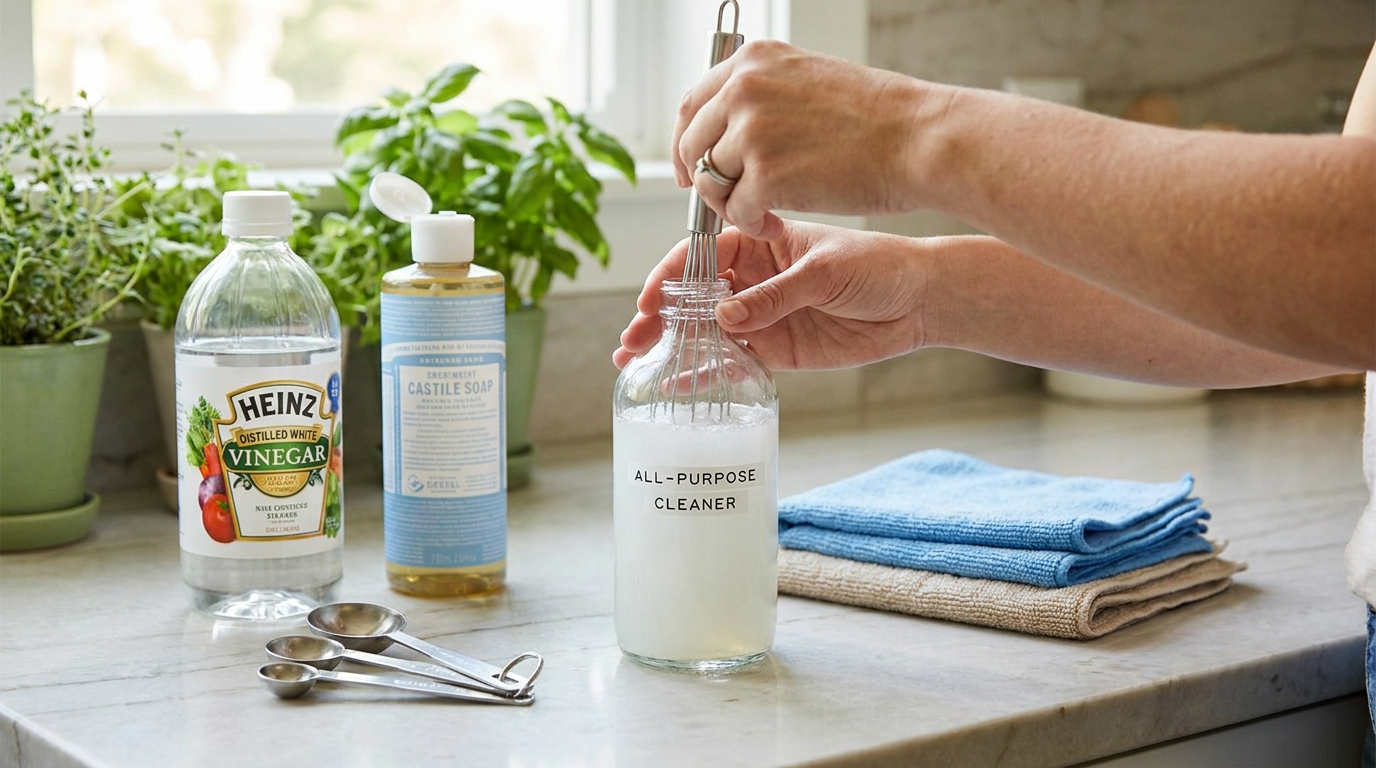
You do not need a long shopping list to build a gentle, practical DIY cleaning routine. In most homes, a few staples are enough to handle daily messes beautifully. Distilled white vinegar is useful for cutting through mineral buildup and leaving glass shiny. Baking soda works well for deodorizing and gentle scrubbing. Unscented castile soap or a simple fragrance-free dish soap can help lift grease and grime from many washable surfaces. Warm water, microfiber cloths, and reusable spray bottles round out the kit.
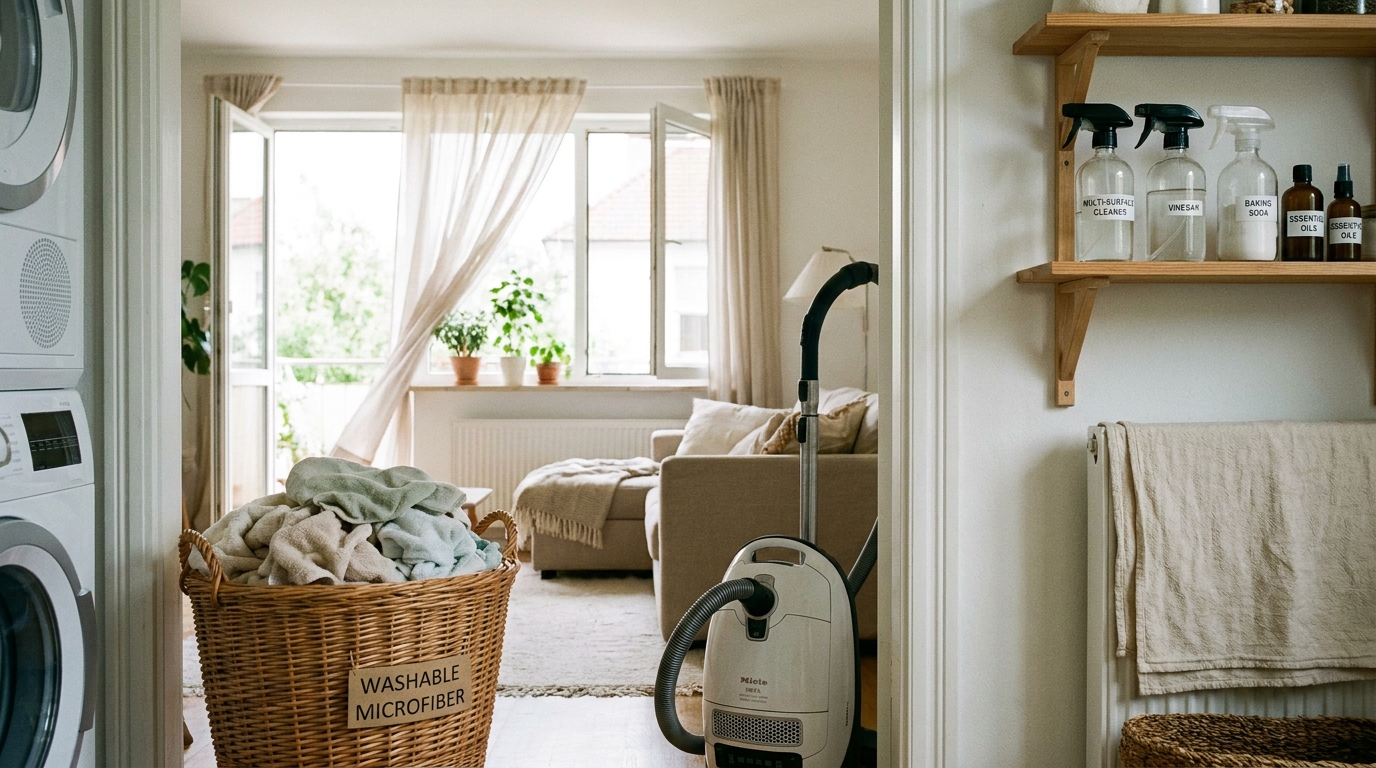
Microfiber deserves special mention because it can reduce the need for heavy product use. A damp microfiber cloth can trap dust and lift residue more effectively than many ordinary rags, making it easier to clean with less liquid overall. A HEPA vacuum is another smart companion to a greener home care routine because it helps capture fine dust rather than simply redistributing it. When your home contains less dust and residue to begin with, you often need fewer cleaning products to maintain that fresh feeling.
If you enjoy scent, be selective and restrained. Fragrance-free cleaning is becoming more popular for good reason, especially in households focused on indoor air quality. While some people like adding essential oils, they can also be irritating for sensitive individuals, pets, or children, and they do not improve cleaning performance in a meaningful way. If your goal is a fresher home, good ventilation, cleaner fabrics, and regular dust removal often make a bigger difference than perfume ever could.
1. Everyday All-Purpose Surface Spray
This is the workhorse recipe many people end up reaching for most often. It is ideal for everyday wipe-downs in the kitchen, entry, laundry area, and other hard surfaces that collect fingerprints and light messes. A simple soap-based cleaner is one of the most useful DIY options because it is straightforward, low waste, and generally gentle when used correctly. It also avoids the harshness and heavy scent of many conventional spray products.
Recipe
- Fill a reusable 16 ounce spray bottle with 2 cups of warm water.
- Add 1 teaspoon of unscented castile soap or a mild fragrance-free dish soap.
- Gently swirl to combine rather than shaking vigorously.
How to Use It
Spray lightly onto washable surfaces such as sealed counters, cabinet fronts, appliance exteriors, and table tops. Wipe with a damp microfiber cloth, then buff dry if needed. This cleaner is best for removing ordinary household grime rather than sanitizing. Because soap residue can build up if overused, it helps to follow with a plain damp cloth on glossy finishes.
The beauty of this formula is its simplicity. It cleans without leaving your home smelling heavily perfumed, and it can become a reliable part of your daily reset routine. If you have stone counters or specialty finishes, always check manufacturer care instructions first. A gentle recipe is still only as good as its match with the right surface.
2. Vinegar Glass and Mirror Cleaner
Glass is one of the places where a DIY cleaner can truly shine. A basic vinegar-and-water mixture has long been one of the most trusted homemade solutions for mirrors, glass doors, and windows because it dries cleanly and helps cut through everyday smudges. It is also inexpensive, easy to mix, and a lovely way to avoid stacks of disposable wipes.
Recipe
- Combine 1 cup distilled white vinegar with 1 cup water in a spray bottle.
- Label the bottle clearly.
- Use with a lint-free microfiber cloth for the best finish.
How to Use It
Spray onto glass or mirrors and wipe in smooth overlapping motions. For extra shine, finish with a dry cloth or a second clean microfiber. This recipe works beautifully for bathroom mirrors, indoor glass panels, and many windows. It is one of the easiest ways to create that bright, polished feeling that instantly lifts a room.
There is one important caution here. Vinegar should not be used on natural stone such as marble or granite, and it can also be a poor choice for certain specialty coatings or damaged finishes. Acids can etch or dull sensitive surfaces over time. Save this recipe for glass and mirror cleaning, where it does its best work.
3. Baking Soda Sink and Tub Scrub
Some messes need a little more texture than a spray can offer. For soap scum, sink rings, and tub residue, a baking soda paste is a classic eco-friendly scrub that feels satisfyingly effective without relying on aggressively harsh formulas. It is especially helpful in bathrooms, where buildup can make a space feel dingy even when it is technically clean.
Recipe
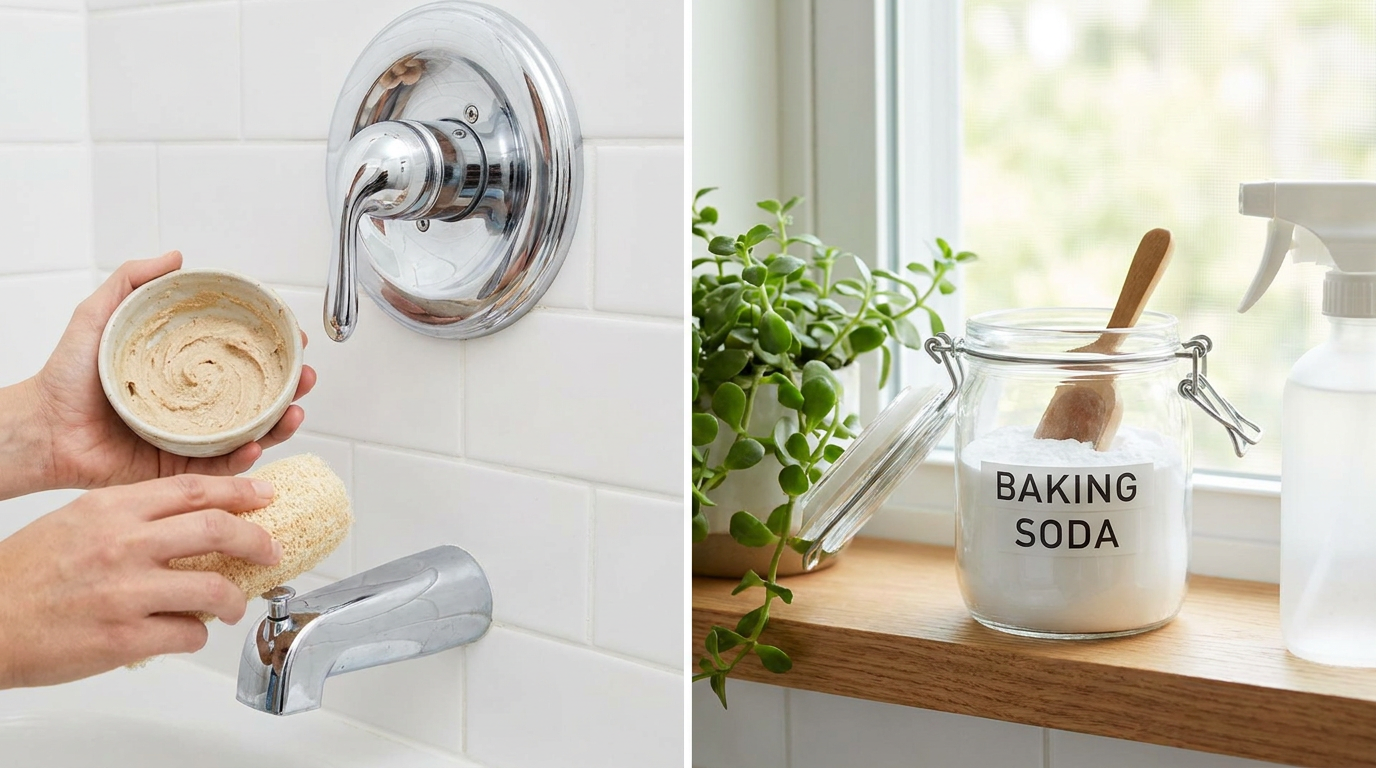
- Place 1/2 cup baking soda in a small bowl.
- Add water slowly, 1 teaspoon at a time, until it forms a spreadable paste.
- Mix just enough for one cleaning session.
How to Use It
Apply the paste with a sponge or cloth to sinks, tubs, and ceramic surfaces. Let it sit for a few minutes, then scrub gently and rinse thoroughly. The texture helps loosen residue while absorbing odors, which makes the room feel instantly fresher. On textured or older surfaces, test a small hidden area first to ensure the mild abrasiveness is appropriate.
This kind of scrub works especially well when paired with a steady routine. Rather than waiting until grime becomes overwhelming, using a simple paste once or twice a week keeps the room easier to maintain. That gentle consistency often reduces the need for stronger interventions later.
4. Refrigerator Deodorizing Powder
The refrigerator is one of those hidden spaces that quietly shape how your whole kitchen feels. Even when shelves are relatively clean, lingering odors can create a sense of stale clutter. Baking soda is wonderfully suited for this task because it helps absorb odors without adding any scent of its own. That makes it a simple, low-emission choice for a space that stores your food.
Recipe
- Place 1/2 to 1 cup of baking soda in a small open jar or bowl.
- Set it on a stable refrigerator shelf.
- Replace every 30 days or sooner if odors return.
How to Use It
This is not a scrub or spray, but it is still one of the most effective DIY cleaning support tools you can keep on hand. Use it in the fridge after wiping spills with a mild soap-and-water cloth. Because it contains no perfume, it freshens quietly and does not interfere with the natural smell of your food. The result is a cleaner-feeling kitchen without the artificial scented note common in many odor-control products.
You can use the same idea in other enclosed spaces too, such as a pantry corner or mudroom cabinet, as long as the container is placed safely. Small habits like this are often what make a home feel consistently pleasant rather than periodically overhauled.
5. Gentle Oven Spot-Cleaning Paste
The oven can be one of the hardest places to clean naturally, which is why realistic expectations matter. A homemade paste can be useful for light buildup and spot cleaning, but for heavy baked-on grease, you may still prefer a ready-made cleaner with stronger performance. This is a good example of the hybrid approach that modern eco-conscious homes are embracing. DIY where it works well, and certified products where you truly need them.
Recipe
- Mix 1/2 cup baking soda with enough water to create a thick paste.
- Apply only to cool interior spots with visible residue.
- Let sit for 15 to 20 minutes before wiping and gently scrubbing.
How to Use It
Use this paste on small spills and splatters rather than attempting to restore a severely neglected oven in one pass. After loosening the residue, wipe with a damp cloth several times to remove the baking soda. Open windows or run ventilation while cleaning, since any scrubbing inside enclosed appliances can stir up odors and residue. If you need a stronger solution, consider a product with a credible safety label and clear usage instructions.
For many households, prevention is the more sustainable strategy here. Using a sheet pan under drippy dishes, wiping minor spills before they harden, and cleaning a little more often can save you from reaching for heavy-duty products later. It is not glamorous, but it is effective.
6. Microwave Steam-and-Wipe Cleaner
The microwave is one of the easiest places to use a low-effort, low-waste cleaning method. Steam softens residue so you can wipe it away with minimal scrubbing and very little product. This makes it ideal for busy households where food splatters happen quickly and often. It is also a lovely reminder that greener cleaning sometimes means using less, not mixing more.
Recipe
- Fill a microwave-safe bowl with 1 cup of water.
- Add 1 to 2 tablespoons of white vinegar if desired.
- Microwave for 3 to 5 minutes until steamy, then let it sit for 2 minutes before opening.
How to Use It
Carefully remove the bowl and wipe the interior with a microfiber cloth. Most softened splatters should lift away easily. If stubborn spots remain, dip the cloth into the warm water and continue wiping. This method is gentle, efficient, and especially useful for regular upkeep.
If you are sensitive to vinegar smell, plain water alone still works very well for steam cleaning. The larger lesson is that not every effective cleaning solution needs to come from a bottle. Heat, moisture, and timing can do much of the work for you.
7. Fragrance-Free Floor Cleaning Solution
Floors influence the whole mood of a home. When they are sticky, dusty, or streaky, every room feels a bit more unsettled. A simple floor cleaner can be enough for many sealed hard surfaces, especially when paired with a microfiber mop. Because floors cover so much space, choosing a lighter product can also reduce the amount of scent and residue released throughout the home.
Recipe
- Fill a bucket with 1 gallon of warm water.
- Add 1 teaspoon of mild unscented dish soap or castile soap.
- Mix gently until dispersed.
How to Use It
Mop sealed tile, vinyl, or other compatible floors with a well-wrung mop rather than soaking the surface. Follow with clean water if your floor type is prone to residue. This recipe is intentionally mild, which makes it suitable for regular maintenance in family homes. Less foam and less fragrance often create a cleaner feeling overall.
Always avoid using vinegar on floors that may be sensitive to acid, and be cautious with hardwood unless your flooring manufacturer specifically allows the method you are using. Sustainable cleaning also means protecting the finishes and materials already in your home so they last longer and need fewer replacements.
8. Soft Furniture and Upholstery Freshening Method
Soft surfaces hold onto daily life in subtle ways. They collect dust, odors, and crumbs, and yet they are also where so much comfort happens. Rather than saturating upholstery with scented sprays, a gentler freshening method can help maintain that cozy feeling while supporting better indoor air. This is where baking soda and good vacuuming habits really shine.
Method
- Lightly sprinkle baking soda over compatible fabric upholstery.
- Let it sit for 15 to 30 minutes.
- Vacuum thoroughly using an upholstery attachment, ideally with a HEPA vacuum.
How to Use It
This method can help reduce mild odors on sofas, fabric headboards, and upholstered benches, provided the fabric care instructions allow it. The key is using a light hand and vacuuming carefully afterward so residue does not remain. Open windows while vacuuming if possible, especially in smaller rooms. Fresh air and proper dust capture make a bigger difference than heavy fragrance ever can.
If there are stains, body-fluid contamination, or delicate fabrics involved, this is the point where a product made specifically for upholstery or professional cleaning may be the better choice. Again, green cleaning is about choosing wisely, not forcing a DIY recipe into every scenario.
9. Toilet Bowl Baking Soda and Vinegar Refresh
The toilet bowl is another place where a simple homemade cleaner can be useful for routine upkeep. While it is not a substitute for every deep-cleaning or disinfecting need, it can help manage rings and odor between more intensive bathroom care sessions. This recipe is popular because it uses familiar ingredients and does not leave a heavy chemical scent hanging in the room afterward.
Recipe
- Sprinkle 1/2 cup baking soda into the bowl.
- Add 1 cup white vinegar carefully.
- Let the fizzing settle, then scrub with a toilet brush and flush.
How to Use It
Use this method for cosmetic buildup and everyday maintenance, not as a guaranteed disinfecting treatment. Keep the bathroom fan running or open a window while cleaning. If you need true disinfection because of illness or another hygiene concern, turn to a product with clear directions and verified efficacy. There is no shame in using a commercial product when the moment calls for it.
That confidence is part of building a cleaning routine that actually supports wellness. A greener home should feel realistic and comforting, not rigid. When you know the purpose and limits of each product, you clean with more peace of mind.
10. Trash Can and Recycling Bin Deodorizing Rinse
Trash and recycling bins can quietly become one of the biggest sources of unpleasant odor in a home. Even with liners, drips and residue collect at the bottom over time. A quick deodorizing rinse can make these everyday utility areas feel far more manageable and less overwhelming. It is a simple task that pays off every single day.
Recipe
- Wash the bin with warm water and a few drops of mild unscented soap.
- Rinse well.
- Sprinkle a thin layer of baking soda in the dry bottom before replacing the liner.
How to Use It
This works best after taking out the trash and letting the bin air out completely. If weather allows, dry it outside in fresh air for a little extra freshness. Using soap first and baking soda second is more effective than trying to mask odors alone. The goal is to remove residue, not just cover it up.
This solution also reflects an often-overlooked truth about sustainable cleaning. Some of the greenest habits are the least glamorous ones. Washing the bin, airing out a room, and staying a step ahead of buildup can do more for home comfort than any trendy product ever will.
Where DIY Cleaners Work Best and Where They Do Not
The most trustworthy green cleaning advice always includes limits. Homemade solutions are excellent for light daily cleaning, deodorizing, and routine upkeep on compatible surfaces. They are especially helpful when your goals are reducing waste, minimizing fragrance, and simplifying your home care routine. They can also help lower the number of products you buy, store, and throw away.
But there are situations where a DIY cleaner is simply not the right tool. Mold issues often involve moisture control and may require specific remediation methods. Illness-related disinfection should rely on products with proven claims and instructions. Heavy grease, specialty surfaces, and stubborn buildup may also call for stronger, tested formulations. EPA notes that homemade cleaners typically do not perform as well as commercial products designed for high performance, and that is useful information, not bad news.
In fact, some of the most sustainable choices happen when you avoid wasting time and ingredients on a job they cannot realistically solve. Buying one well-chosen certified product for a specific need can be more responsible than endlessly trying ineffective mixtures. If you shop, look for credible ecolabels like Safer Choice and favor fragrance-free or low-emission options when possible.
Simple Greener Cleaning Habits That Matter Just as Much as Recipes
A healthier home is built as much by habits as by formulas. Ventilating while you clean is one of the easiest upgrades you can make, especially in kitchens, bathrooms, and laundry rooms. Washing microfiber cloths and reusing bottles cuts waste over time. Vacuuming with a HEPA model can improve dust control, which reduces how often sticky residue and fine particles settle around the home.
It also helps to clean more frequently in small doses rather than waiting for a dramatic deep-clean day. Routine upkeep usually requires gentler products and less scrubbing, which is easier on both your surfaces and your energy. This is one of the quiet luxuries of a well-cared-for home. It does not demand constant effort, but it rewards consistency.
If you do buy products, be a thoughtful shopper. Avoid assuming that pretty packaging or words like natural automatically mean safer. EPA has emphasized that vague environmental marketing terms can mislead consumers, while trusted certifications provide more meaningful guidance. The growing availability of Safer Choice-certified products makes it easier than ever to blend homemade staples with dependable store-bought options when needed.
Creating a Cleaning Routine That Feels Good to Live With
The best home routines are the ones that fit naturally into your life. You do not need a picture-perfect pantry of matching glass bottles or a strict all-or-nothing philosophy to clean more sustainably. What matters most is choosing methods that support your space, your health priorities, and your household rhythms. A reusable spray bottle by the kitchen sink, a jar of baking soda in the fridge, and a few washable cloths can go a long way.
There is also an emotional comfort in knowing that your home can be clean without feeling harsh. For families, renters, pet owners, and anyone sensitive to strong fragrances, these small shifts often create a house that simply feels easier to be in. The air seems lighter, the routine feels calmer, and the products themselves become less intrusive. That is the kind of sustainability many people are truly looking for. Not just lower waste, but better living.
As you try these 10 DIY eco-friendly cleaning solutions, let your routine evolve with experience. Keep the recipes that genuinely make life easier. Skip the ones that do not suit your surfaces or needs. And when a stronger certified product is the wiser choice, use it confidently and well. A greener home is not built on extremes. It is built on thoughtful choices that help your space stay healthy, welcoming, and beautifully lived in every day.
Frequently Asked Questions About DIY Eco-Friendly Cleaning
Are homemade cleaners safer than store-bought cleaners?
Not always. Homemade cleaners can reduce packaging waste and limit certain added ingredients, but natural does not automatically mean risk-free. Vinegar can damage some surfaces, and ingredient compatibility still matters. The safest approach is to use simple recipes correctly, ventilate well, and choose certified commercial products when stronger or tested performance is needed.
Can DIY cleaners disinfect surfaces?
Most homemade cleaners are best understood as cleaners, not disinfectants. They can remove dirt, grease, and some grime, but that is different from proven disinfection. For illness, food safety concerns, or high-risk situations, use an EPA-registered disinfectant and follow the label directions carefully.
What ingredients should I avoid in DIY cleaning?
Avoid risky combinations and avoid assuming more ingredients make a cleaner better. Never mix bleach with ammonia or bleach with vinegar. This guide also avoids borax because EPA has highlighted potential reproductive, developmental, and neurological hazards associated with it. Sticking to a few gentle basics is usually the better route.
What is the easiest first step toward greener cleaning?
Start small. Replace one everyday product with a simple DIY option such as a soap-based all-purpose spray or a vinegar glass cleaner for compatible surfaces. Add ventilation, switch to washable microfiber cloths, and choose fragrance-free products when buying ready-made cleaners. Those changes are manageable, practical, and meaningful.


No Comment! Be the first one.