



Easy Steps to Deep Clean Your Kitchen Appliances for a Fresher, More Efficient Home
A clean kitchen has a special kind of calm. It feels lighter, smells better, and invites you back into your daily routines with more ease. When the appliances are fresh inside and out, the whole room tends to feel more cared for, even before you light a candle or wipe down the counters one last time.
Table Of Content
- Why clean appliances matter more than you think
- Before you begin: the safest, simplest approach
- A gentle deep-cleaning kit for kitchen appliances
- How to deep clean your refrigerator
- Step 1: Empty the refrigerator thoughtfully
- Step 2: Wash shelves and bins with gentle soap and warm water
- Step 3: Wipe the interior walls, drawers, and corners
- Step 4: Clean the door gaskets carefully
- Step 5: Do not forget the condenser coils
- Step 6: Return items with better organization
- How to deep clean your dishwasher
- Step 1: Empty the dishwasher and inspect the interior
- Step 2: Remove and clean the filter
- Step 3: Wipe the door edges, seals, and detergent area
- Step 4: Check the spray arms
- Step 5: Run a cleaning cycle
- Step 6: Finish with drying and simple prevention
- How to deep clean your oven
- Step 1: Start with a cool oven and remove loose debris
- Step 2: Clean the interior with a gentle, surface-safe method
- Step 3: Give extra attention to the oven door
- Step 4: Use the self-clean feature only as directed
- Step 5: Reassemble and reset the space
- Eco-friendly cleaning without the myths
- Common mistakes to avoid
- How often should you deep clean kitchen appliances?
- Small details that make the kitchen feel better every day
- Deep cleaning as part of a healthier home rhythm
- Final thoughts
Deep cleaning kitchen appliances is not only about appearance. It also supports food safety, helps reduce lingering odors, and can even improve efficiency when grime, dust, grease, and food residue are no longer getting in the way. Health Canada and the Canadian Food Inspection Agency both emphasize the importance of proper cleaning and sanitation in reducing contamination risk, which makes appliance care part of a healthy home routine, not just a cosmetic task.
There is also a practical side that many people overlook. A refrigerator with dusty condenser coils may have a harder time releasing heat, and door gaskets coated with residue may not seal as tightly as they should. A dishwasher that seems to be running fine can still develop odor, mineral buildup, and a clogged filter that leaves dishes less than sparkling. Even the oven, when left with too much baked-on residue, can make everyday cooking feel less pleasant and more smoky than necessary.
The good news is that deep cleaning your kitchen appliances does not need to be harsh, intimidating, or all-consuming. With a few simple tools, the right gentle products, and a thoughtful step-by-step approach, you can get excellent results while protecting finishes and keeping your home atmosphere comfortable. The goal is not perfection. The goal is a cleaner, healthier, easier kitchen that supports the way you actually live.
In this guide, we will walk through easy steps to deep clean the refrigerator, oven, and dishwasher using safe and eco-friendly methods wherever appropriate. We will also talk about what to avoid, why your owner’s manual still matters, and how to build a routine that makes deep cleaning feel manageable rather than overwhelming.
Why clean appliances matter more than you think
When appliances are dirty, the effects are often subtle at first. You may notice a faint odor each time you open the refrigerator, cloudy dishes that never quite look clean, or an oven that gives off a stale burnt smell every time it heats up. These small discomforts can change how a kitchen feels day to day. A room that should feel nourishing and welcoming can start to feel heavy, cluttered, and harder to enjoy.
There is also an efficiency angle worth paying attention to. Consumer guidance consistently notes that dirty refrigerator coils can reduce the appliance’s ability to dissipate heat, which may force the system to work harder. Dirty door gaskets can also interfere with a proper seal. In real life, this means that regular care is not just a matter of presentation. It is part of maintaining performance and helping an appliance age well.
Kitchen hygiene is another important reason to deep clean regularly. Handles, knobs, seals, shelves, and food storage areas collect fingerprints, spills, and invisible residue from everyday cooking. Wiping these areas and cleaning food-contact surfaces helps reduce cross-contamination and supports healthier routines, especially in busy households where meals are prepared often and many hands are opening and closing the same doors.
A well-cleaned appliance does two things at once: it improves the feeling of your kitchen immediately and quietly supports better function over time.
What many homeowners and renters appreciate most is how motivating this kind of cleaning can be. Once the refrigerator smells fresh, the dishwasher runs cleanly, and the oven no longer feels grimy, it becomes easier to maintain the rest of the kitchen. Deep cleaning creates momentum. It resets the space in a way that makes daily tidying feel more worthwhile.
Before you begin: the safest, simplest approach
Before opening every door and pulling everything apart, gather a few basic tools. A microfiber cloth, soft sponge, soft-bristled brush, warm water, mild dish soap, and a small bowl or bucket will carry you through most of this project. If you want a ready-made product, look for a lower-toxicity cleaner or one with clear ingredient disclosure, ideally from a program like EPA Safer Choice. This can help you choose a product that is both effective and more carefully evaluated than a bottle covered in vague green language.
It is important to remember that eco-friendly does not automatically mean appropriate for every material. Vinegar and baking soda are useful household staples, but they are not universal solutions for every finish, every coating, or every internal component. Some manufacturers caution against acids, abrasives, bleach, or certain DIY mixtures on specific surfaces. The owner’s manual is still your best reference when in doubt, especially for stainless steel coatings, specialty interiors, and self-clean oven functions.
Ventilation matters too. Open a window if you are using any cleaner with a noticeable scent, and avoid mixing products under any circumstance. If you use a commercial cleaner in one step, rinse thoroughly before trying anything else. A simple, surface-appropriate method is usually more effective and gentler than layering multiple products in search of a stronger result.
To make the process feel easier, work in zones and give yourself permission to clean one appliance at a time. You do not need to turn your whole day upside down. In fact, the most sustainable home care routines are the ones that fit into real life. If you can deep clean the refrigerator today and save the dishwasher for tomorrow, that still counts as excellent care.
A gentle deep-cleaning kit for kitchen appliances
If you like having a simple toolkit ready, these are the items most people will use again and again. They are effective, easy to store, and appropriate for many common cleaning jobs around the kitchen. The key is to use the least aggressive method that still gets the job done.
- Microfiber cloths for wiping surfaces without leaving lint behind.
- Soft sponges for interior shelves, bins, and doors.
- A soft brush or old toothbrush for corners, seams, and gaskets.
- Warm water and mild dish soap for most removable parts and general grime.
- A gentle low-toxicity cleaner for tougher grease or when you want a ready-made option.
- A dry cloth for finishing stainless steel and preventing streaks.
- Gloves if your skin is sensitive or you are using stronger products.
You may already own most of these, which is one reason appliance cleaning can feel surprisingly approachable once you begin. The luxury is not in owning a cabinet full of niche products. It is in knowing how to care for your home in a way that feels calm, effective, and safe.
How to deep clean your refrigerator
The refrigerator is one of the most important appliances to clean well because it stores food every day and has a direct effect on freshness, odor, and kitchen hygiene. It also tends to collect crumbs, sticky spills, forgotten produce, and hidden residue in drawers and seals. A deep clean here can instantly change the atmosphere of the whole room.

Step 1: Empty the refrigerator thoughtfully
Begin by placing perishable items in a cooler if needed, especially if your cleaning session may take a while. Remove food, shelves, and bins so you can clean them separately. Consumer guidance often recommends taking out these removable parts first because it can reduce the time the door stays open, which helps avoid making the compressor work harder while you clean.
As you empty the refrigerator, check dates and be honest about what is no longer worth keeping. A deep clean is much easier when you are not trying to work around half-used jars you never reach for. This is also the perfect moment to wipe down condiment bottles and storage containers before returning them, which helps the fresh feeling last longer.
Step 2: Wash shelves and bins with gentle soap and warm water
Let cold glass shelves come closer to room temperature before washing them to reduce the chance of cracking with warm water. Use mild dish soap and a soft sponge, then rinse and dry thoroughly. If something is especially sticky, let it soak for a few minutes rather than scrubbing aggressively.
This slower, gentler approach protects surfaces and usually works better anyway. Deep cleaning is not about force. It is about softening buildup enough that it releases without damaging the materials you are trying to preserve.
Step 3: Wipe the interior walls, drawers, and corners
Use a cloth dipped in warm, lightly soapy water to wipe the interior top to bottom. Pay special attention to corners, shelf tracks, and the bottoms of drawers where moisture and food bits tend to gather. If your manual permits, you can use a mild DIY solution for certain spots, but always avoid assuming that vinegar or baking soda is right for every surface.
Dry the interior with a clean cloth after wiping. This step is easy to skip, but it helps prevent lingering moisture and gives the refrigerator a fresher finish. It also makes it easier to see whether any residue remains before you put everything back.
Step 4: Clean the door gaskets carefully
The rubber door seals are small but very important. Dirt and residue can collect in their folds, and if the gaskets are too dirty, they may not seal as effectively. Consumer advice often highlights gasket care because a poor seal can make the refrigerator work harder than necessary.
Use a soft brush or cloth with warm soapy water and gently clean inside the folds. Avoid harsh abrasives that could damage the material. Once clean, dry the gaskets well so they do not stay damp and attract more grime.
Step 5: Do not forget the condenser coils
This is one of the most overlooked refrigerator tasks, yet it is one of the most practical. Dust, pet hair, and lint on condenser coils can lower the refrigerator’s ability to dissipate heat. The exact location varies by model, so check your manual first and unplug the refrigerator if the manufacturer instructs you to do so before cleaning.
Use a coil brush or vacuum attachment gently to remove buildup. You do not need to make this area look perfect. You simply want to clear the visible dust that can interfere with performance. If you have pets or a dusty home, this small maintenance habit can be especially worthwhile.
Step 6: Return items with better organization
Once the interior is dry, replace shelves and bins and return your food in an organized way. Keep raw items stored safely, wipe container bottoms before they go back in, and leave enough space for air to circulate. The refrigerator will not only look cleaner, it will feel easier to use every day.
Many people find that after deep cleaning the refrigerator, they waste less food because they can actually see what they have. That kind of clarity is part of good home care too. Clean spaces often support better habits without needing a dramatic system.
How to deep clean your dishwasher
The dishwasher is one of those appliances that people often assume is cleaning itself constantly. In reality, filters, spray arms, seals, and the tub can collect food particles, grease, soap residue, and mineral deposits over time. If your dishwasher smells musty or your glasses come out cloudy, it may be asking for a reset.
Manufacturer care guidance commonly recommends a monthly deep-clean routine, especially in busy kitchens. This advice makes sense because dishwashers deal with both food and moisture, which is a combination that can create buildup surprisingly quickly.
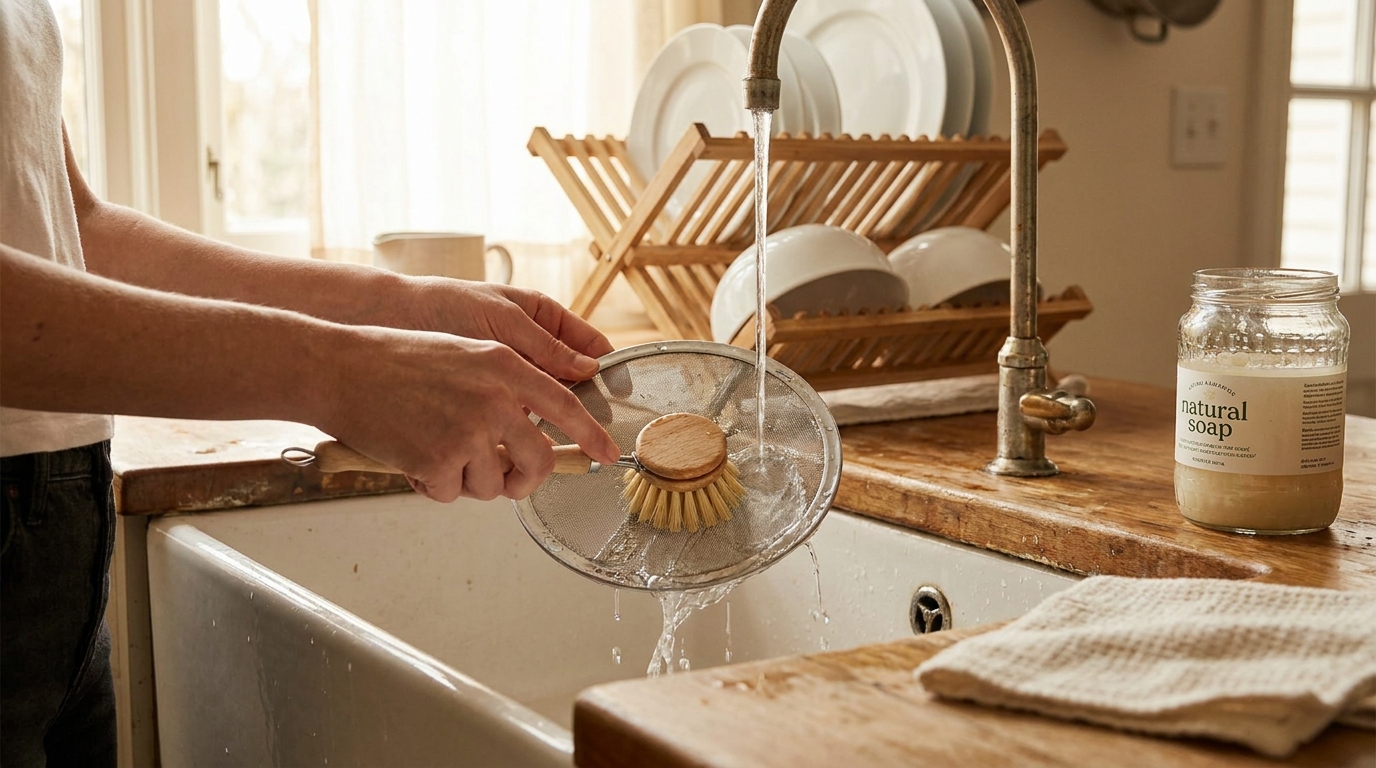
Step 1: Empty the dishwasher and inspect the interior
Start with an empty machine and remove the bottom rack so you can see the filter area clearly. Look for bits of food, labels, glass fragments, or other debris that might be trapped at the bottom. Wipe away anything loose before moving on.
This first look often explains a lot. If the machine has been smelling stale or draining slowly, trapped debris may be part of the issue. The good news is that a few quiet minutes of maintenance can make a meaningful difference.
Step 2: Remove and clean the filter
If your dishwasher has a removable filter, take it out according to the manual and rinse it under warm water. Use a soft brush to loosen grease or residue. Filter cleaning intervals vary by appliance and household habits, but manufacturer guidance often ranges from every couple of months to once a year depending on usage and whether dishes are scraped before loading.
If your household cooks often or tends to load dishes with more food residue, check the filter more regularly. This is one of the easiest ways to improve dishwasher performance without using harsher products or extra detergent.
Step 3: Wipe the door edges, seals, and detergent area
Dishwasher interiors can look clean at a glance while still hiding grime around the door perimeter and gasket. Use a microfiber cloth with warm soapy water to clean these edges well. Pay attention to the detergent dispenser area too, where residue sometimes collects and hardens.
These are the kinds of details that improve both hygiene and the experience of using the appliance. A dishwasher that opens to a clean, fresh-smelling interior simply feels better in the rhythm of daily life.
Step 4: Check the spray arms
If your model allows easy access, inspect the spray arms for blocked holes. Tiny food particles or mineral deposits can sometimes reduce water flow. Use a soft tool, such as a toothpick or brush, only if your manual allows it and be gentle to avoid damage.
You do not need to become overly technical here. A quick visual inspection and light cleaning are usually enough for routine care. The goal is to support the machine, not over-handle every part.
Step 5: Run a cleaning cycle
Many manufacturers recommend a monthly dishwasher cleaning cycle. Depending on your model, this may mean using a dishwasher cleaner approved by the manufacturer or running a designated cleaning program. If you prefer a more natural route, only use DIY methods if your owner’s manual says the materials are safe for your machine.
This is where a balanced approach matters. Natural ingredients can be useful, but they are not automatically right for every appliance. The most eco-friendly choice is often the gentlest effective method that keeps the dishwasher clean without damaging internal parts.
Step 6: Finish with drying and simple prevention
Once the cycle is complete, leave the door slightly open for a little while if your kitchen setup allows it. This helps moisture escape and can reduce stale odors. Going forward, scrape large food debris from dishes, clean the filter on schedule, and wipe the gasket occasionally to keep the fresh reset going.
A clean dishwasher supports one of the nicest feelings in a home, which is the quiet confidence that the basics are working the way they should. It is a hidden comfort, but a real one.
How to deep clean your oven
The oven often becomes the appliance people avoid the longest. Grease splatters, baked-on residue, and the fear of harsh fumes can turn this task into something that feels much bigger than it is. But oven care becomes more manageable when you separate routine maintenance from occasional heavy-duty cleaning.
For regular deep cleaning, gentle degreasing and patient wiping can go a long way. For major buildup, many manufacturers recommend using the oven’s self-clean feature, with the important reminder to wait until the appliance has fully cooled before wiping away residue. The best method is the one your specific oven was designed to handle safely.
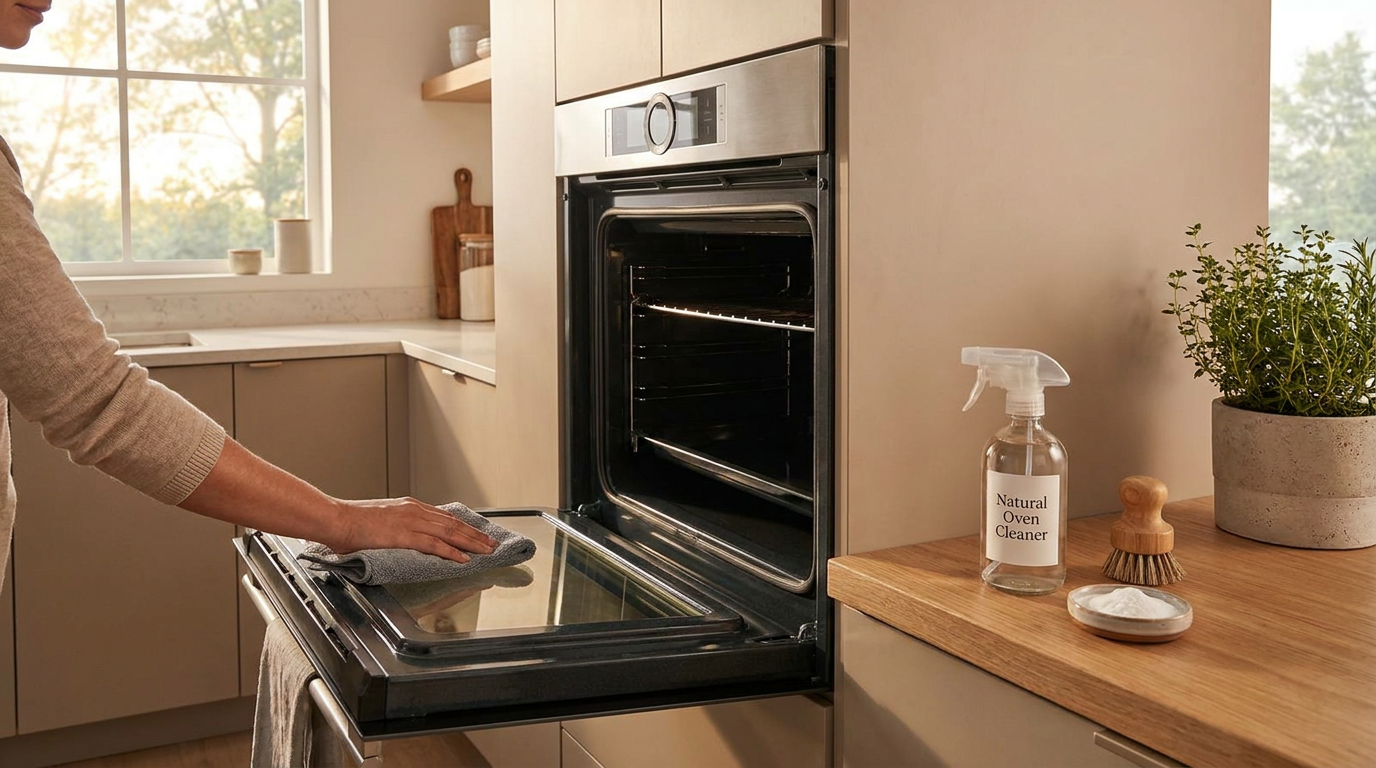
Step 1: Start with a cool oven and remove loose debris
Always begin with the oven turned off and fully cool. Remove racks and brush or wipe out crumbs and loose burnt bits from the bottom. This small first step makes the rest of the cleaning feel less messy and helps you see where the actual problem spots are.
If your racks are particularly greasy, soak them in warm water with mild dish soap if the manufacturer allows it. Use a soft sponge rather than anything highly abrasive. This protects the finish and makes the racks easier to slide smoothly once returned.
Step 2: Clean the interior with a gentle, surface-safe method
For routine buildup, apply a mild, non-abrasive cleaner or warm soapy water to a cloth and wipe the oven interior carefully. Let stubborn spots sit with the cleaner briefly so the residue softens. The principle here is simple: allow time to do what force does poorly.
If you use a DIY paste or another homemade solution, confirm first that it is safe for your oven’s interior finish. Some coatings and surfaces can be damaged by ingredients that are often described online as universally gentle. This is one of the best examples of why the least aggressive effective method is usually the wisest path.
Step 3: Give extra attention to the oven door
The glass oven door has an outsized effect on how clean the whole kitchen feels. When it is cloudy or speckled with grease, even a mostly clean oven can still look neglected. Use a soft cloth and a surface-safe cleaner to wipe the glass inside and out.
Take your time around the edges and handle, where fingerprints and cooking residue collect. These touch points matter. They are what you see and feel most often, and they quietly shape your daily impression of the room.
Step 4: Use the self-clean feature only as directed
If your oven has heavy buildup and the manual recommends a self-clean cycle, use it according to those instructions. Ventilate the kitchen well and keep the process for a time when you can be nearby. Once the cycle is done, wait until the oven has completely cooled before wiping away the ash or residue, as manufacturer guidance advises.
This is not a step most households need every week or even every month. Think of it as occasional deeper maintenance rather than your everyday solution. Frequent gentle wipe-downs after spills are often enough to keep the oven in much better shape between intensive cleanings.
Step 5: Reassemble and reset the space
When the interior is dry, replace the racks and give the exterior one final polish. Stainless steel surfaces usually look best when wiped in the direction of the grain with a soft dry cloth after cleaning. Close the door and take in the difference. The kitchen often feels brighter immediately, even if nothing else changed.
Oven cleaning may never become anyone’s favorite chore, but it can become far less dreaded when it is treated as a calm maintenance ritual rather than a major ordeal. That shift in mindset matters more than people think.
Eco-friendly cleaning without the myths
It is easy to assume that natural cleaning is always safer, greener, and better. In reality, the smartest eco-friendly approach is a little more nuanced. The EPA has pointed out that vague green claims can be misleading, which is why ingredient transparency and credible certifications matter. A product is not automatically ideal just because the label uses words like natural, pure, or plant-based.
The most responsible approach is to use the least harmful method that is still effective for the surface and the job. Sometimes that will be warm water and a microfiber cloth. Sometimes it will be mild soap. Sometimes it may be a commercial cleaner designed for a specific appliance finish and verified through a safer product program. What matters is matching the method to the task thoughtfully.
It also helps to let go of the idea that stronger means cleaner. Excess product, harsh scrubbing, and incompatible DIY mixtures often create more problems than they solve. They can leave residue, damage finishes, or make your kitchen air feel more irritating than refreshed. A truly healthy home routine should support comfort as much as cleanliness.
The goal of eco-friendly cleaning is not to use trendy ingredients at all costs. It is to make wise choices that protect your home, your appliances, and the people living with them.
Common mistakes to avoid
Many appliance cleaning frustrations come from a handful of preventable mistakes. Knowing what not to do can save time, protect your finishes, and help your results last longer. These points are especially helpful if you have ever cleaned hard and still felt underwhelmed by the outcome.
- Assuming every DIY cleaner is safe for every appliance. Always check the manual before using vinegar, baking soda, bleach, or abrasive products.
- Ignoring hidden maintenance areas. Refrigerator coils, door gaskets, dishwasher filters, and oven door edges matter more than many people realize.
- Using too much product. More cleaner does not necessarily mean better results and can leave unwanted residue behind.
- Scrubbing delicate finishes too aggressively. Soft tools and patience are usually more effective than force.
- Waiting until odor or poor performance becomes obvious. Routine light maintenance prevents the need for much harsher deep cleaning later.
If there is one mistake worth avoiding above all, it is putting off simple care because you imagine you need a perfect, exhaustive cleaning day. Small, regular attention is what keeps appliances pleasant to live with. The all-or-nothing mindset tends to make home care heavier than it needs to be.
How often should you deep clean kitchen appliances?
Frequency depends on how you cook, how many people live in the home, whether you have pets, and how heavily each appliance is used. But in general, a simple maintenance rhythm keeps things from building up too far. This is the kind of routine that supports a clean home atmosphere without becoming another demanding project on your calendar.
- Refrigerator interior: every one to three months, with quick spill wipe-ups as needed.
- Refrigerator coils: about every six to twelve months, or more often if you have pets or noticeable dust.
- Door gaskets and handles: monthly, or more often in busy family kitchens.
- Dishwasher filter and interior check: monthly or according to your owner’s manual and usage habits.
- Dishwasher deep-clean cycle: monthly if recommended by the manufacturer.
- Oven interior: light wipe-downs after spills, with deeper cleaning every few months depending on cooking frequency.
You do not need to memorize this perfectly. Choose a rhythm that feels realistic and attach it to another household habit, such as the first weekend of the month or the day before a grocery restock. Routine feels easier when it belongs to the natural flow of your home.
Small details that make the kitchen feel better every day
After the deeper work is done, the finishing touches are what help the kitchen hold onto that fresh feeling. Wipe appliance handles and knobs regularly, since they are among the most touched surfaces in the room. Dry wet areas, especially around seals and detergent compartments, so moisture does not linger longer than it should.
It also helps to keep a dedicated microfiber cloth nearby for quick resets. A fast wipe of the fridge handle, dishwasher front, or oven glass can take less than a minute, yet it changes how polished the space feels. This is the beauty of small maintenance. It protects the emotional comfort of the room as much as the physical cleanliness.
If you share your kitchen with family, roommates, or children, keeping the routine visible can help too. People are often more willing to maintain a clean appliance when they open it and see that it has been thoughtfully cared for. Order tends to invite cooperation in a quiet way.
Deep cleaning as part of a healthier home rhythm
There is something satisfying about caring for appliances not just because they are expensive or functional, but because they shape the everyday atmosphere of home. The refrigerator greets you first thing in the morning. The dishwasher closes out dinner. The oven anchors everything from weeknight vegetables to holiday baking. When these pieces are clean and running well, your routines feel smoother and more supportive.
This is also why safe, eco-friendly methods matter. A clean home should still feel comfortable to breathe in and pleasant to spend time in. Lower-toxicity products, gentle tools, and manual-approved methods make it possible to care for your kitchen without turning the process into a cloud of irritation or unnecessary chemical overload.
In many ways, appliance cleaning reflects a larger shift in how people want to live now. We care about efficiency, but we also care about wellness. We want our homes to function beautifully, but we want them to feel soft, healthy, and human too. Deep cleaning can absolutely support both.
Final thoughts
Deep cleaning your kitchen appliances does not have to be complicated to be meaningful. Clean refrigerator shelves, clear dishwasher filters, and a fresh oven interior all contribute to a home that feels lighter, safer, and more enjoyable to use. They also support the practical side of daily living by helping reduce odors, limiting buildup, and encouraging appliances to do their jobs more efficiently.
If you take only one idea from this guide, let it be this: choose gentle, appropriate methods and stay consistent. You do not need the harshest products or an entire weekend. You need a little attention, a few good tools, and the willingness to care for the parts of your kitchen that quietly care for you every day.
That is what makes appliance deep cleaning worth doing. It is not just maintenance. It is a simple way to make your home feel fresher, calmer, and better to live in.



No Comment! Be the first one.