


How to Perform a Roof Inspection for Eco-Friendly Maintenance
A roof inspection is one of the simplest ways to protect a home without creating unnecessary waste, expense, or disruption. When a roof is checked regularly, small issues can be addressed before they turn into major leaks, insulation damage, mold concerns, or premature replacement. That matters for any homeowner, but it is especially important if you are trying to maintain your home in a way that is efficient, durable, and aligned with sustainable living.
Table Of Content
- Why roof inspections matter for sustainable home care
- What makes a roof inspection eco-friendly
- When to inspect your roof
- Safety first: what homeowners should and should not do
- Tools and materials for a simple low-waste inspection
- Step 1: start with a whole-home perspective from the ground
- Step 2: inspect roof edges, eaves, soffits, and drainage
- Step 3: look closely at flashing and penetrations
- Step 4: move indoors and inspect ceilings, upper walls, and attic spaces
- Step 5: assess attic ventilation and insulation performance together
- Step 6: watch for signs of cool roof opportunity and heat gain issues
- Step 7: inspect after storms and snow events
- Common problems to look for during a roof inspection
- What not to do during eco-friendly roof maintenance
- When to call a professional
- Creating a simple roof inspection checklist for long-term maintenance
- How roof inspections support a healthier, lower-impact home
- Final thoughts
In green building terms, the roof is not an isolated surface that simply keeps rain out. It is part of the building envelope, which means it works together with the attic, insulation, ventilation, walls, windows, and mechanical systems to influence comfort, energy use, and indoor air quality. Natural Resources Canada emphasizes that a home operates as a system, so roof problems can quietly undermine broader efficiency upgrades if they go unnoticed for too long.
The good news is that an eco-friendly roof inspection does not need to be complicated. In most cases, homeowners can do a careful visual review from the ground, check interior warning signs in the attic and upper floors, document what they find, and call in a professional only when the situation requires it. This approach helps you make informed decisions, avoid unnecessary material waste, and extend the life of the roofing system you already have.
This guide will walk through a practical step-by-step process for inspecting your roof with sustainability in mind. We will look at how to prepare, what to examine outside and inside, how to spot moisture and ventilation issues early, and when a problem moves beyond DIY observation into professional repair. The goal is not perfection. The goal is thoughtful maintenance that protects the roof, reduces risk, and supports a healthier, more efficient home over the long term.
Practical sustainability often starts with maintenance. A roof that lasts longer, sheds water properly, and supports good attic performance usually creates less waste and fewer emergency repairs than one that is ignored until failure.
Why roof inspections matter for sustainable home care
Many homeowners think of roof inspections as something you do only when there is a visible leak or after a major storm. In reality, regular inspection is a low-impact maintenance habit that can prevent much larger environmental and financial costs later. The Roofing Contractors Association of BC notes that a proper maintenance program can add years to a roof’s life by identifying minor problems before they become major ones. Extending roof life is a meaningful sustainability practice because it delays replacement, reduces material consumption, and often prevents secondary damage to insulation, drywall, framing, and finishes.
Roof maintenance also supports energy performance. Natural Resources Canada notes that air leaks in attics around chimneys, plumbing stacks, vents, and electrical penetrations can lead to substantial heat loss and moisture-related problems. That means a roof inspection is not just about finding missing shingles. It is also about understanding whether the top of the house is allowing unwanted air movement, condensation, or moisture buildup that could make heating and cooling systems work harder.
Moisture control is another major reason to inspect consistently. The U.S. Environmental Protection Agency states that moisture control is the key to mold control, and that wet materials generally should be dried within 24 to 48 hours after a leak to reduce the chance of mold growth. By the time moisture damage appears as a stain on a finished ceiling, the problem may already be more established than it seems. Catching damp sheathing, wet insulation, rusty fasteners, or drip marks early is far better than waiting for visible interior damage.
There is also a resilience dimension. FEMA recommends roof inspections at least twice per year, ideally in spring and fall, and after high-wind events. For homeowners, that schedule is a practical benchmark. Seasonal checks help you catch damage caused by winter ice, spring debris, summer heat, or autumn storms while repairs are still manageable.
What makes a roof inspection eco-friendly
An eco-friendly roof inspection is not a separate type of inspection with exotic tools or specialized jargon. It is simply a maintenance approach guided by a few smart principles. First, it focuses on preservation before replacement. If a flashing detail, vent screen, or gutter blockage can be corrected early, you may prevent wider material loss. Second, it looks beyond the roofing surface to the systems that affect durability, including attic ventilation, air sealing, drainage, and insulation condition.
It also favors accurate observation over unnecessary intervention. Homeowners do not need to walk on every roof or disturb materials to be thorough. In fact, minimizing damage during inspection is part of sustainable practice. Many issues can be identified from the ground, from a ladder at the eaves if it is safe, or from inside the attic. A careful visual routine and clear record keeping often provide enough information to decide whether professional help is needed.
Finally, eco-friendly maintenance means making repair choices that improve long-term performance. If you discover roof trouble, think about whether the underlying cause involves water management, airflow, heat buildup, or ice dam risk. Fixing symptoms alone can lead to repeated repairs and more wasted materials. Fixing causes is usually the more sustainable path.
When to inspect your roof
For most homes, a full visual roof inspection should happen at least twice a year. Spring and fall are ideal because they follow or precede the harshest weather periods in many regions. Spring helps reveal winter wear such as lifted shingles, ice dam damage, blocked drainage paths, and moisture issues in the attic. Fall is the right time to confirm that the roof, gutters, and attic are ready for snow, rain, wind, or freeze-thaw cycles.
You should also inspect after significant weather events. High winds can loosen shingles, move flashing, and drop branches onto roof surfaces. Heavy rain may expose drainage weaknesses. Hail can damage roofing materials even when the effects are not obvious from a distance. In snowy climates, recurring ice along the roof edge may suggest a ventilation or heat loss problem that deserves attention before the next winter.
Newer roofs should not be excluded from this schedule. One common misconception is that a recently installed roof does not need inspection. In practice, even newer roofs can experience flashing defects, storm damage, blocked vents, or workmanship issues. Routine observation is part of protecting the investment, not a sign that something is already wrong.
Safety first: what homeowners should and should not do
The most sustainable inspection is the one that avoids injury and avoids causing damage to the roof itself. Many homeowners can conduct a very effective inspection without climbing onto the roof surface. A pair of binoculars, a flashlight, a camera or phone, a stable ladder used only when conditions are safe, and a simple checklist are usually enough for a first assessment. If your roof is steep, high, wet, fragile, or hard to access, keep your inspection to the ground and the attic and arrange for a professional roofing contractor.
Try not to inspect during rain, snow, frost, or strong winds. Surfaces become slippery quickly, and even a small amount of moisture can make a ladder unsafe. Wear shoes with good traction, keep both hands free when climbing, and ask another adult to be nearby if you are using a ladder. Avoid leaning over roof edges or stepping onto roofing materials unless you have the training and equipment to do so safely.
It is also wise to know your limits when it comes to repairs. Homeowners can often document issues, clear light debris from accessible gutters, and monitor the attic, but sealing penetrations, replacing flashing, correcting ventilation, or repairing storm damage may require specialized skill. There is no environmental benefit in a repair that fails quickly or causes hidden moisture problems. Thoughtful maintenance includes knowing when to hand the work to someone experienced.
Tools and materials for a simple low-waste inspection
You do not need to buy much to inspect a roof well. The best setup is often what you already have at home, used carefully and consistently. Keep your inspection kit modest and durable. A reusable checklist on your phone or in a notebook can replace scattered paper notes, and clear photo documentation can help you compare conditions from season to season.
Helpful items include binoculars, a flashlight or headlamp, a ladder with proper stability, work gloves, a phone or camera, and a notepad. If you will check the attic, wear long sleeves, dust protection if needed, and shoes that let you move carefully on framing rather than insulation. If you plan to clear debris from gutters at reachable areas, use a small bucket or reusable container instead of disposable bags where practical.
The main purpose of tools is not to make the process technical. It is to help you observe without disturbing the roof system unnecessarily. Good photos, especially at the same angles each season, are one of the most useful long-term maintenance resources a homeowner can create.
Step 1: start with a whole-home perspective from the ground
Begin your inspection from the yard or sidewalk where you can see broad sections of the roof. This first pass is important because it helps you notice patterns rather than isolated details. Walk around the entire home and look at the roof planes from different angles. If your house has additions, dormers, valleys, skylights, or attached garages, pay attention to transitions where water often concentrates.
Look for missing, cracked, curled, buckled, or uneven shingles if you have a sloped asphalt roof. For metal roofing, watch for loose panels, lifted fasteners, rust, sealant failure, or flashing movement. On low-slope roofs visible from upper windows or adjacent areas, note any standing water, membrane wrinkles, punctures, or debris accumulation. You are not diagnosing every issue at this stage. You are simply identifying anything that looks out of place.
It also helps to observe the roofline itself. A sagging or uneven area can suggest deeper structural or sheathing concerns. Dark streaks may indicate algae growth, while patches of moss can trap moisture and shorten the life of some roof surfaces. Moss and algae are not always emergencies, but they are worth documenting because they can signal shade, dampness, and a need for gentle maintenance rather than neglect.
Step 2: inspect roof edges, eaves, soffits, and drainage
Water management is one of the most practical places to focus if you want low-waste, eco-friendly maintenance. Roof surfaces may be in decent condition, but if water cannot leave the roof properly, you can still end up with rot, staining, ice issues, foundation splashback, or moisture near the building envelope. Check the edges of the roof, including eaves, fascia boards, soffits, gutters, and downspouts.
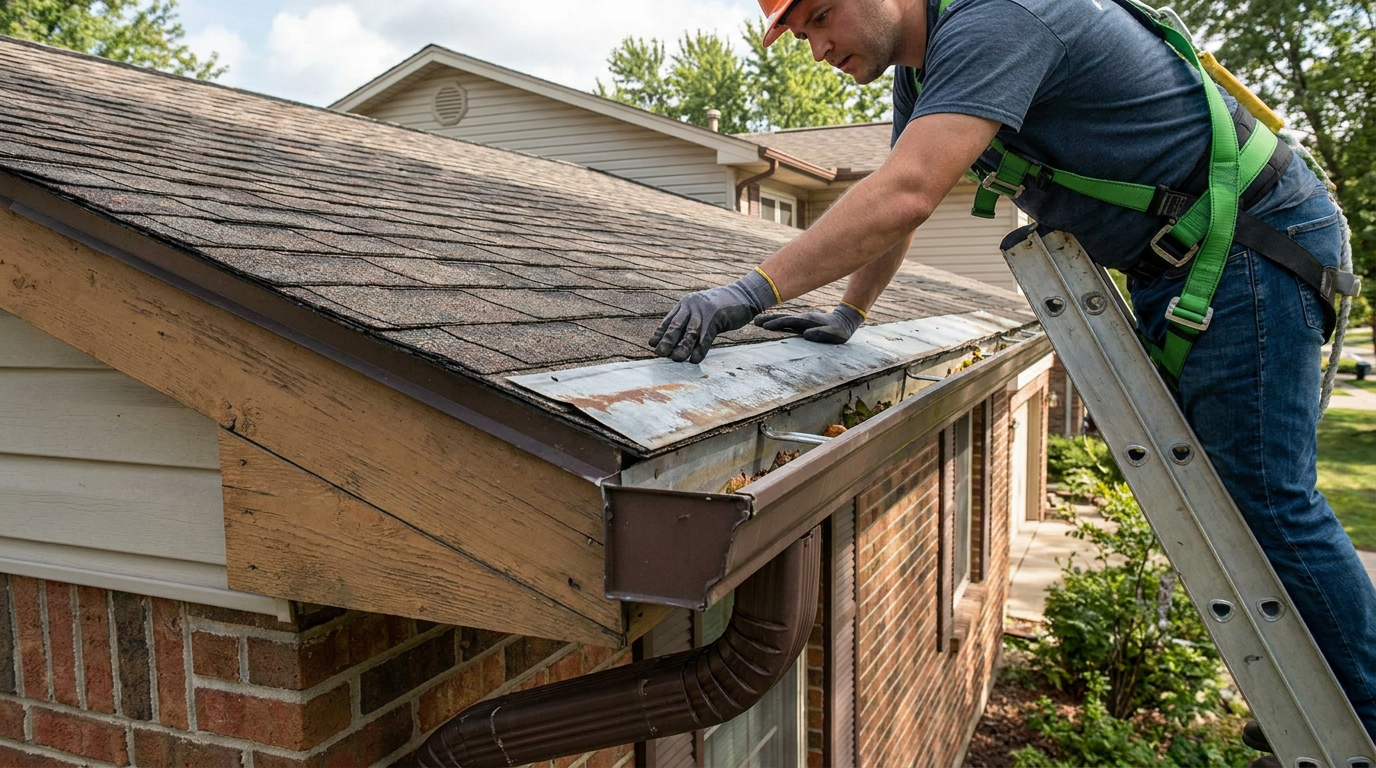
Gutters should appear aligned and securely attached, not pulling away from the fascia or sagging in the middle. Look for granules, shingle fragments, nesting material, leaves, or sediment collecting in them. Some debris is normal over time, but a heavily clogged gutter increases the chance of overflow and moisture damage at roof edges. If you can safely clean accessible sections, do so gently and avoid harsh chemical treatments that wash into the landscape.
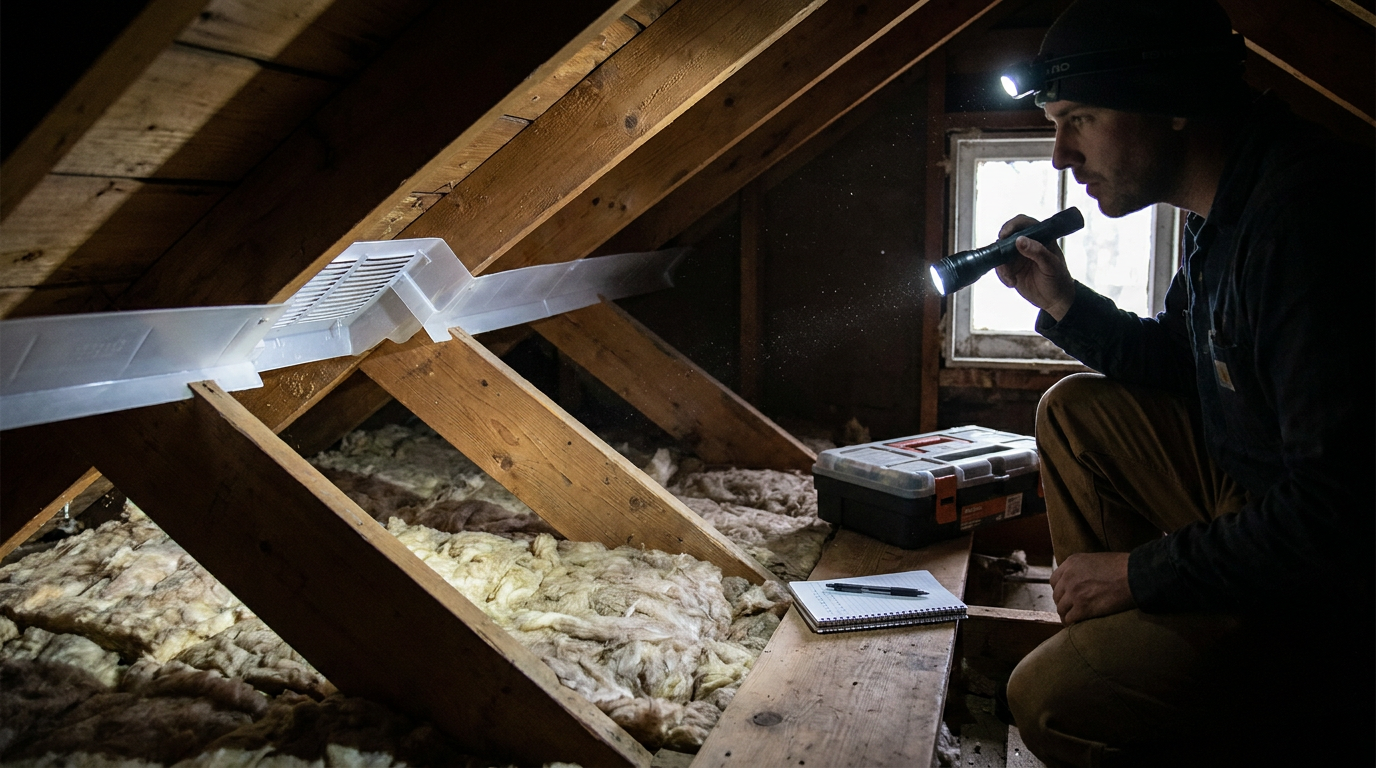
Soffits are easy to overlook, yet they matter for attic ventilation. If soffit vents are blocked by dirt, paint, insect nests, or plant growth, outside air may not move through the attic as intended. ENERGY STAR notes that proper attic ventilation helps keep the attic cold in winter, reducing the risk of ice dams. This is especially relevant in colder climates where heat escaping into the attic can create uneven roof temperatures and ice formation at the eaves.
Downspouts deserve the same attention. Make sure they direct water away from the home rather than depositing it right beside the foundation. Good drainage is not only about protecting the roof. It is part of whole-home moisture control, which supports healthier indoor conditions and preserves building materials throughout the envelope.
Step 3: look closely at flashing and penetrations
Many roof leaks begin not in the middle of a field of shingles but at the details where the roof changes direction or where something passes through it. Flashing around chimneys, plumbing vents, skylights, wall intersections, and valleys deserves careful attention. These transitions handle a lot of water, movement, and weather exposure over time, so they are common weak points.
From the ground or a safely positioned ladder, look for lifted edges, corrosion, gaps, missing sealant, cracked boots around vent pipes, or debris trapped in roof valleys. If the flashing looks bent or separated, document it with photos even if no leak is visible indoors yet. Small failures in these areas can allow moisture to enter gradually, sometimes wetting the roof deck or insulation long before anyone notices a ceiling stain.
Pay special attention to chimneys. Cracked masonry, deteriorated mortar, and failed flashing can all create leakage pathways. Because warm interior air often rises around chimneys and penetrations, these areas can also be linked to air leakage and heat loss. Natural Resources Canada specifically highlights attic air leaks around penetrations as an important energy and moisture concern, which reinforces why this part of the inspection is so valuable.
Step 4: move indoors and inspect ceilings, upper walls, and attic spaces
A complete roof inspection always includes the interior side of the roof system. Start inside the living areas by checking ceilings and upper walls, especially in top-floor rooms, around skylights, near chimney chases, and inside closets on exterior walls. Look for discoloration, peeling paint, bubbling finishes, musty odours, or subtle rings that suggest past or present moisture intrusion. Even if these signs are faint, they are worth recording and comparing over time.
Then inspect the attic if your home has one. This is one of the most informative parts of the process because the attic often reveals hidden roof issues earlier than finished rooms do. Use a flashlight and examine the underside of the roof sheathing, rafters or trusses, insulation, and around all roof penetrations. You are looking for damp spots, water stains, darkened wood, mold-like growth, rusty nails, compressed insulation, and signs of condensation.
Rusty nail tips can be an early clue that warm moist air is reaching the attic and condensing on cooler surfaces. Wet or matted insulation can indicate an active leak or chronic condensation issue. Stains on sheathing may show that water is entering at flashing, valleys, or fasteners. If the attic smells musty, take that seriously even if the surfaces do not look dramatically wet. Hidden moisture has a way of building gradually.
The EPA advises that moisture control is the key to mold control, and that damp materials should generally be dried within 24 to 48 hours after a leak. That timing matters because attic problems often seem small at first. Quick attention can be the difference between a limited repair and a broader remediation project.
Step 5: assess attic ventilation and insulation performance together
One of the most common misconceptions in home efficiency is that more insulation alone solves roof-related heat loss. Insulation is essential, but insulation without air sealing and ventilation can still leave a home vulnerable to moisture buildup and ice dams. A sustainable roof inspection should therefore look at insulation and ventilation as connected parts of the same system.
Check whether insulation appears evenly distributed and dry. Watch for bare patches, compressed sections near storage areas, or insulation blocking airflow at the eaves. Soffit areas should allow air to travel upward into the attic space. If insulation is packed tightly into the roof edge and covering intake pathways, the attic may not ventilate as intended.
Also look for signs that ventilation may be unbalanced or ineffective. In winter climates, frost on nails or sheathing is a warning sign. In warmer periods, excessive attic heat can contribute to shingle aging and increase heat transfer into the home. ENERGY STAR explains that proper attic ventilation helps maintain roof and attic conditions that reduce ice dam risk, but it also notes that attic fans are not automatically beneficial. If soffit vents are blocked or the attic floor is not well air sealed, powered fans can pull conditioned air out of the living space, which wastes energy.
This is why a roof inspection can become an important planning tool. If you observe recurring moisture, heat, or ice issues, the best solution may involve attic air sealing, insulation adjustments, and ventilation correction rather than repeated patch repairs on the roof surface alone.
Step 6: watch for signs of cool roof opportunity and heat gain issues
If your roof is aging or due for future replacement, an inspection is a good time to note whether a cool roof strategy could make sense for your home. ENERGY STAR defines cool roofs as roofs that reflect more sunlight and emit heat efficiently, reducing roof surface temperature and limiting heat transfer into the building. This does not mean every home needs a bright white roof, but it does mean that roof condition and material choice can affect long-term comfort and cooling loads.
Notice whether upper rooms overheat during summer, whether attic temperatures seem extreme, or whether sun-exposed roof areas show accelerated wear. These clues do not automatically require a new roof, but they can inform future decisions. If a replacement eventually becomes necessary, choosing a durable material with appropriate reflectance for your climate can be part of a lower-impact upgrade.
Eco-friendly maintenance includes planning ahead. Inspection is not only about what is failing today. It is also about observing patterns that can help you choose better materials and details when work is eventually required.
Step 7: inspect after storms and snow events
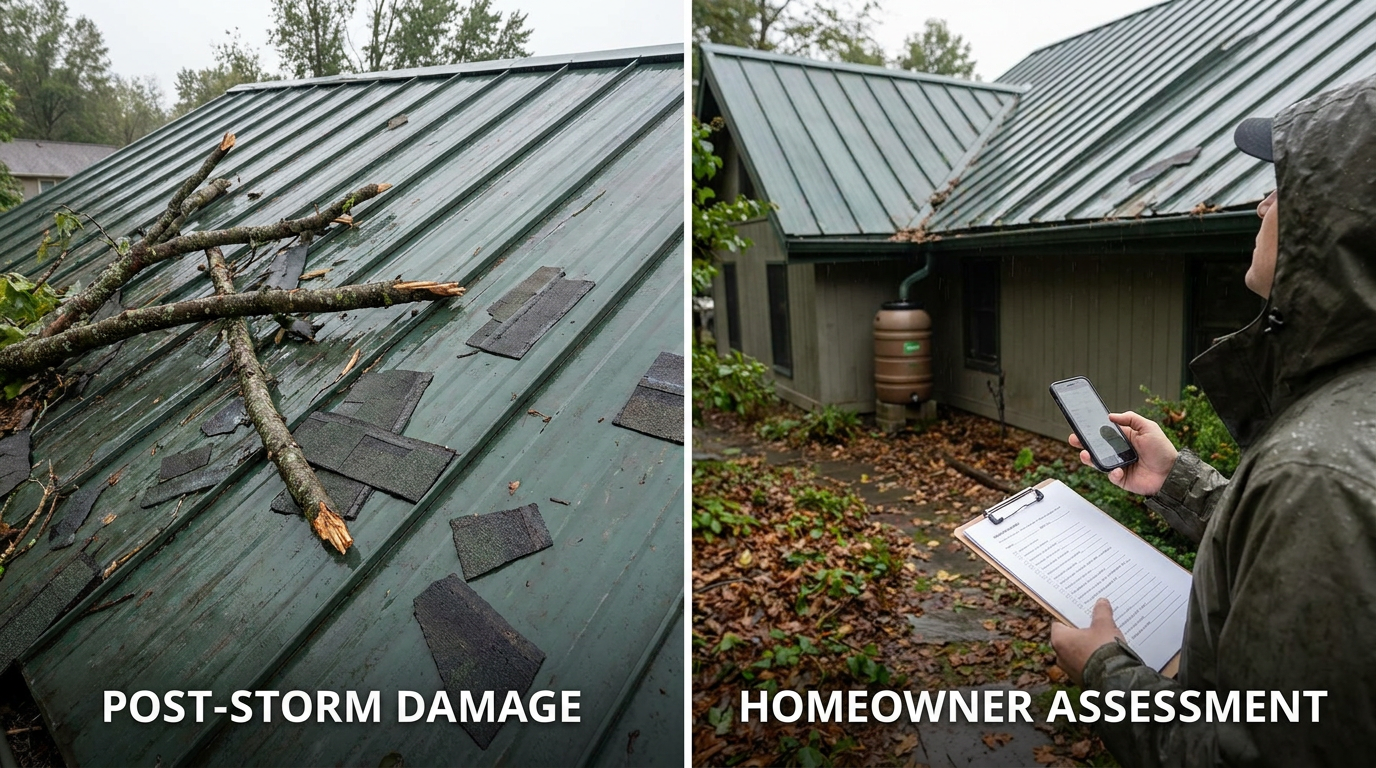
Post-storm inspection is a valuable habit because weather damage is often easiest to address right away. After high winds, walk the property and look for branches, displaced shingles, bent flashing, fallen fasteners, or debris that may have scraped the roof surface. Check the ground around downspouts and eaves for granules or roof fragments. These clues can reveal damage even when the roof itself is difficult to see clearly.
After heavy rain, monitor ceilings and attic areas for drips or fresh moisture. After snow or freeze-thaw periods, watch for uneven melt patterns, thick ice at roof edges, or icicles that keep reforming. These may suggest attic heat loss or ventilation issues rather than simply harsh weather. Ice dams can damage roofing materials and create water entry points, so recurring ice should be treated as a building performance signal, not just a seasonal nuisance.
Document what you see with date-stamped photos. This is helpful for maintenance planning and may also be useful if you need a roofer or insurer to review the sequence of events. Clear records support better decisions and can prevent unnecessary replacement when only targeted repair is needed.
Common problems to look for during a roof inspection
While each roof type has its own vulnerabilities, several issues show up again and again in residential inspections. Missing or damaged shingles are the most obvious, but they are only part of the picture. Flashing failures, clogged gutters, blocked soffits, attic condensation, wet insulation, loose vent boots, ponding water on low-slope roofs, and signs of animal intrusion can all affect the roof’s ability to perform well.
Another important category is hidden air leakage. Openings around plumbing stacks, wiring penetrations, bath fan ducts, and recessed fixtures can allow warm moist air to enter the attic. This creates energy loss and can contribute to condensation on cold surfaces. If you suspect this issue, a broader energy assessment may be worthwhile. Natural Resources Canada’s EnerGuide framework treats roof and attic condition as part of the larger building envelope because these components directly affect comfort, efficiency, and greenhouse gas performance.
Finally, pay attention to repeated minor symptoms. A small stain that returns every winter, moss that grows back in one shaded corner, or a section of gutter that clogs repeatedly may indicate an underlying design or drainage issue. Sustainable maintenance is often about noticing these patterns early rather than treating each symptom as an isolated inconvenience.
What not to do during eco-friendly roof maintenance
Trying to be sustainable sometimes leads homeowners to attempt low-cost fixes that are not actually durable. Avoid coating over problems without understanding the cause, and be cautious with excessive roof sealants used as a universal answer. A quick patch may be reasonable in some cases, but broad surface treatments can trap moisture, fail prematurely, or complicate future repairs if they are not compatible with the roofing system.
It is also best to avoid aggressive pressure washing or harsh chemical cleaning, especially for asphalt shingles and landscaped sites below. These methods can shorten roof life, wash granules away, and send unwanted contaminants into soil or stormwater systems. If moss or algae removal is needed, the most eco-friendly approach is usually the gentlest effective one, combined with solving the moisture and shade conditions that allowed growth in the first place.
Do not assume that a dry ceiling means the roof is healthy. Hidden attic leaks can persist without obvious interior staining, particularly if the moisture is absorbed by insulation or evaporates before reaching a finished surface. And do not assume that adding insulation alone will cure winter roof problems. Without proper air sealing and ventilation, added insulation by itself may not address the root cause.
When to call a professional
A homeowner inspection is a useful first step, but some situations clearly call for professional help. If you see sagging, structural movement, active dripping, widespread mold-like growth, persistent attic condensation, damaged flashing around chimneys or skylights, or storm damage that affects multiple areas, contact a qualified roofing professional. If indoor moisture symptoms are substantial, you may also need an insulation contractor, building envelope consultant, or energy advisor depending on the issue.
A professional inspection can be especially valuable when symptoms involve both the roof and attic performance. For example, if you have ice dams, uneven snow melt, upper-floor overheating, and attic moisture, the solution may cross multiple trades. A whole-home perspective usually gives the best outcome. This aligns with the broader green building trend toward system-based retrofit planning rather than isolated fixes.
If your home is older or you are considering energy upgrades, an energy evaluation can also help connect roof observations to larger efficiency opportunities. In many cases, roof inspection findings become the starting point for better air sealing, insulation tuning, or moisture management improvements that enhance the house as a complete system.
Creating a simple roof inspection checklist for long-term maintenance
The most effective inspection routine is one you can repeat. A simple checklist makes it easier to compare seasons and catch gradual changes. Over time, this record becomes a practical maintenance history that can support smarter repair decisions and help you avoid unnecessary replacement.
-
Record the date, weather conditions, and whether the inspection is seasonal or post-storm.
-
Photograph each roof plane from the same ground locations if possible.
-
Note the condition of shingles or roof surface materials, valleys, ridges, and visible fasteners.
-
Check gutters, downspouts, soffits, fascia, and drainage paths.
-
Observe flashing around chimneys, skylights, vents, and wall intersections.
-
Inspect interior ceilings, top-floor walls, and closets for stains or musty odours.
-
Inspect the attic for wet insulation, staining, condensation, blocked vents, or air leak clues.
-
List anything that needs monitoring, cleaning, repair, or professional evaluation.
This kind of routine does not take as long as many homeowners expect. Once you know what to look for, a seasonal review may only take an hour or two, yet it can prevent months of disruption later.
How roof inspections support a healthier, lower-impact home
Regular roof inspections support sustainability in a grounded, practical way. They reduce the chances of hidden moisture damage that can send drywall, insulation, wood, flooring, and finishes to the landfill. They help preserve the life of existing roofing materials, which is often more resource-efficient than early replacement. And they strengthen the performance of the whole building envelope by identifying issues that affect heat loss, ventilation, comfort, and air quality.
They also make homeowners more confident. Instead of waiting for a crisis, you develop a clearer understanding of how your home behaves through different seasons. You begin to see connections between attic airflow, ice at the eaves, summer heat, musty smells, and drainage performance. That perspective leads to better maintenance choices and more thoughtful conversations with contractors when repairs or upgrades are needed.
Perhaps most importantly, roof inspection is a form of care that feels achievable. Sustainable living does not always require major retrofits or expensive technology. Sometimes it begins with a flashlight, a careful walk around the house, and a willingness to notice what your home is telling you.
Final thoughts
If you want your home to be efficient, durable, and resilient, the roof deserves regular attention. A well-timed inspection can catch leaks before they spread, reveal ventilation or insulation issues before they increase energy use, and extend the service life of materials already in place. That is good for your budget, good for comfort, and generally better for the environment than delayed action.
Start simply. Inspect in spring and fall, check again after major storms, look at both the exterior and the attic, and document what you find. Focus on moisture control, drainage, flashing, and ventilation as much as on shingles themselves. Over time, this steady, low-waste habit becomes one of the most effective forms of eco-friendly home maintenance you can practice.
And if something seems beyond a basic visual check, bring in a professional early. The most sustainable repair is often the one done at the right time, in the right place, for the right reason.



No Comment! Be the first one.