


A Step-by-Step Guide to Efficient Oven Cleaning for a Sparkling, Healthier Kitchen
There is something deeply satisfying about a clean oven. It is not simply about appearance, and it is not only about avoiding that little puff of smoke when you preheat for dinner. A freshly cleaned oven changes the feeling of the whole kitchen. It makes the space smell better, function better, and feel more cared for. For anyone who loves a home that supports daily comfort, oven cleaning can be less of a dreaded chore and more of a practical reset for one of the hardest working appliances in the house.
Table Of Content
- Why oven cleaning matters more than most people think
- Before you begin, know what kind of oven you have
- What to check in your manual
- Step 1: Gather gentle supplies and set up for safety
- Simple supplies for most manual oven cleaning jobs
- Step 2: Let the oven cool completely and remove everything inside
- Step 3: Brush out crumbs and wipe away loose debris
- Step 4: Choose your cleaning method
- Option A: Manual clean for most regular maintenance
- Option B: Self clean for heavy baked on residue
- Option C: Steam clean for light soil
- Step 5: How to manually clean an oven with baking soda and soapy water
- Best technique for the oven door glass
- Step 6: Clean the racks separately
- Step 7: How to use the self clean cycle wisely
- Step 8: How to use the steam clean setting effectively
- Step 9: Pay attention to ventilation and the feel of the room
- Step 10: Finish with the details that keep the oven looking truly clean
- Common mistakes to avoid
- How often should you clean your oven?
- A simple maintenance routine that keeps future cleaning easy
- The emotional payoff of a clean oven
- Final thoughts
When an oven is coated with baked on grease, splattered sauce, and old crumbs, it has to work around all of that residue. Food can cook less evenly, smoke can build up, and lingering burnt odors can shift the atmosphere of the room in an instant. Research and manufacturer guidance both point to a simple truth. Cleaning spills earlier and following your oven manual for the right cleaning method makes the job easier, safer, and more effective. It also helps you avoid the common mistake of treating every oven exactly the same way.
This guide takes a step by step approach to efficient oven cleaning, with room for different oven types and real life messes. You will learn how to prepare the area, choose the right method, clean manually with a gentle baking soda routine, use self clean and steam clean settings more confidently, and build habits that help prevent heavy buildup in the future. Along the way, we will keep the focus on comfort, air quality, and creating a kitchen that feels fresher and more peaceful to cook in.
Why oven cleaning matters more than most people think
At first glance, oven cleaning can feel cosmetic. If the door is closed and dinner still bakes, it is easy to postpone. In reality, a dirty oven affects the way your kitchen feels and functions every day. Old residue can burn repeatedly, which often creates smoke, sharper odors, and extra mess on interior surfaces. Over time, that can make cooking feel less pleasant, especially in an open concept home where the kitchen is part of the main living space.
A clean oven can also support more reliable cooking results. Thick layers of grime and carbonized food do not improve heat circulation, and they certainly do not help your favorite dishes taste their best. While regular maintenance will not transform every recipe, it can remove one of the quiet obstacles that stands between you and more even baking or roasting. If you are the kind of person who notices the emotional tone of your home, this matters. A kitchen that smells fresh and works smoothly invites you in.
There is also a wellness angle that deserves more attention. Health and environmental guidance in North America increasingly connects household cleaning, source control, and ventilation to better indoor air quality. Kitchen appliances are part of that picture. If grease, crumbs, and smoke producing residue are allowed to build up, they can contribute to a less comfortable cooking environment. Regular cleaning, paired with good airflow, helps reduce some of that burden and supports a healthier feeling space.
Mindful home tip: Think of oven cleaning as part appliance care and part atmosphere care. You are not just removing grime. You are restoring calm, freshness, and ease to the room where people gather every day.
Before you begin, know what kind of oven you have
The most important first step is also the one many people skip. Check your appliance manual. Not all ovens should be cleaned in the same way, and using the wrong method can damage surfaces, create unnecessary fumes, or reduce the effectiveness of special interior finishes. Today, many homes have one of four common types: manual clean ovens, self clean ovens, steam clean ovens, or continuous clean models with special liners.
Manual clean ovens are the most straightforward. They require hand cleaning with approved products and tools. Self clean ovens use very high heat to burn food residue into ash, which can then be wiped away after the cycle ends and the oven cools. Steam clean or low heat clean settings use moisture and moderate heat to loosen light residue, and these are often best for small messes rather than heavy grease. Continuous clean ovens have a special interior surface that works differently and should only be cleaned according to manufacturer guidance.
This is also where a common misconception deserves clearing up. Self clean is not automatically the best option every time. Consumer guidance has noted that heavily soiled ovens may produce more smoke and odor during a self clean cycle, which is one reason wiping out loose debris first is so helpful. Steam clean settings can be convenient, but they are generally better for lighter soil than thick, baked on messes. The right choice depends on your oven model and how dirty it really is.
What to check in your manual
- Whether your oven is manual clean, self clean, steam clean, or continuous clean
- Which products and tools are approved for the interior, glass, racks, and gasket
- Whether racks and accessories must be removed before cleaning
- How long a cleaning cycle typically lasts
- Any ventilation or safety instructions for your specific model
If you no longer have the paper manual, many brands post model specific instructions online. This simple pause at the beginning can save time, protect your oven, and help you choose the most efficient path forward.
Step 1: Gather gentle supplies and set up for safety
Efficient cleaning begins before any scrubbing starts. A calm setup will make the whole job easier and safer, especially if you are using any store bought cleaner or planning to run a cleaning cycle. Open a window if possible, turn on the range hood or kitchen exhaust fan, and clear nearby countertops so you have room to work. Ventilation matters not just when the kitchen smells strong, but throughout the cleaning process. It helps manage fumes, odors, and airborne particles in a practical, everyday way.
Choose simple supplies first. For most manual cleaning routines, warm water, dish soap, a bowl, microfiber cloths, a nonabrasive sponge, and a soft brush are enough to get started. Baking soda and water can be turned into an effective paste for loosening residue in many standard manual clean ovens. If your manual allows a commercial oven cleaner, use it exactly as directed and only one product at a time. Do not assume mixing cleaners will improve results.
That last point is especially important. Health Canada warns never to mix bleach with vinegar, ammonia, or other cleaners because toxic gases can form. It is one of the most important safety rules in home cleaning. Oven messes can be frustrating, but they are never a reason to experiment with product combinations. Gentle, consistent cleaning is safer than strong, improvised chemistry.
Simple supplies for most manual oven cleaning jobs
- Dish soap
- Warm water
- Baking soda
- Microfiber cloths
- Nonabrasive sponge
- Soft brush or old toothbrush for corners
- Plastic or silicone spatula for lifting soft debris if needed
- Gloves if preferred
- Old towels or paper to protect the floor beneath the oven door
Avoid steel wool, harsh scouring powders, razor sharp scraping on enamel, and anything your manual specifically says not to use. The goal is to remove grime without damaging the interior finish, glass, or gasket.
Step 2: Let the oven cool completely and remove everything inside
Never clean an oven that is still hot from cooking unless your model instructions specifically call for a warm steam clean preparation. For most methods, the oven should be fully cool. This makes the task more comfortable and prevents cleaning products or water from reacting unpredictably with hot surfaces. Once the oven is cool, remove the racks, temperature probe, pizza stone, and any loose accessories.
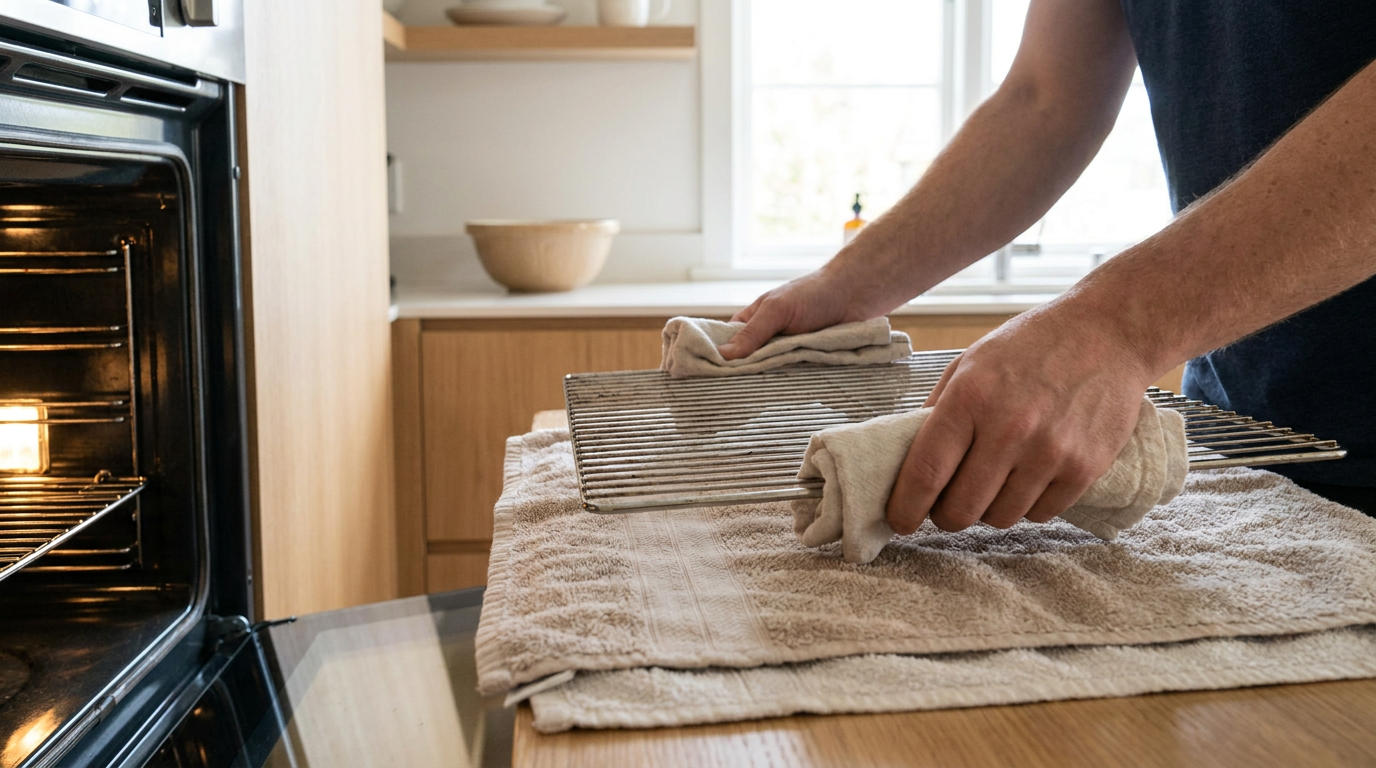
Lay the racks on a protected counter, table, or utility sink area. As simple as this sounds, it is one of the most efficient steps in the entire process. You will have better access to the oven floor, corners, and side walls, and you will avoid trying to clean around bars and rail supports. Both Whirlpool and Frigidaire guidance for self clean functions also emphasizes removing racks and accessories first, since some racks may discolor or perform differently if left inside during high heat cleaning cycles.
Take a moment to assess the type of mess you are dealing with. Are there loose crumbs and dry flakes, or thick, sticky splatters on the walls and door glass, or dark patches of grease on the bottom panel. A realistic reading of the mess helps you decide whether a gentle manual clean will be enough or whether your oven’s built in cleaning mode makes more sense.
Step 3: Brush out crumbs and wipe away loose debris
This is the step that turns oven cleaning from overwhelming to manageable. Before adding any paste or cleaner, remove what is already loose. Use a dry cloth, soft brush, or small handheld vacuum if your manual permits around the exterior edge only, not on delicate interior surfaces. Lift out crumbs, burnt flakes, and any detached residue sitting on the floor of the oven. This reduces the amount of material you are trying to dissolve later.
For sticky spots, dampen a cloth with warm, soapy water and wipe gently. You are not trying to deep clean yet. You are simply clearing the surface so the next step can work more directly on what remains. This approach also aligns with broader cleaning advice that emphasizes source control. The less loose burnt material inside the oven, the less likely it is to smoke the next time you cook or clean.
If you are preparing for a self clean cycle, this step is especially helpful. Consumer guidance notes that heavily soiled ovens can create more smoke and odor during self clean. Wiping out what you can beforehand reduces that burden and usually leaves less ash behind afterward.
Step 4: Choose your cleaning method
Once the loose mess is gone, choose one clear route and stick with it. For most homes, that means either a manual clean with mild soap and baking soda paste, a self clean cycle for heavy baked on residue if your oven is designed for it, or a steam clean cycle for a lighter refresh. The efficient choice is the one that fits both your appliance and the actual level of soil inside.
Option A: Manual clean for most regular maintenance
Manual cleaning is often the gentlest and most versatile method. It gives you more control, avoids extreme heat, and works well for routine maintenance or moderate buildup. It is also a good choice for households that are sensitive to odors or prefer lower chemical cleaning methods. A baking soda and water paste is popular for good reason. It is simple, widely accessible, and effective when allowed enough time to soften grime.
Option B: Self clean for heavy baked on residue
Self clean cycles are designed to heat the oven to very high temperatures, reducing residue to ash. Depending on the model, this can take several hours. Some ranges may run around 2.5 to 4.5 hours, while some wall ovens can take roughly 4 to 6 hours. It can be effective for heavy buildup, but it should be used thoughtfully. Good ventilation is important, and many manufacturers recommend removing racks, wiping out loose debris first, and staying mindful of smoke and odor.
Option C: Steam clean for light soil
Steam clean features can be convenient for maintenance between deeper cleans. They generally use water and lower heat to loosen fresh splatters and light residue. This method tends to produce fewer odors than a full self clean cycle, but it is not always strong enough for thick, baked on grease. Think of steam clean as a useful upkeep tool rather than a cure for months of accumulated mess.
Step 5: How to manually clean an oven with baking soda and soapy water
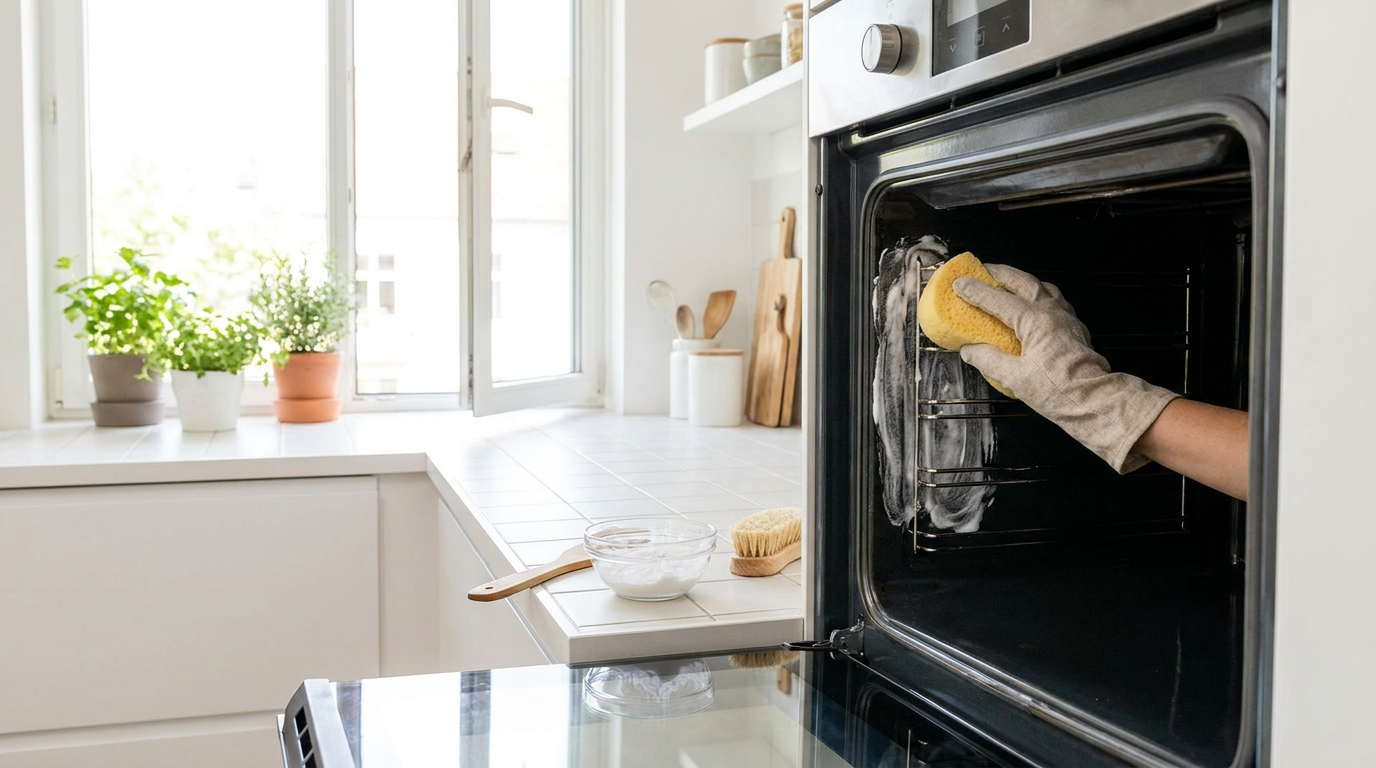
If you are taking the manual route, start by making a paste with baking soda and water. Aim for a spreadable consistency, similar to yogurt or soft frosting. It should cling to the oven walls without dripping. Apply the paste to stained interior surfaces, avoiding heating elements, vent openings, and any areas your manual tells you not to coat. Be especially careful around the door gasket, which helps maintain a proper seal and should not be soaked, scrubbed aggressively, or damaged.
Once applied, let the paste sit. This waiting period is what makes the method efficient. Instead of scrubbing hard right away, you allow the paste time to soften grime. For moderate buildup, an hour may help. For stronger residue, several hours or even overnight can be useful if your manual allows. During that time, you can clean the racks, wipe the stovetop, or simply step away and let the process work quietly in the background.
When it is time to remove the paste, use a damp microfiber cloth or nonabrasive sponge. Wipe gently in sections, rinsing the cloth often. Some areas may need a second pass or a little extra dwell time. If bits of residue remain, a plastic or silicone edged tool can help lift softened buildup without scratching enamel. Finish with a clean cloth and plain water to remove any chalky film from the baking soda.
Best technique for the oven door glass
The door glass often holds the most visible grime, and cleaning it well can make the whole appliance feel transformed. Use the same gentle paste or warm soapy water on the inner glass if your manual permits. Let it sit briefly, then wipe with a soft cloth. Avoid abrasive pads that can dull or scratch the finish. If the glass still looks cloudy, a second careful round is usually better than reaching for something harsher too quickly.
Remember that more cleaner is not necessarily better. Thick layers of product can leave residue and become harder to wipe away. A moderate amount, used patiently, tends to produce the cleanest and least fussy result.
Step 6: Clean the racks separately
Oven racks deserve their own attention because they collect drips, grease, and darkened residue in places that are easy to ignore. The good news is that they are often easier to clean outside the oven where you can see every surface more clearly. Start with warm water and dish soap. If the buildup is light, a sponge and some patience may be all you need. For tougher grime, a soak in warm, soapy water can help loosen residue before wiping.
If your manual allows it, a baking soda paste can also be used on rack surfaces, followed by a gentle scrub with a nonabrasive pad or soft brush. Avoid forcing anything too harsh over metal finishes, especially if your manufacturer warns that certain coatings can discolor or become difficult to slide after aggressive treatment. This is another reason many manuals tell you not to leave racks inside during self clean cycles.
Dry the racks fully before returning them to the oven. Damp metal can leave marks, interfere with smooth movement, or add moisture where you do not want it. While the racks are out, take a second to wipe the side rails and ledges inside the oven cavity so everything goes back into a cleaner, calmer space.
Step 7: How to use the self clean cycle wisely
If your oven has a self clean setting and the interior is heavily soiled, this feature can be useful, but it works best when approached carefully. Start by reading the model specific instructions. Remove racks and accessories unless the manual says otherwise. Wipe out loose crumbs, thick spills, and anything that could create excess smoke. Then open a window and turn on your range hood or kitchen exhaust fan before beginning the cycle.
During self clean, the oven reaches very high temperatures to burn away residue. That means the cycle may last several hours, and the kitchen can develop noticeable odors. Even though serious failures appear uncommon in consumer survey data, the process still places stress on the appliance and can be unpleasant if the oven is extremely dirty. If smoke becomes excessive or something seems unusual, stop and refer to your manual or contact the manufacturer.
Once the cycle is finished, let the oven cool completely. Only then should you open it and wipe out the fine ash left behind. Use a damp cloth and work gently. There is no need to scrub aggressively at this point. Most of the work should already be done. This final wipe is simply about removing residue and restoring a fresh interior surface.
Step 8: How to use the steam clean setting effectively
Steam clean cycles are appealing because they feel gentler, quicker, and lower odor than traditional self clean modes. For many households, that makes them a practical middle ground between hand scrubbing and a full high heat cycle. To use steam clean effectively, begin with the instructions in your manual. Most models require adding a specific amount of water to the oven bottom or a designated area, then starting the cycle while the oven is empty.
Steam cleaning is best viewed as a loosening step. It softens fresh drips and lighter residue so you can wipe them away after the cycle ends. It usually will not remove months of baked on grease by itself. After the oven cools enough to touch safely, wipe out the loosened mess with a soft cloth or sponge. If needed, repeat or follow with a little soapy water for the remaining spots.
For people who want to maintain a fresher oven more regularly, this can be an excellent routine. It works especially well when you use it soon after spills happen rather than waiting for those splatters to harden over repeated high heat cooking sessions.
Step 9: Pay attention to ventilation and the feel of the room
One of the most overlooked parts of oven cleaning is what happens in the air around you. A kitchen can look clean while still feeling stuffy or carrying the after effects of smoke, odor, or product fumes. Ventilation is not an optional extra for perfectionists. It is a practical part of the cleaning process. The EPA emphasizes airflow and appliance cleaning as part of reducing indoor particulate matter and cooking related pollutants, and Health Canada also supports regular ventilation when using cleaning products or running appliances.
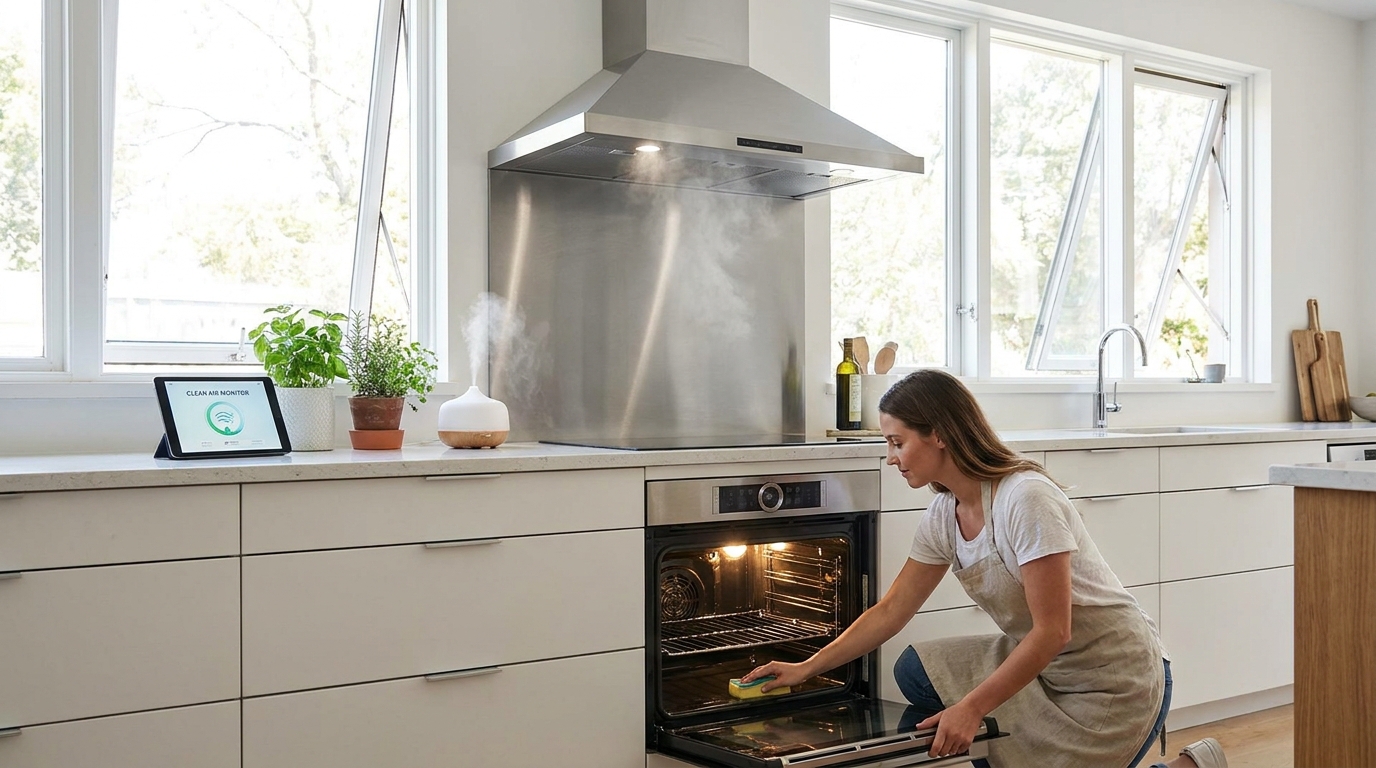
Open windows if weather allows. Run the range hood if it vents outside. If you use a portable air cleaner in your home, consider running it nearby according to its normal operating guidance, particularly if your kitchen opens into living areas. These small habits can make the process more comfortable in the moment and help your kitchen return to its usual calm more quickly afterward.
This is also where the mindful side of the task becomes tangible. When the air feels fresher, the counters are clear, and the oven door gleams again, the whole room changes. Oven cleaning stops being only about grease and starts becoming part of how your home supports daily life.
Step 10: Finish with the details that keep the oven looking truly clean
Once the interior is clean, spend a little time on the finishing touches. Wipe the oven frame, handle, knobs, and the outer glass with a soft cloth and a small amount of mild soapy water or an appropriate appliance cleaner if your manual permits. Greasy fingerprints and drips around the edges can make an otherwise clean oven still feel unfinished. These are quick areas to address, and they create a satisfying final result.
Inspect the door gasket gently. This flexible seal plays an important role in holding heat inside the oven. It should be free of heavy grease and crumbs, but it should not be soaked, pulled, or scrubbed harshly. A light wipe around it is usually enough unless your manual recommends something more specific. Caring for this detail helps support both performance and energy efficiency over time.
Finally, return the fully dry racks and accessories to the oven. Close the door and take in the difference. The appliance looks brighter, the kitchen feels lighter, and the next meal begins from a cleaner starting point.
Common mistakes to avoid
Many oven cleaning frustrations come from a few preventable mistakes. One of the most common is treating every oven as if it can handle the same product or process. A self clean cavity, steam clean feature, or continuous clean liner may have very different care needs than a basic manual clean model. Another frequent mistake is using harsh abrasives on enamel or glass, which can create scratches and dull the finish over time.
Mixing products is another serious issue. Bleach should never be combined with vinegar, ammonia, or other cleaners because toxic gases can result. It is also unhelpful to layer too many products in search of faster results. Excess cleaner can leave behind residue, create stronger odors, and make rinsing harder. More force is not always more efficient. Often, more patience is.
It is also wise not to ignore ventilation just because the smell seems manageable. Odors are only one part of the indoor air picture. Keeping air moving while you clean or run a cleaning cycle is a simple habit that supports comfort and helps the whole process feel easier on your home.
How often should you clean your oven?
There is no single schedule that suits every kitchen. The right rhythm depends on how often you cook, what kinds of meals you make, and how quickly you deal with spills. A household that roasts vegetables, bakes casseroles, and makes pizza several nights a week will likely need more frequent attention than a home that uses the oven only occasionally. The best approach is not waiting for a dramatic mess.
Small maintenance sessions can make a huge difference. Wiping a fresh spill after the oven cools is one of the most efficient habits you can build. It prevents residue from carbonizing and keeps future cleaning much simpler. A quick check every week or two can help you catch splatters before they become stubborn stains. Then, a deeper clean can happen seasonally or whenever the oven begins to show buildup, smoke more than usual, or carry a burnt smell.
For many homes, this layered routine feels realistic. Light wipe downs as needed, regular visual checks, and occasional deeper cleaning based on actual use. It is less about strict timing and more about staying connected to how your kitchen is functioning.
A simple maintenance routine that keeps future cleaning easy
- After any spill, wait for the oven to cool and wipe it up promptly.
- Check the oven floor and inner glass every one to two weeks.
- Use steam clean or a quick manual wipe for light splatters before they harden.
- Deep clean manually or use self clean only when the level of buildup truly calls for it.
- Keep the range hood in use while cooking foods that splatter or smoke easily.
- Avoid overfilling baking dishes and use sheet pans under messy recipes when appropriate.
These habits may sound small, but they change the entire experience of oven care. Instead of facing a major, exhausting chore, you maintain a baseline of cleanliness that supports easier meals and a nicer atmosphere all year.
The emotional payoff of a clean oven
There is a practical side to oven cleaning, and then there is the part you feel. A kitchen with a clean oven tends to feel more open, more breathable, and more encouraging. You are less likely to brace for smoke when preheating. You are less likely to notice stale burnt odors when you walk in. That sense of ease matters, especially in homes where the kitchen is the center of family life, quiet mornings, weeknight dinners, and weekend hosting.
When we talk about creating a beautiful home, it is tempting to focus on visible surfaces, styling details, and large upgrades. Yet comfort often comes from smaller acts of care. Cleaning the oven may not be glamorous, but it is deeply connected to how a home functions and feels. It supports better cooking, cleaner air, and a subtle sense that the space is ready for whatever the day brings.
That is why this task is worth approaching with a little intention. Not perfection, and certainly not pressure. Just a thoughtful routine that helps your kitchen stay fresh, efficient, and welcoming. In the end, a sparkling oven is not only a maintenance win. It is part of making the heart of the home feel good to live in.
Final thoughts
Efficient oven cleaning starts with the right method, gentle supplies, and a little patience. Whether you choose a manual baking soda clean, a carefully prepared self clean cycle, or a quick steam refresh, the goal is the same. Remove buildup safely, protect your appliance, and support a kitchen that feels cleaner and calmer. Follow your manual, ventilate well, and never mix cleaning products.
If you take away just one habit from this guide, let it be this. Clean spills early. That single step reduces future labor, lowers the chance of smoke and odors, and helps your oven stay ready for the meals and moments ahead. A cared for oven quietly improves the whole room, and sometimes that is exactly the kind of home upgrade that matters most.



No Comment! Be the first one.